Configuration
Date/Time Setup
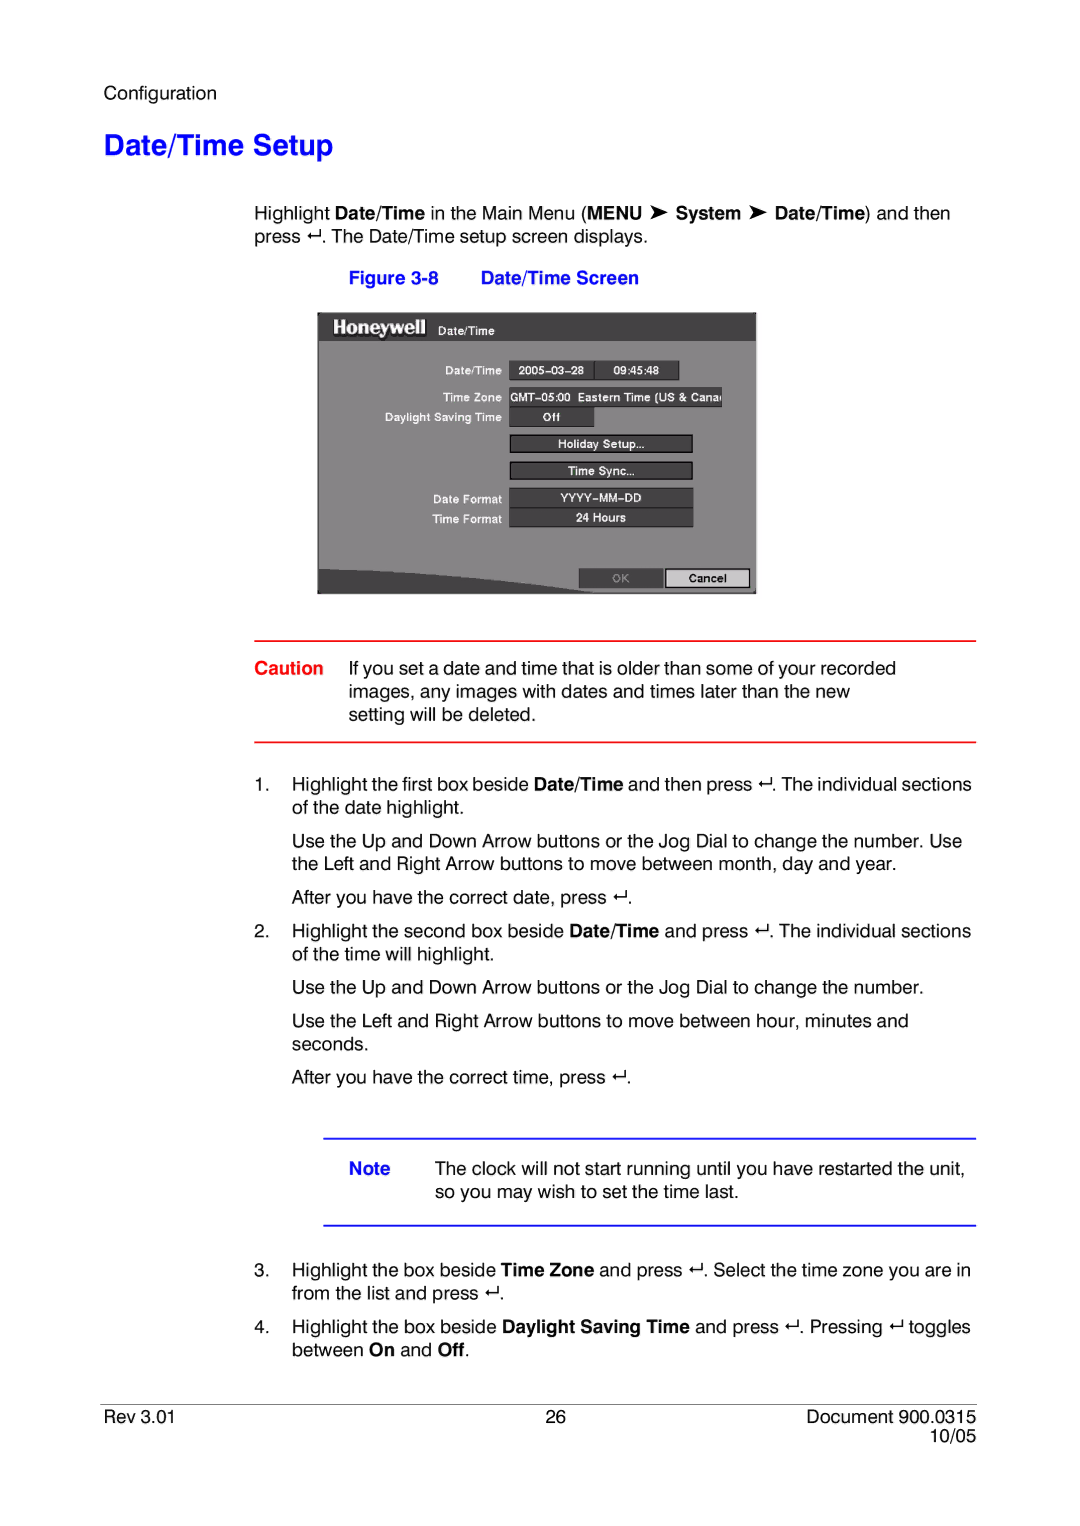
Highlight Date/Time in the Main Menu (MENU ➤ System ➤ Date/Time) and then press # . The Date/Time setup screen displays.
Figure 3-8 Date/Time Screen
Caution If you set a date and time that is older than some of your recorded images, any images with dates and times later than the new setting will be deleted.
1.Highlight the first box beside Date/Time and then press # . The individual sections of the date highlight.
Use the Up and Down Arrow buttons or the Jog Dial to change the number. Use the Left and Right Arrow buttons to move between month, day and year.
After you have the correct date, press # .
2.Highlight the second box beside Date/Time and press # . The individual sections of the time will highlight.
Use the Up and Down Arrow buttons or the Jog Dial to change the number.
Use the Left and Right Arrow buttons to move between hour, minutes and seconds.
After you have the correct time, press # .
Note The clock will not start running until you have restarted the unit, so you may wish to set the time last.
3.Highlight the box beside Time Zone and press # . Select the time zone you are in from the list and press # .
4.Highlight the box beside Daylight Saving Time and press # . Pressing # toggles between On and Off.
Rev 3.01 | 26 | Document 900.0315 |
|
| 10/05 |