Cleaning the Printer
To maintain print quality, follow the cleaning procedures on the following pages every time the toner cartridge is changed or whenever print quality problems occur. As much as possible, keep the printer free from dust and debris.
λClean the outside of the printer with a lightly
λClean the inside with a dry,
CAUTION Do not use
Note
Using the Printer Cleaning Processes
During the printing process, paper, toner and dust particles can accumulate inside the printer. Over time, this buildup can cause print quality problems such as toner specks or smearing. This printer has two cleaning modes that can correct and prevent these types of problems.
In order for the engine cleaning page to work properly, print the page on
Engine Cleaning
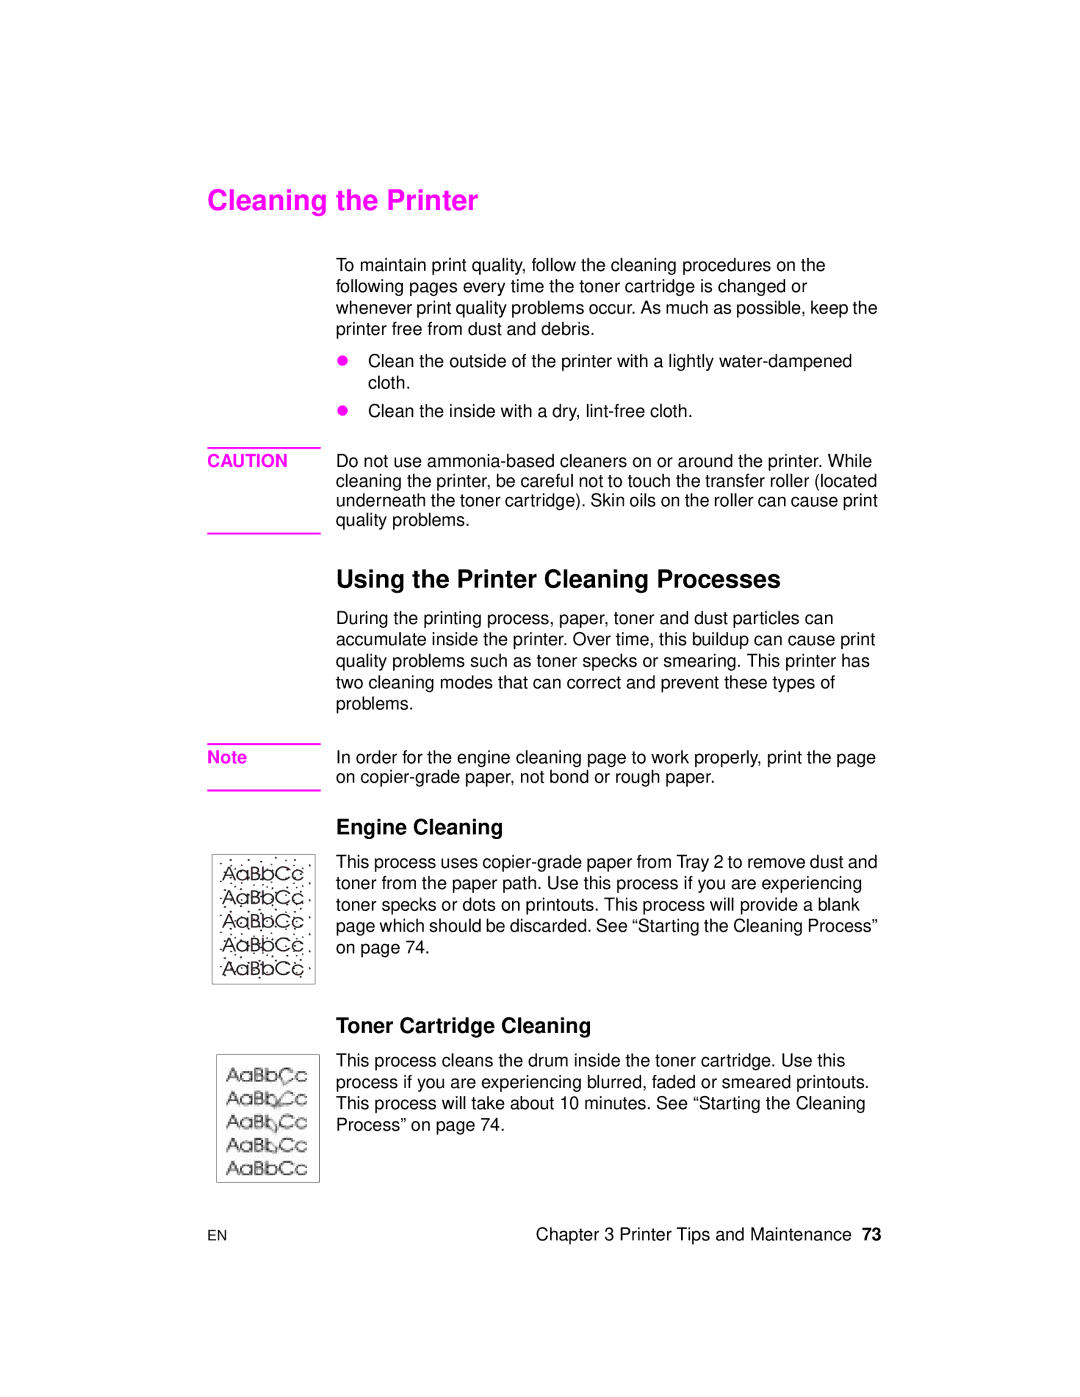
This process uses
Toner Cartridge Cleaning
This process cleans the drum inside the toner cartridge. Use this process if you are experiencing blurred, faded or smeared printouts. This process will take about 10 minutes. See “Starting the Cleaning Process” on page 74.
EN | Chapter 3 Printer Tips and Maintenance 73 |
