Chapter 8: Diagnostics/Maintenance
Replace/Change DSP Module (on DS1 card)
The instructions below are for replacing/changing the DSP
NOTE: Since you will need to turn off your chassis for this procedure, you may want to reduce the down time by first familiarizing yourself with the process.
NOTE: A License file must be purchased in conjunction with any hardware upgrade (this file enables the new DS1 board to
Before you begin, you will need the following materials:
•ESD wrist strap (shipped with chassis)
•12” (305 mm) x 12” (305mm)
•#1 Phillips screwdriver
•DSP Resource module (still in the
NOTE: For information about preventing electrostatic discharge, see Chapter 3: Installation.)
1.Identify a flat
2.Put on the ESD wrist strap.
3.On the ESD safe work surface, holding the edges, carefully remove the DSP module card from the anti- static bag.
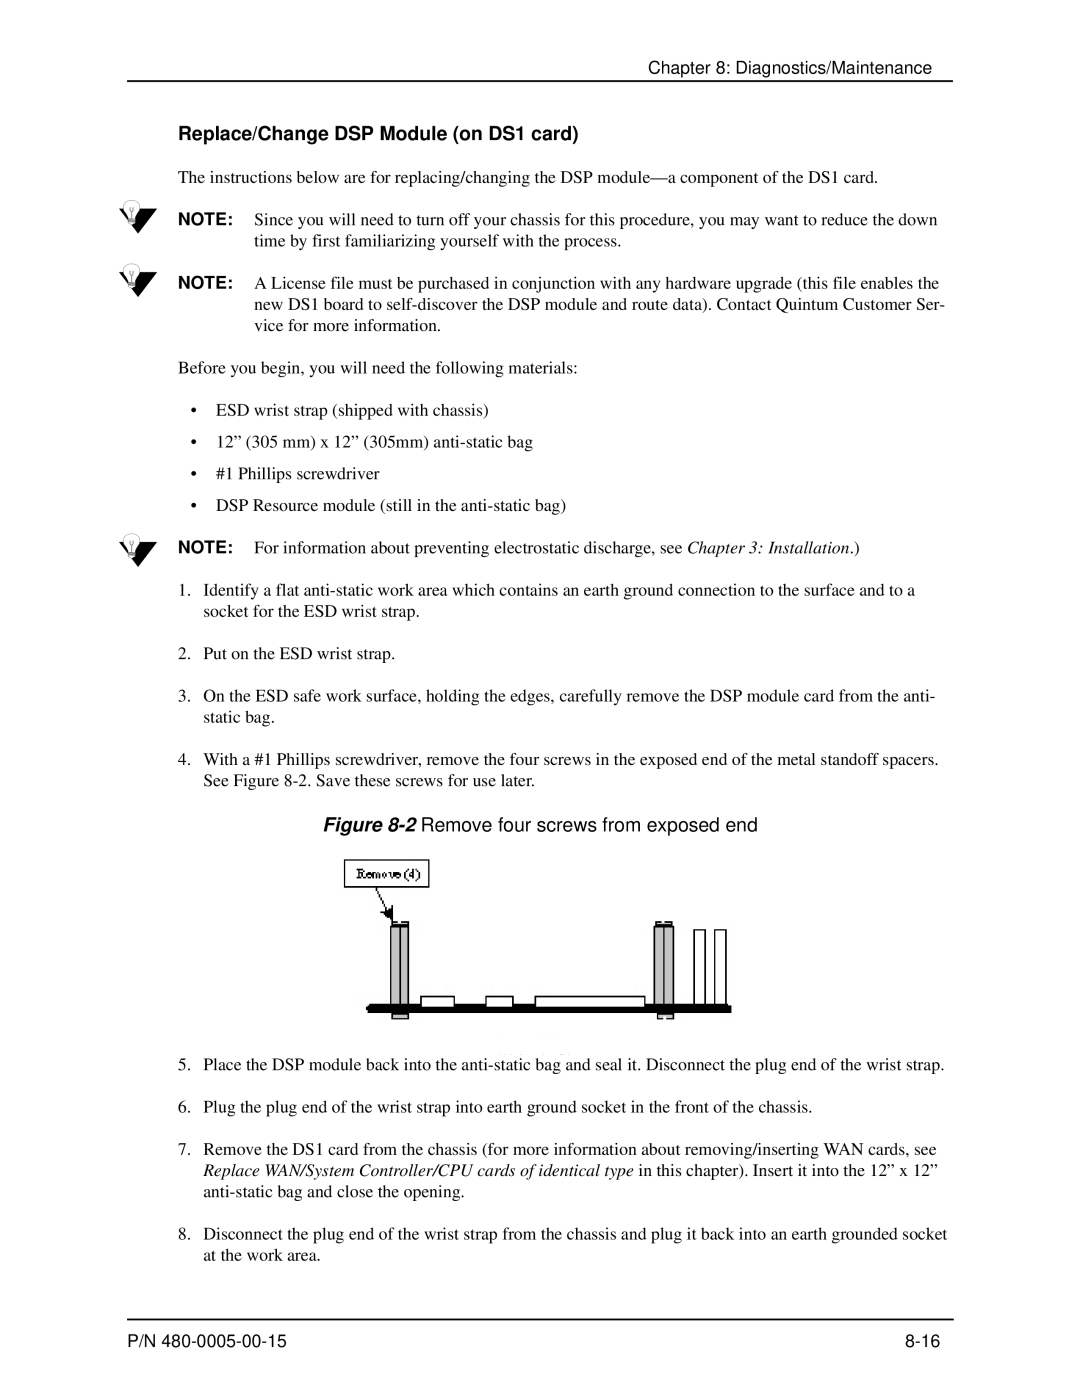
4.With a #1 Phillips screwdriver, remove the four screws in the exposed end of the metal standoff spacers. See Figure
Figure 8-2 Remove four screws from exposed end
5.Place the DSP module back into the
6.Plug the plug end of the wrist strap into earth ground socket in the front of the chassis.
7.Remove the DS1 card from the chassis (for more information about removing/inserting WAN cards, see Replace WAN/System Controller/CPU cards of identical type in this chapter). Insert it into the 12” x 12”
8.Disconnect the plug end of the wrist strap from the chassis and plug it back into an earth grounded socket at the work area.
P/N |