Creating new shapes
You can create your own shapes to customize your scrapbook pages even further. An item makes a good shape if it has a distinct outline, for example, clip art that you might have on your computer or a
34 | shapes from items that you scan, such as medals or charms. |
| |
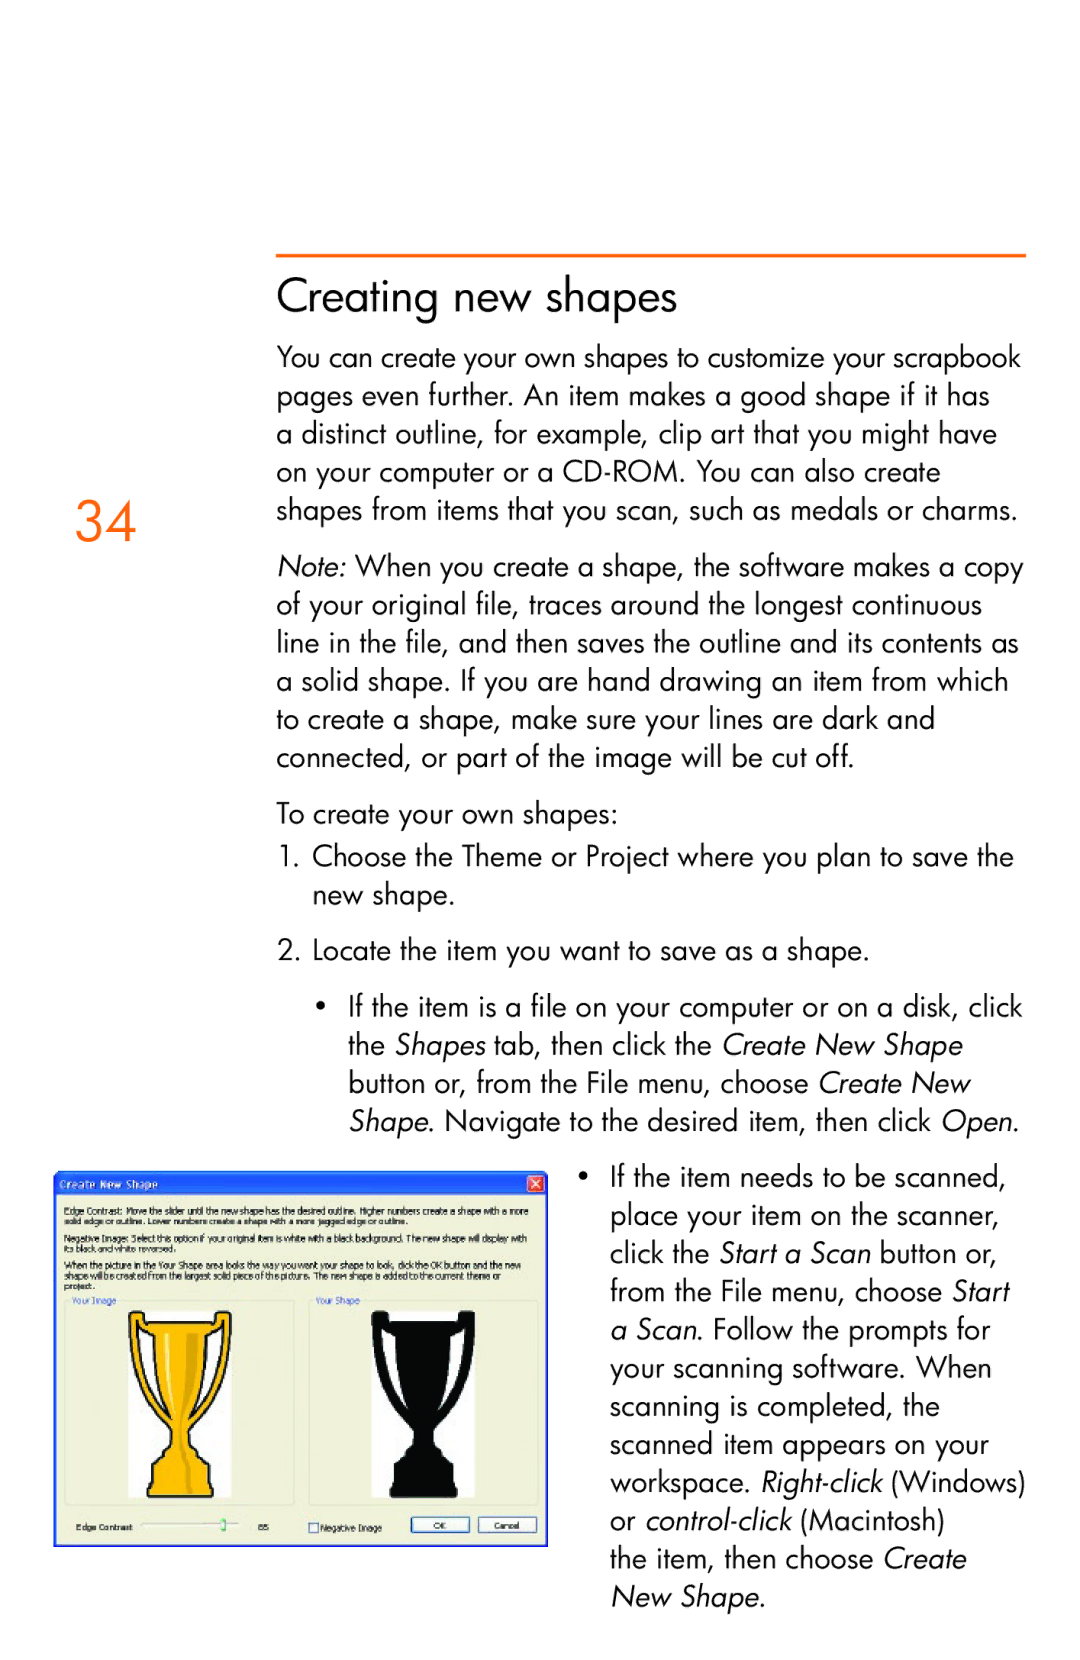
| Note: When you create a shape, the software makes a copy |
| of your original file, traces around the longest continuous |
| line in the file, and then saves the outline and its contents as |
| a solid shape. If you are hand drawing an item from which |
| to create a shape, make sure your lines are dark and |
| connected, or part of the image will be cut off. |
To create your own shapes:
1.Choose the Theme or Project where you plan to save the new shape.
2.Locate the item you want to save as a shape.
•If the item is a file on your computer or on a disk, click the Shapes tab, then click the Create New Shape button or, from the File menu, choose Create New Shape. Navigate to the desired item, then click Open.
•If the item needs to be scanned, place your item on the scanner, click the Start a Scan button or, from the File menu, choose Start a Scan. Follow the prompts for your scanning software. When scanning is completed, the scanned item appears on your workspace.