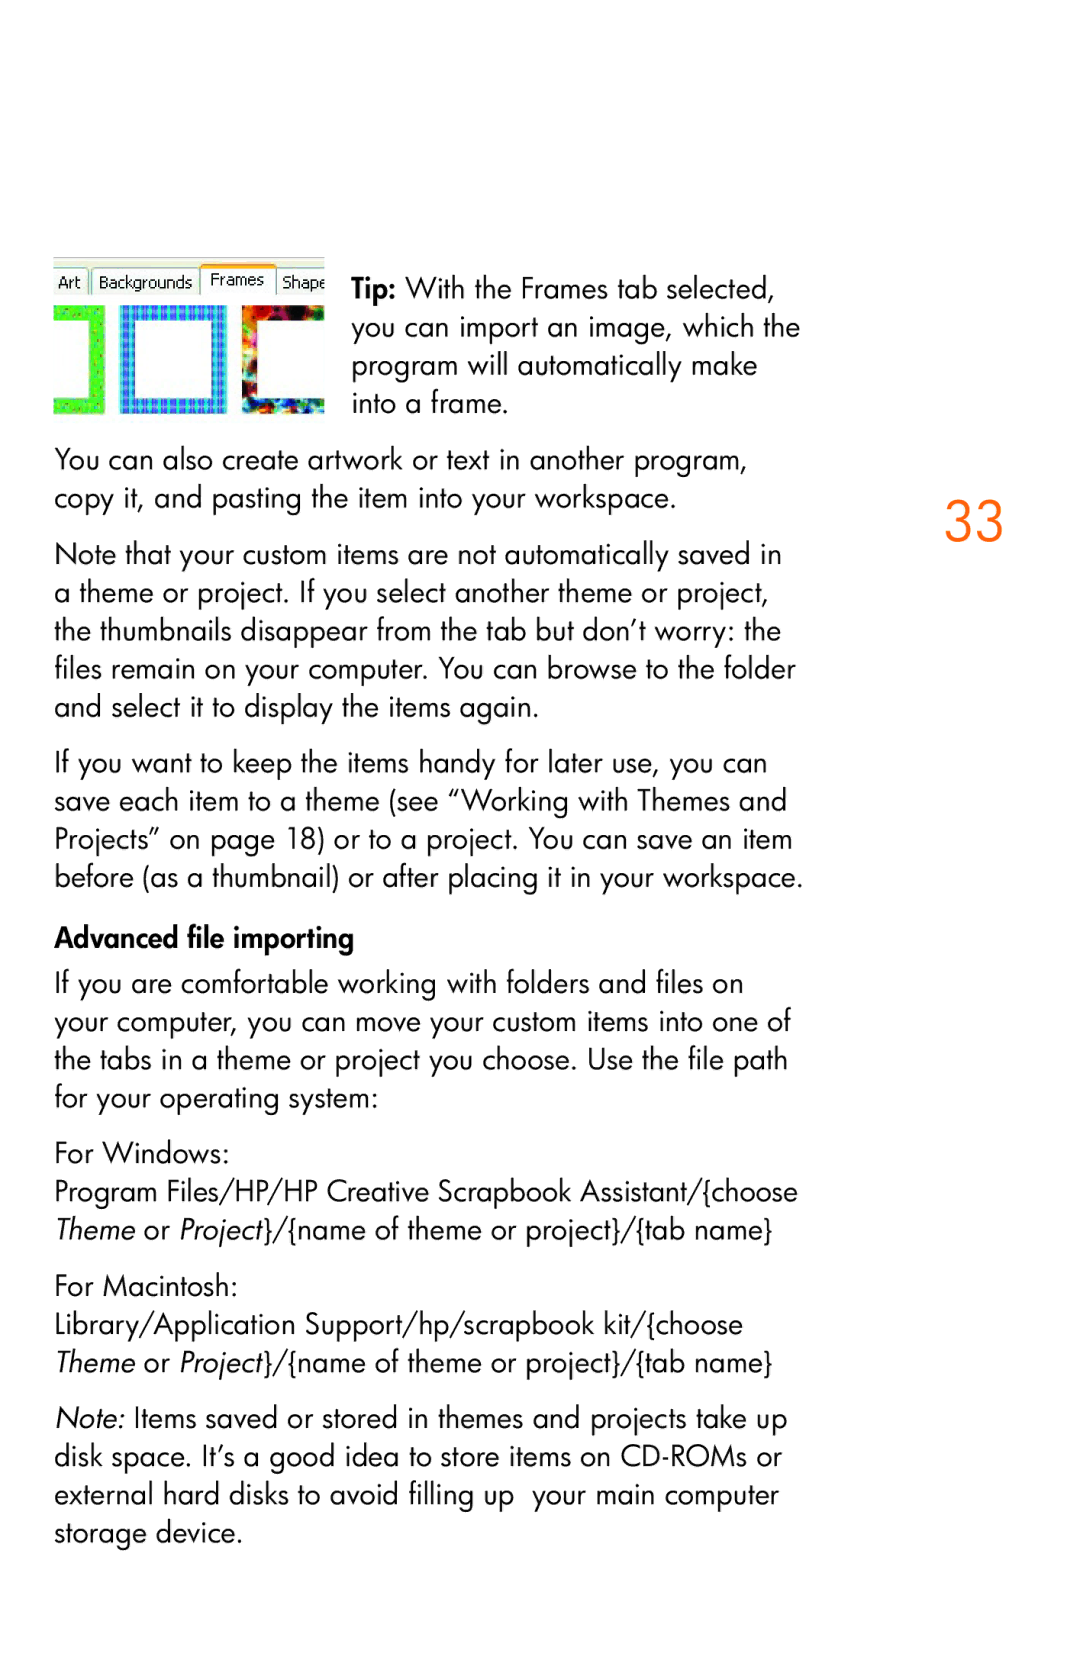
Tip: With the Frames tab selected, you can import an image, which the program will automatically make into a frame.
You can also create artwork or text in another program, |
| |
copy it, and pasting the item into your workspace. | 33 | |
Note that your custom items are not automatically saved in | ||
| ||
a theme or project. If you select another theme or project, |
| |
the thumbnails disappear from the tab but don’t worry: the |
| |
files remain on your computer. You can browse to the folder |
| |
and select it to display the items again. |
| |
If you want to keep the items handy for later use, you can |
| |
save each item to a theme (see “Working with Themes and |
| |
Projects” on page 18) or to a project. You can save an item |
| |
before (as a thumbnail) or after placing it in your workspace. |
| |
Advanced file importing |
| |
If you are comfortable working with folders and files on |
| |
your computer, you can move your custom items into one of |
| |
the tabs in a theme or project you choose. Use the file path |
| |
for your operating system: |
| |
For Windows: |
| |
Program Files/HP/HP Creative Scrapbook Assistant/{choose |
| |
Theme or Project}/{name of theme or project}/{tab name} |
| |
For Macintosh: |
| |
Library/Application Support/hp/scrapbook kit/{choose |
| |
Theme or Project}/{name of theme or project}/{tab name} |
| |
Note: Items saved or stored in themes and projects take up |
| |
disk space. It’s a good idea to store items on |
| |
external hard disks to avoid filling up your main computer |
| |
storage device. |
|
