is, the frame instantly fits around the shape. Using frames, you can apply double, triple, or more mattes to an item inside a shape.
•To frame an item, start with a shape, fill the shape with your selected item, and then click or drag the frame of
your choice. | 25 | |
Tip: You can make a shape slightly smaller than a page and | ||
| ||
then apply a frame to create a border for the entire page. |
| |
Use the Frame Width tool to widen or narrow a frame before |
| |
or after you apply it to a shape, and use the Transparency |
| |
tool to adjust a frame’s transparency. (See “Selecting items |
| |
and text” on page 36.) You can also change a frame’s color |
| |
to another color (if it’s a |
| |
white or sepia. You can import your own frames, save a |
| |
frame as a new image, clip art, or background, or save |
| |
other items as new frames. |
|
Working with Clip Art
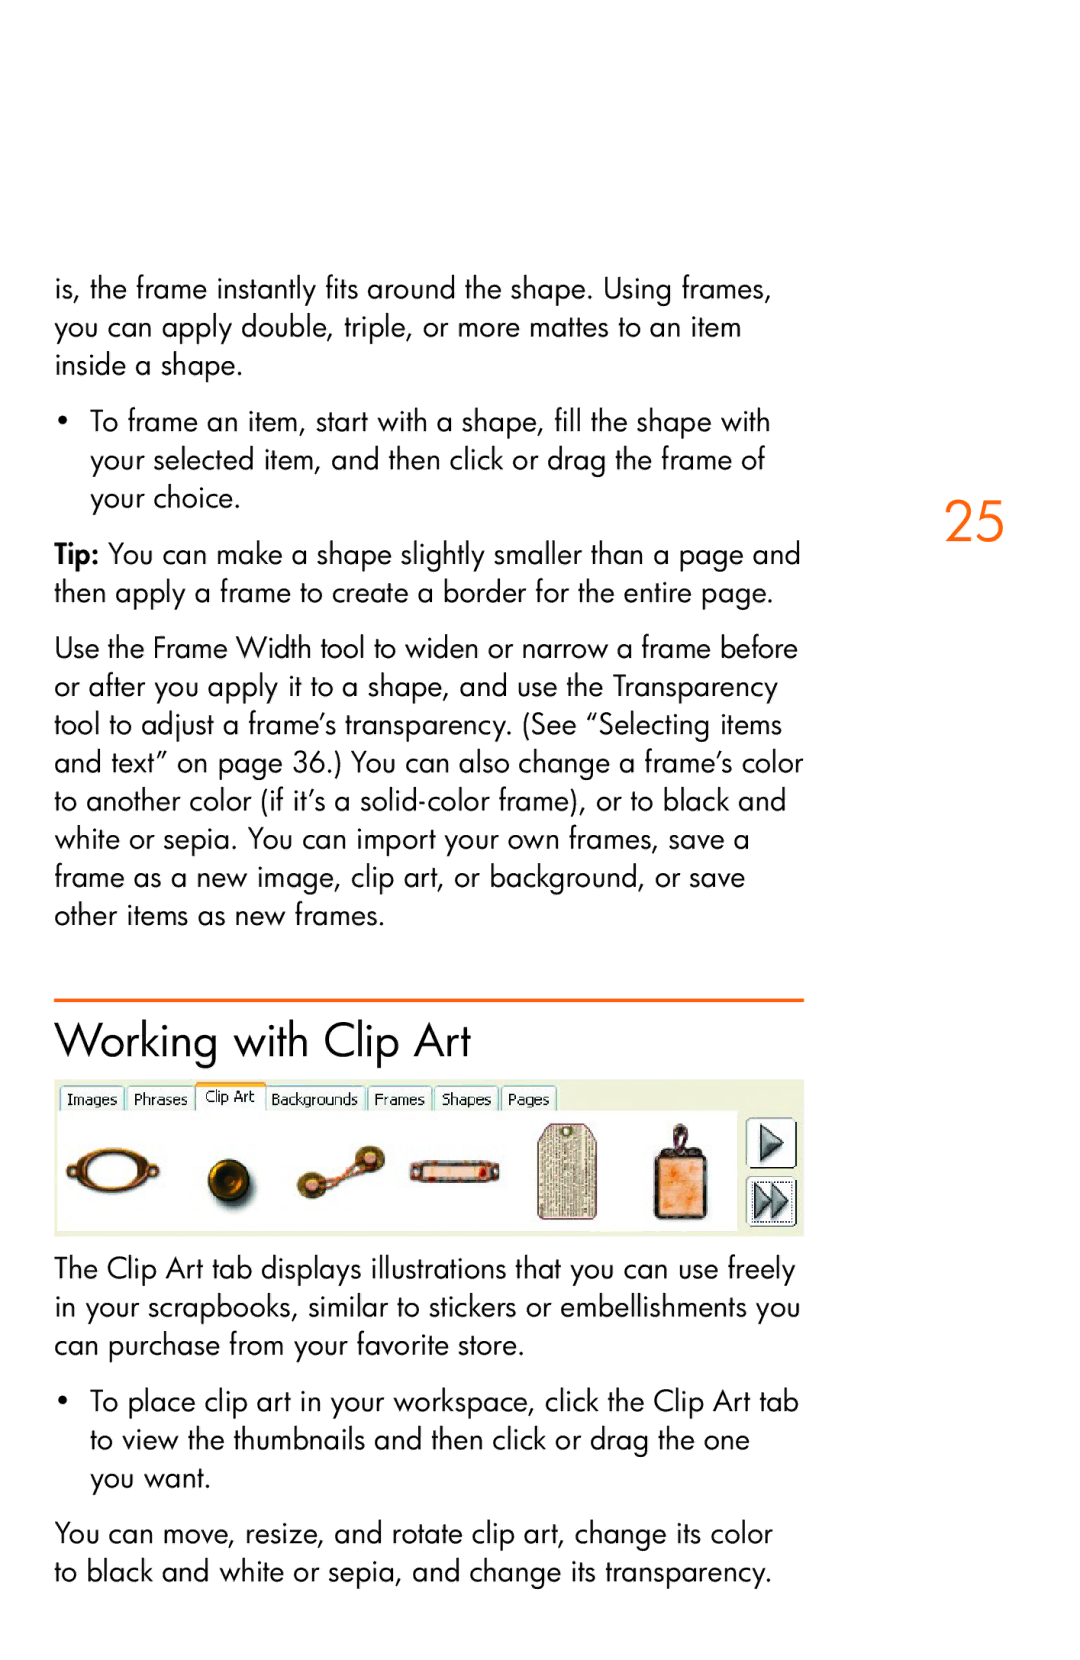
The Clip Art tab displays illustrations that you can use freely in your scrapbooks, similar to stickers or embellishments you can purchase from your favorite store.
•To place clip art in your workspace, click the Clip Art tab to view the thumbnails and then click or drag the one you want.
You can move, resize, and rotate clip art, change its color to black and white or sepia, and change its transparency.
