Converting to black & white or sepia
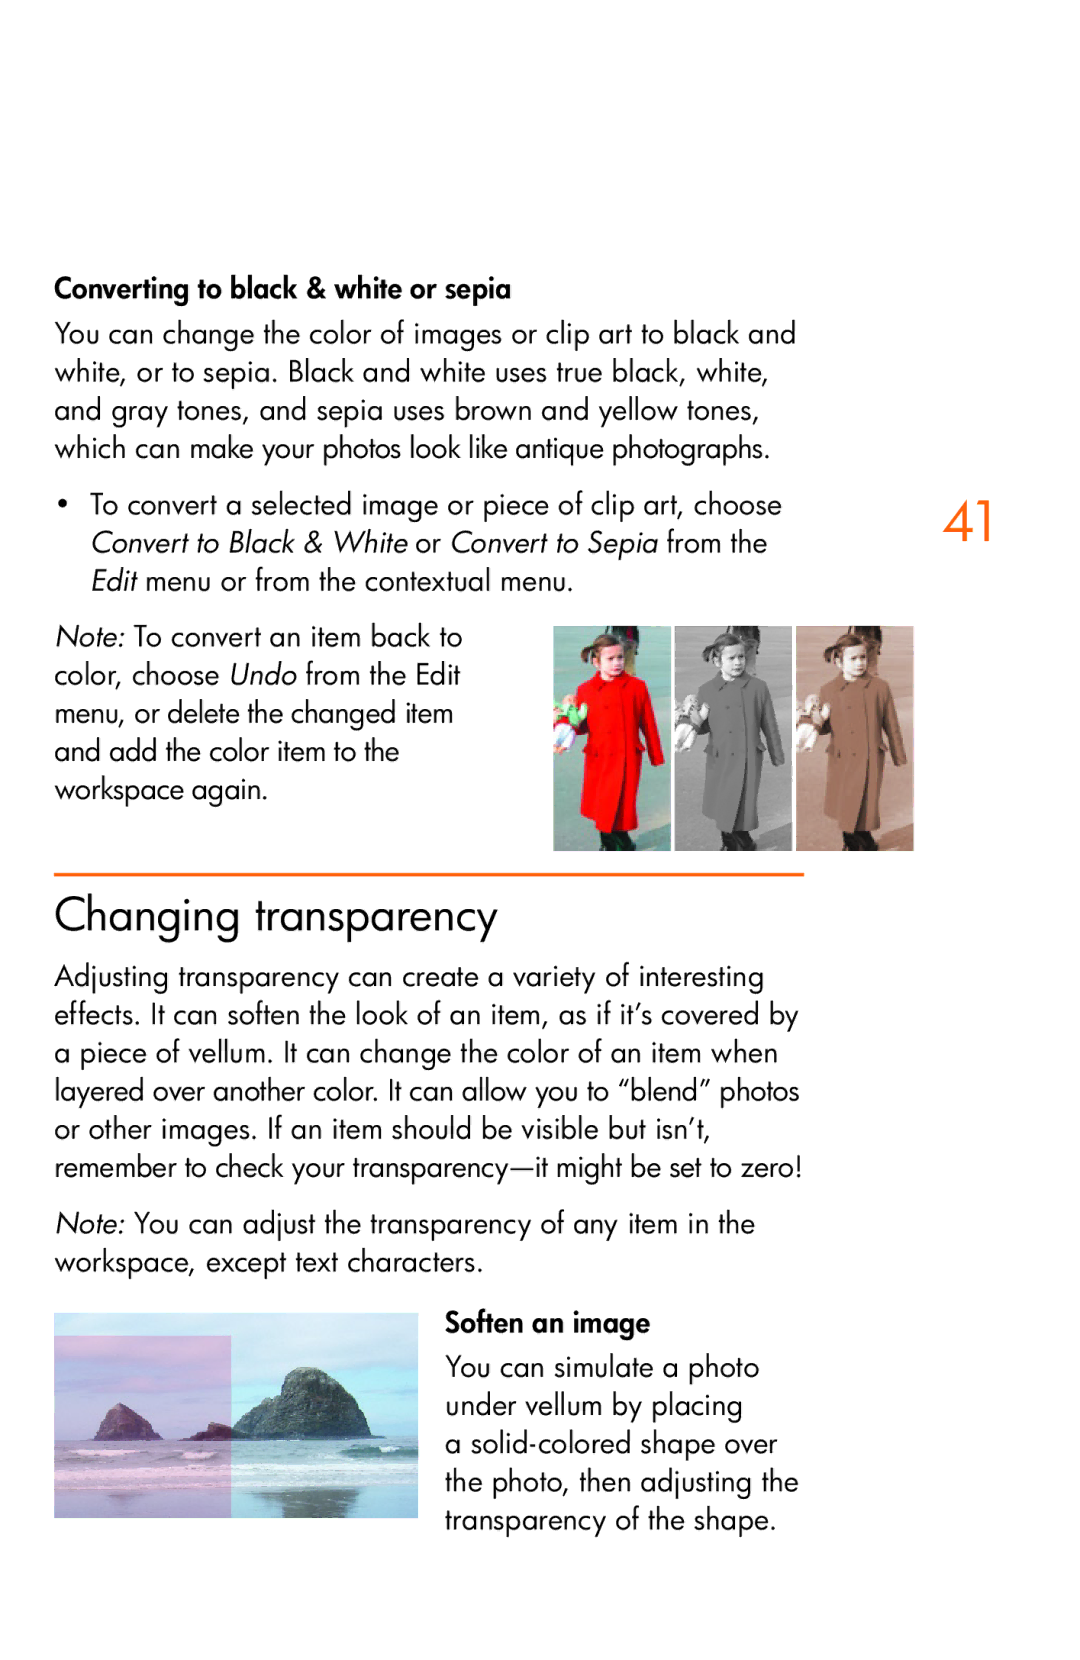
You can change the color of images or clip art to black and white, or to sepia. Black and white uses true black, white, and gray tones, and sepia uses brown and yellow tones, which can make your photos look like antique photographs.
• To convert a selected image or piece of clip art, choose | 41 |
Convert to Black & White or Convert to Sepia from the |
Edit menu or from the contextual menu.
Note: To convert an item back to color, choose Undo from the Edit menu, or delete the changed item and add the color item to the workspace again.
Changing transparency
Adjusting transparency can create a variety of interesting effects. It can soften the look of an item, as if it’s covered by a piece of vellum. It can change the color of an item when layered over another color. It can allow you to “blend” photos or other images. If an item should be visible but isn’t, remember to check your
Note: You can adjust the transparency of any item in the workspace, except text characters.
Soften an image
You can simulate a photo under vellum by placing a