• | If the item is already in the Images or Clip Art tab, |
| |
| locate the desired thumbnail. |
| |
| or |
| |
| Create New Shape. |
| |
3. In the Create New Shape dialog box, make your |
| ||
selections: | 35 | ||
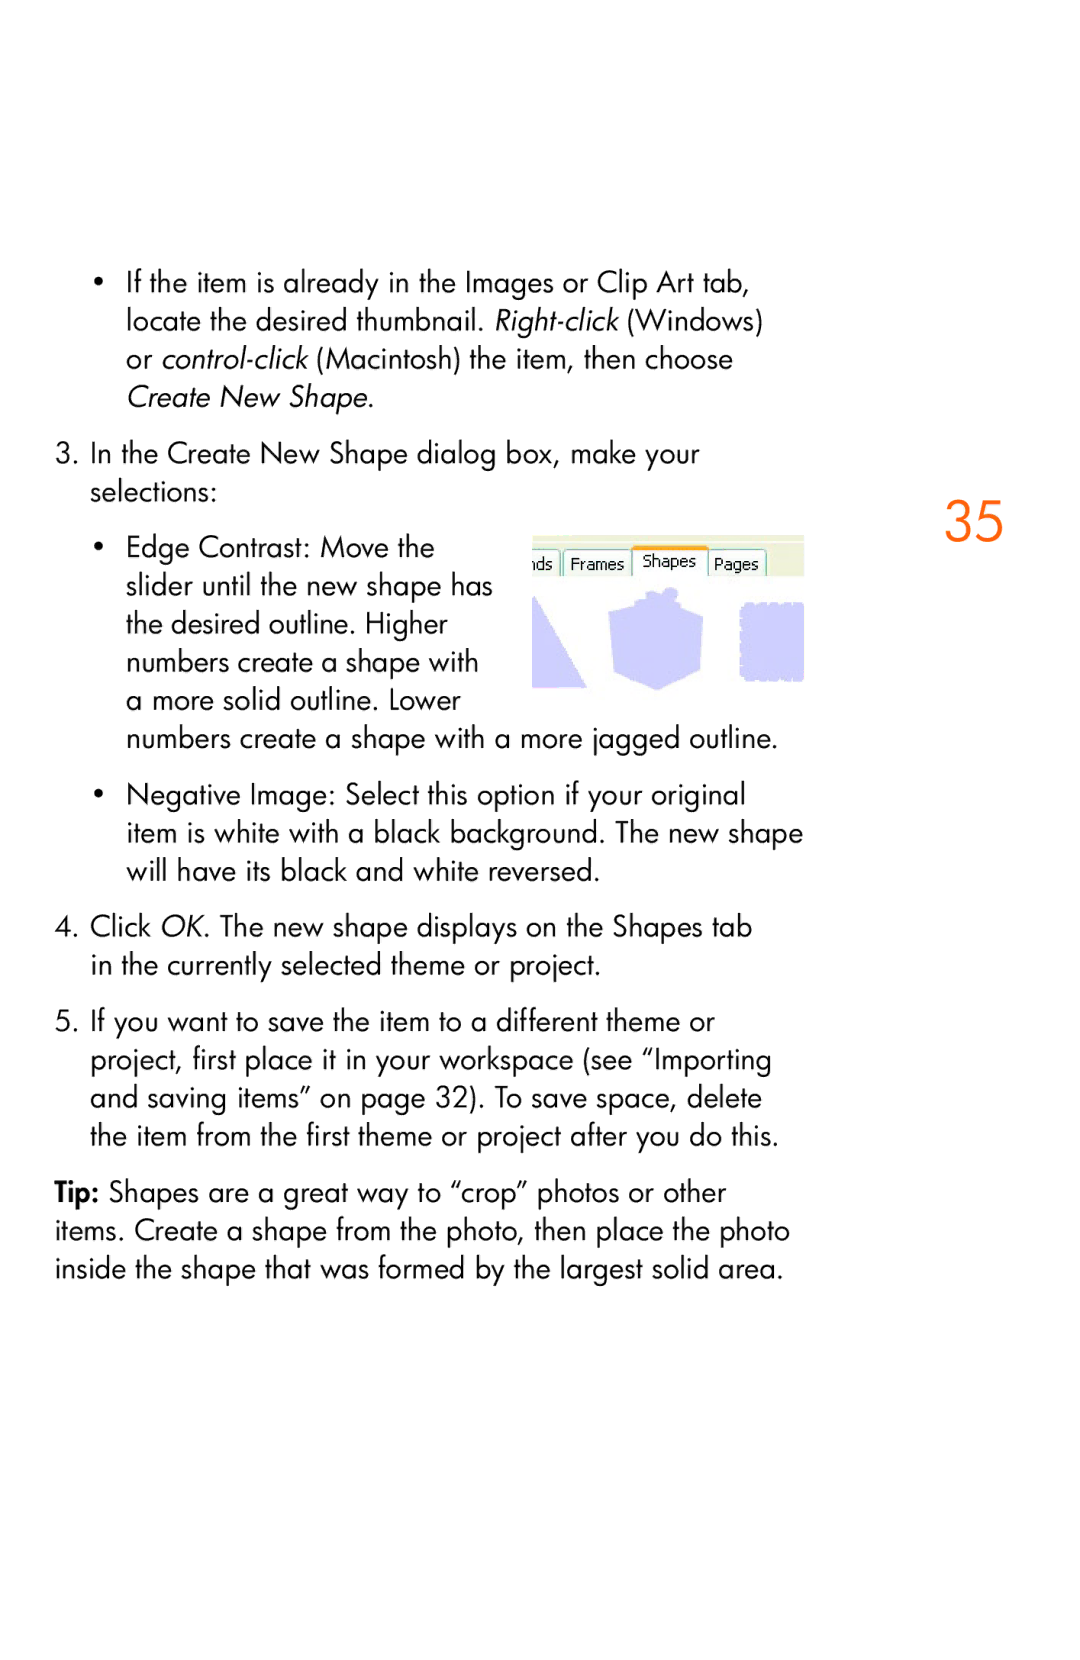
• | Edge Contrast: Move the | ||
| |||
slider until the new shape has the desired outline. Higher numbers create a shape with a more solid outline. Lower
numbers create a shape with a more jagged outline.
•Negative Image: Select this option if your original item is white with a black background. The new shape will have its black and white reversed.
4.Click OK. The new shape displays on the Shapes tab in the currently selected theme or project.
5.If you want to save the item to a different theme or project, first place it in your workspace (see “Importing and saving items” on page 32). To save space, delete the item from the first theme or project after you do this.
Tip: Shapes are a great way to “crop” photos or other items. Create a shape from the photo, then place the photo inside the shape that was formed by the largest solid area.