4.From the Pages per Sheet menu, select the number of pages that you want to print on each sheet (1, 2, 4, 6, 9, or 16).
5.In the Layout Direction area, select the order and placement of the pages on the sheet.
6.From the Borders menu, select the type of border to print around each page on the sheet.
Print on both sides of the page (duplex printing) with Mac
Use automatic duplex printing
1.Insert enough paper into one of the trays to accommodate the print job.
2.On the File menu, click the Print option.
3.Open the Layout menu.
4.From the
Set the color options with Mac
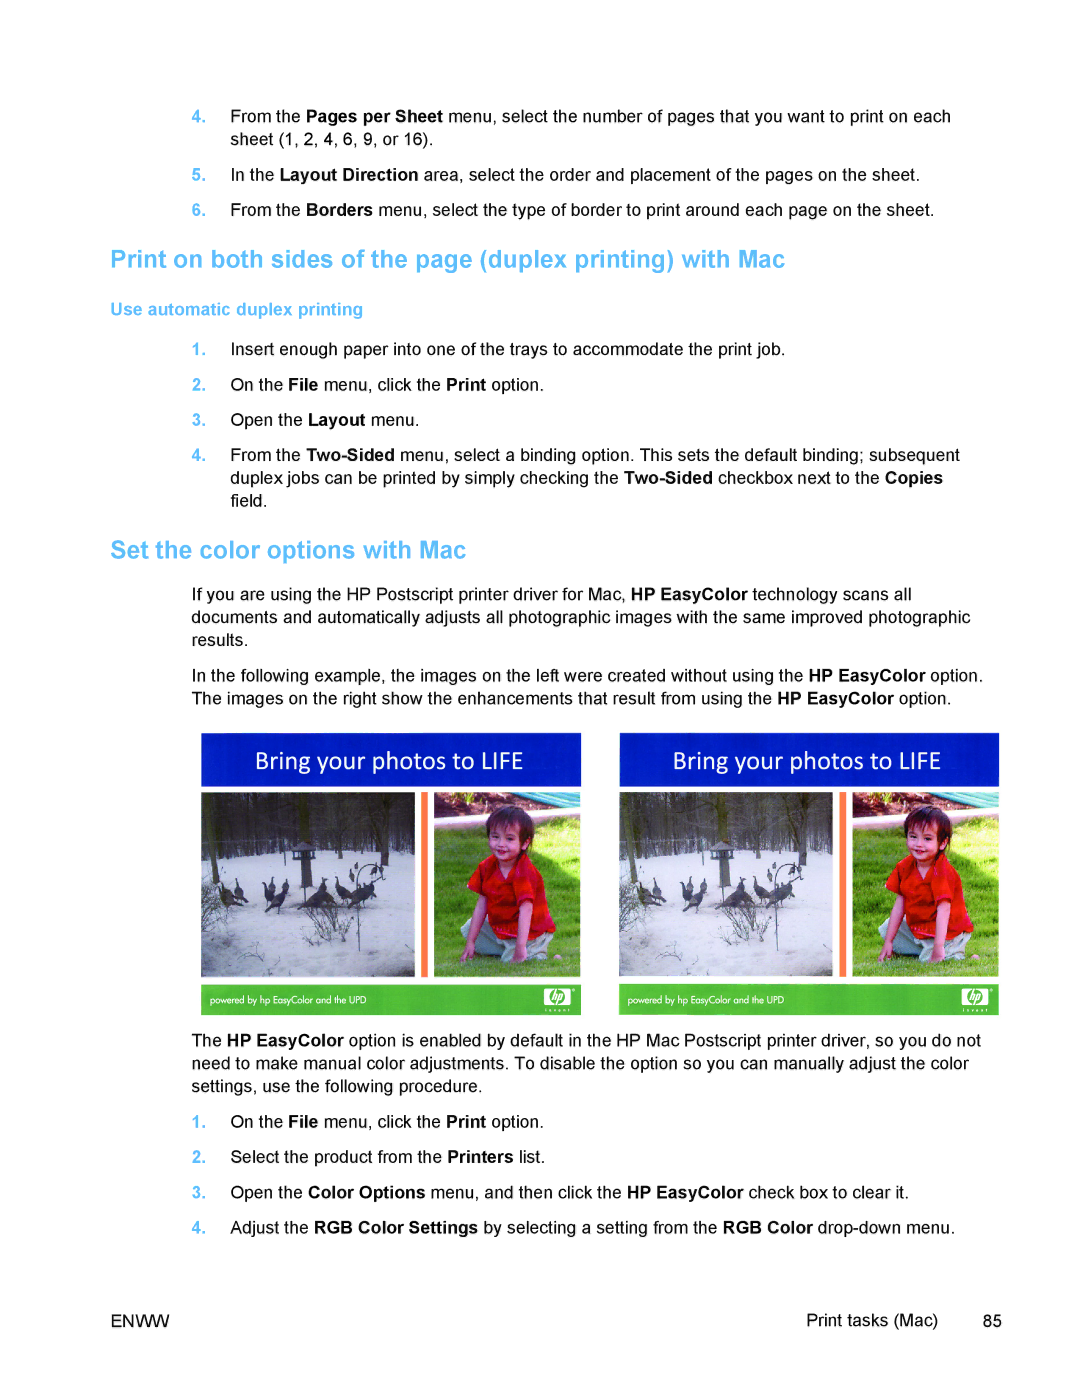
If you are using the HP Postscript printer driver for Mac, HP EasyColor technology scans all documents and automatically adjusts all photographic images with the same improved photographic results.
In the following example, the images on the left were created without using the HP EasyColor option. The images on the right show the enhancements that result from using the HP EasyColor option.
The HP EasyColor option is enabled by default in the HP Mac Postscript printer driver, so you do not need to make manual color adjustments. To disable the option so you can manually adjust the color settings, use the following procedure.
1.On the File menu, click the Print option.
2.Select the product from the Printers list.
3.Open the Color Options menu, and then click the HP EasyColor check box to clear it.
4.Adjust the RGB Color Settings by selecting a setting from the RGB Color
ENWW | Print tasks (Mac) | 85 |
