Drives
Removing an Optical Disc (With Power)
This procedure can be used only when your notebook is turned on. If your notebook is turned off, refer to “Removing an Optical Disc (Without Power),” next in this chapter.
A CD or DVD that is playing must be stopped before it can be removed. To stop the disc, press the fn+f10 hotkey. To protect your disc during this procedure, handle the disc by the edges, rather than by the flat surfaces.
To remove an optical disc while the notebook is turned on:
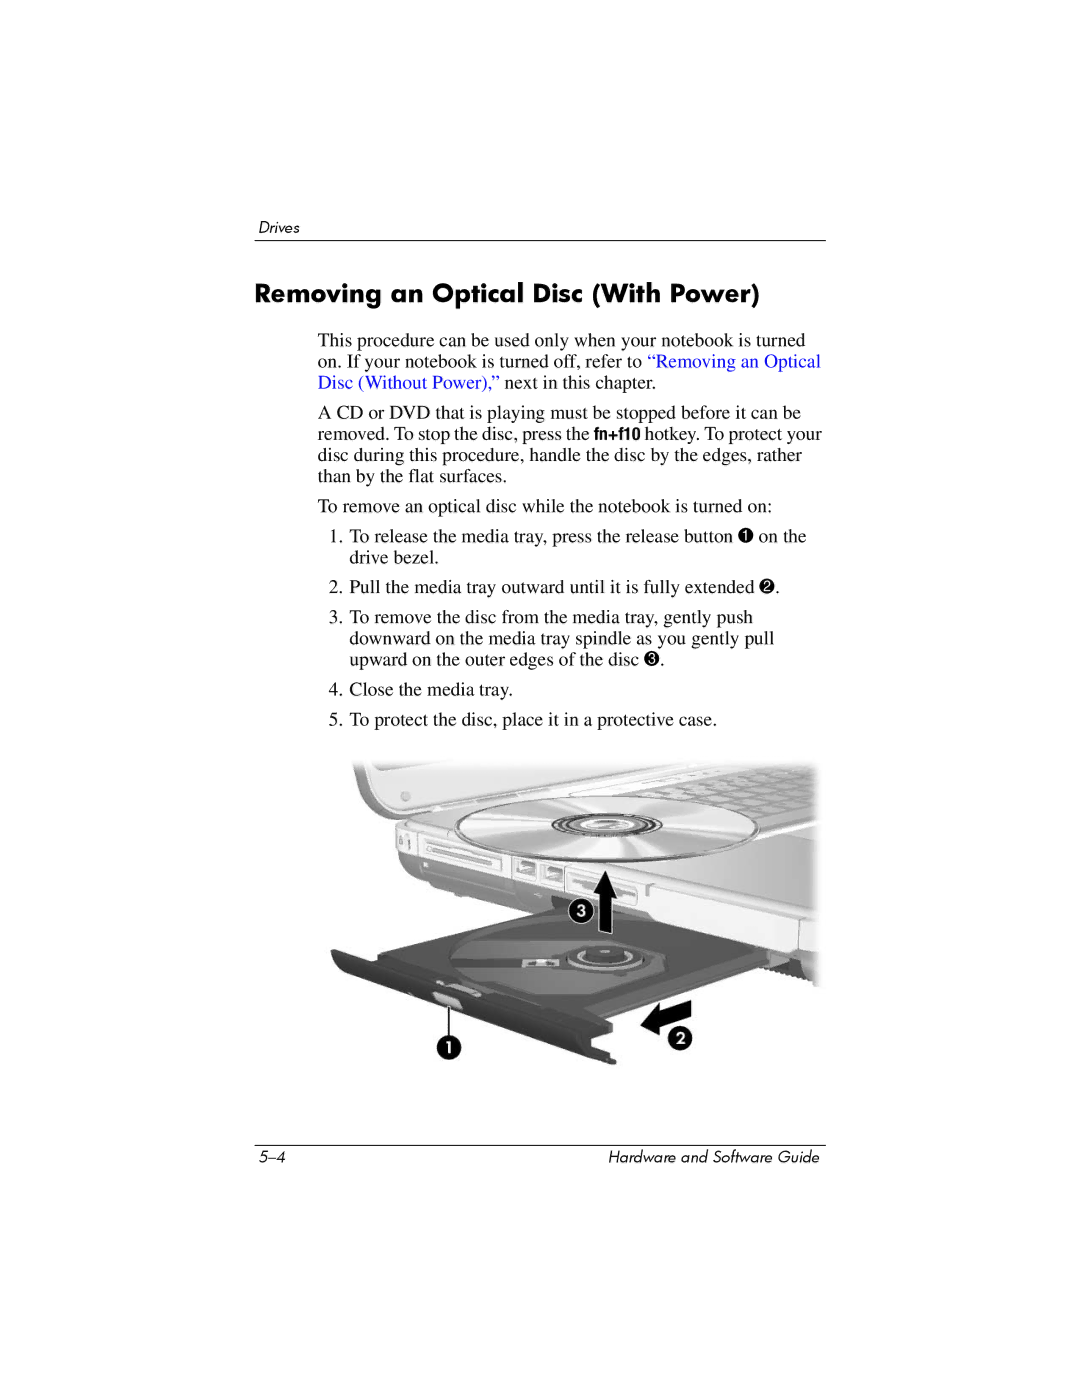
1.To release the media tray, press the release button 1 on the drive bezel.
2.Pull the media tray outward until it is fully extended 2.
3.To remove the disc from the media tray, gently push downward on the media tray spindle as you gently pull upward on the outer edges of the disc 3.
4.Close the media tray.
5.To protect the disc, place it in a protective case.
Hardware and Software Guide |