10.Position the processor back into the URM. Ensure that the alignment notch on the bottom of the SECC2 cartridge fits into the connector key in Slot 1. Push down firmly, with even pressure on both sides of the top, until clicking noises are heard as the cartridge is seated.

11.Replace the left side panel, plug in the system power cord, and power up the system.

DIMMs

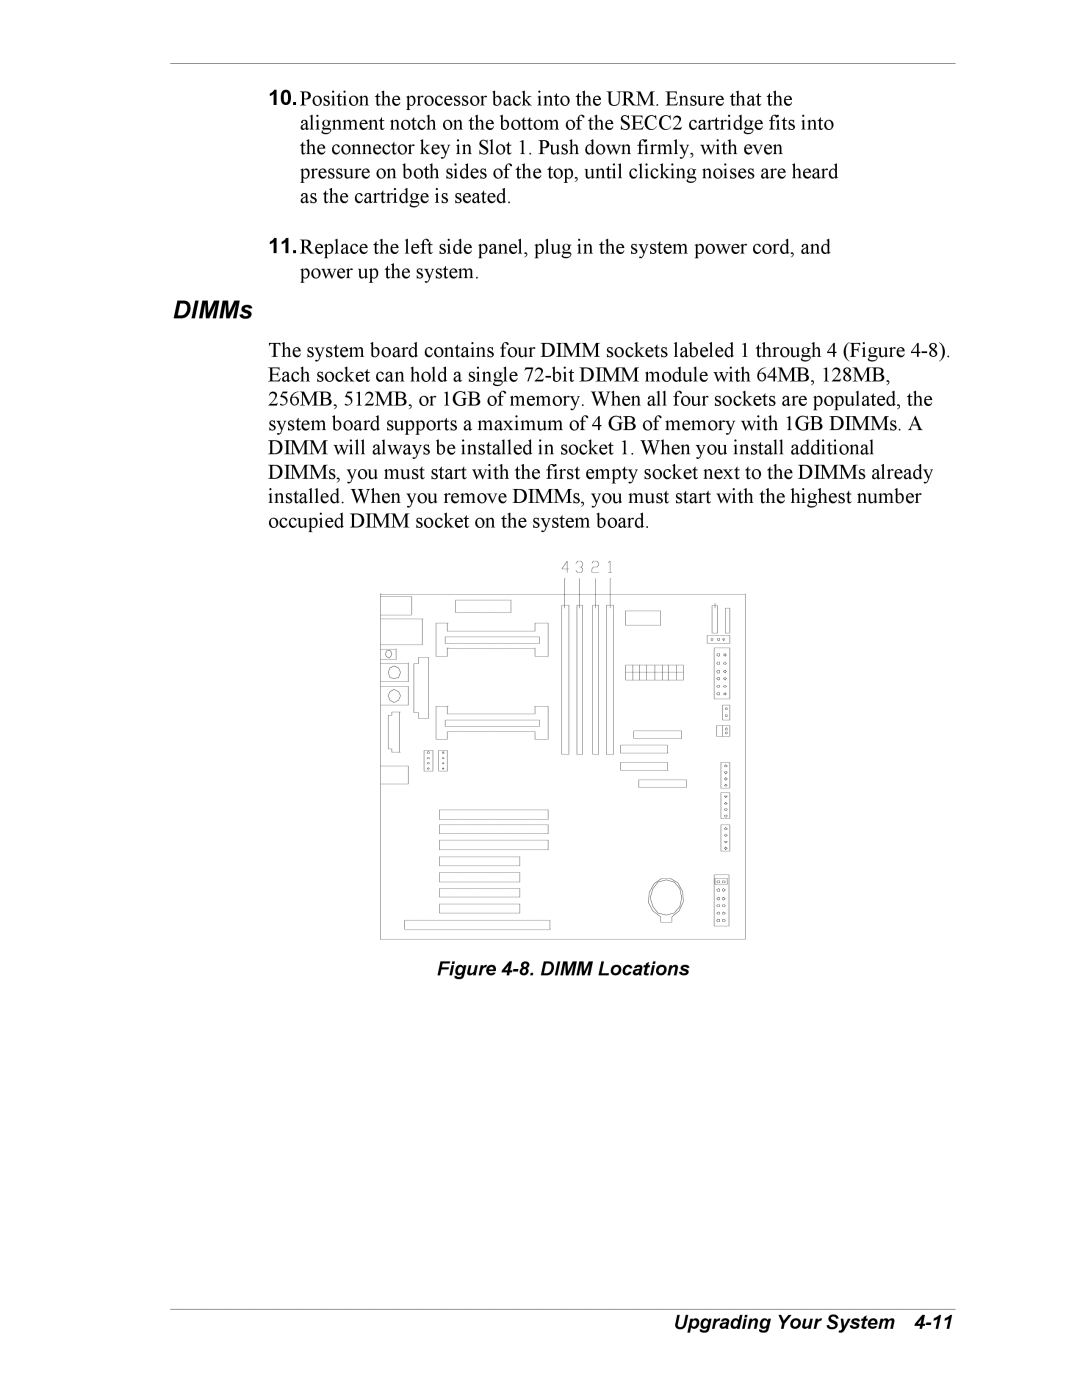
The system board contains four DIMM sockets labeled 1 through 4 (Figure 4-8). Each socket can hold a single 72-bit DIMM module with 64MB, 128MB, 256MB, 512MB, or 1GB of memory. When all four sockets are populated, the system board supports a maximum of 4 GB of memory with 1GB DIMMs. A DIMM will always be installed in socket 1. When you install additional DIMMs, you must start with the first empty socket next to the DIMMs already installed. When you remove DIMMs, you must start with the highest number occupied DIMM socket on the system board.

Figure 4-8. DIMM Locations

Upgrading Your System 4-11

Page 79
Image 79
Intel 5800/120Ld manual DIMMs, Dimm Locations Upgrading Your System