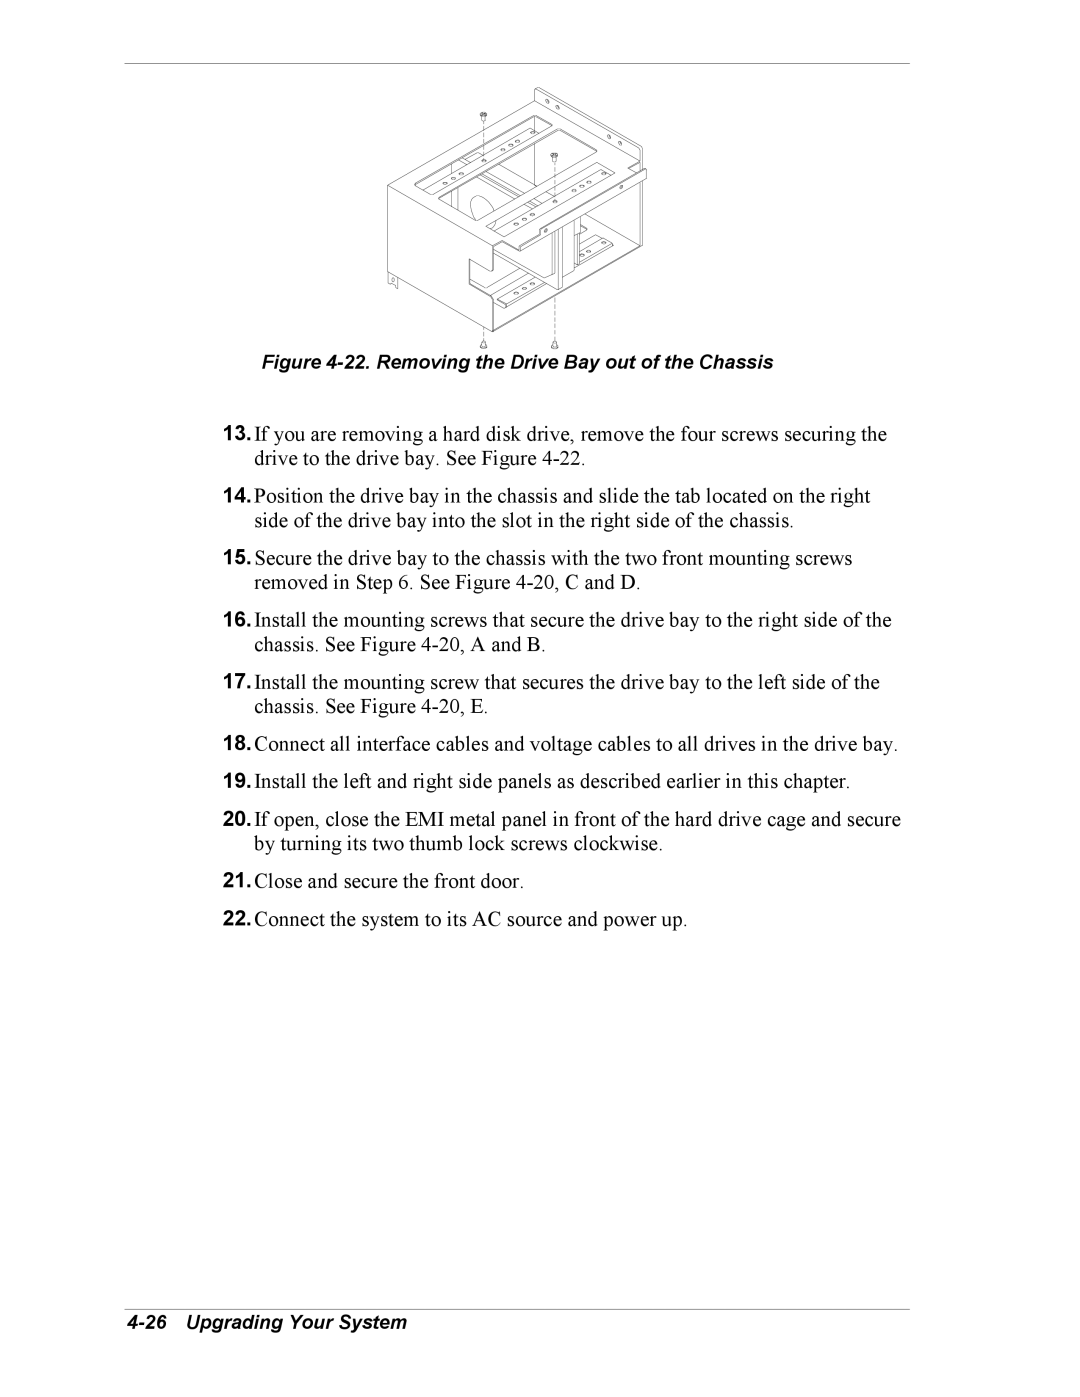
Figure 4-22. Removing the Drive Bay out of the Chassis
13.If you are removing a hard disk drive, remove the four screws securing the drive to the drive bay. See Figure
14.Position the drive bay in the chassis and slide the tab located on the right side of the drive bay into the slot in the right side of the chassis.
15.Secure the drive bay to the chassis with the two front mounting screws removed in Step 6. See Figure
16.Install the mounting screws that secure the drive bay to the right side of the chassis. See Figure
17.Install the mounting screw that secures the drive bay to the left side of the chassis. See Figure
18.Connect all interface cables and voltage cables to all drives in the drive bay.
19.Install the left and right side panels as described earlier in this chapter.
20.If open, close the EMI metal panel in front of the hard drive cage and secure by turning its two thumb lock screws clockwise.
21.Close and secure the front door.
22.Connect the system to its AC source and power up.