6.Remove the two mounting screws securing the drive bay to the front of the chassis. See Figure
7.Support the drive bay and remove the mounting screw securing the drive bay to the left side of the chassis. See Figure
8.The right side of the drive bay has a tab that is inserted into a slot in the right side of the chassis. Lift the drive bay upward to slide the drive bay tab out of the chassis slot.
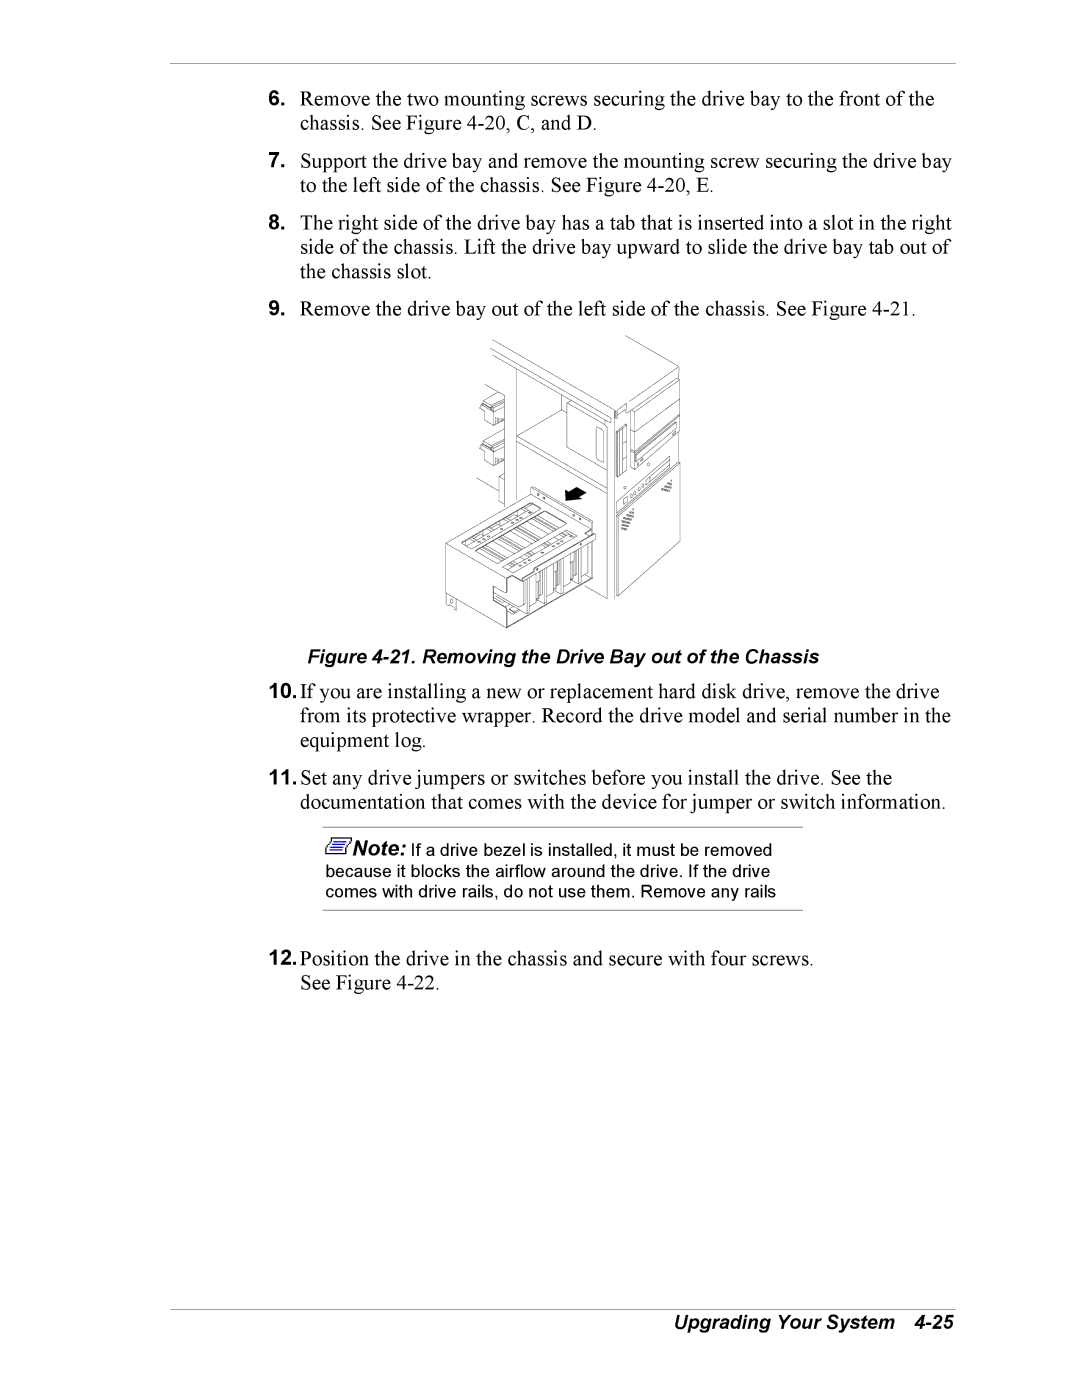
9.Remove the drive bay out of the left side of the chassis. See Figure
Figure 4-21. Removing the Drive Bay out of the Chassis
10.If you are installing a new or replacement hard disk drive, remove the drive from its protective wrapper. Record the drive model and serial number in the equipment log.
11.Set any drive jumpers or switches before you install the drive. See the documentation that comes with the device for jumper or switch information.
![]() Note: If a drive bezel is installed, it must be removed because it blocks the airflow around the drive. If the drive comes with drive rails, do not use them. Remove any rails
Note: If a drive bezel is installed, it must be removed because it blocks the airflow around the drive. If the drive comes with drive rails, do not use them. Remove any rails
12.Position the drive in the chassis and secure with four screws. See Figure