4.Place the drive carrier on an antistatic surface with the four mounting screws facing up.
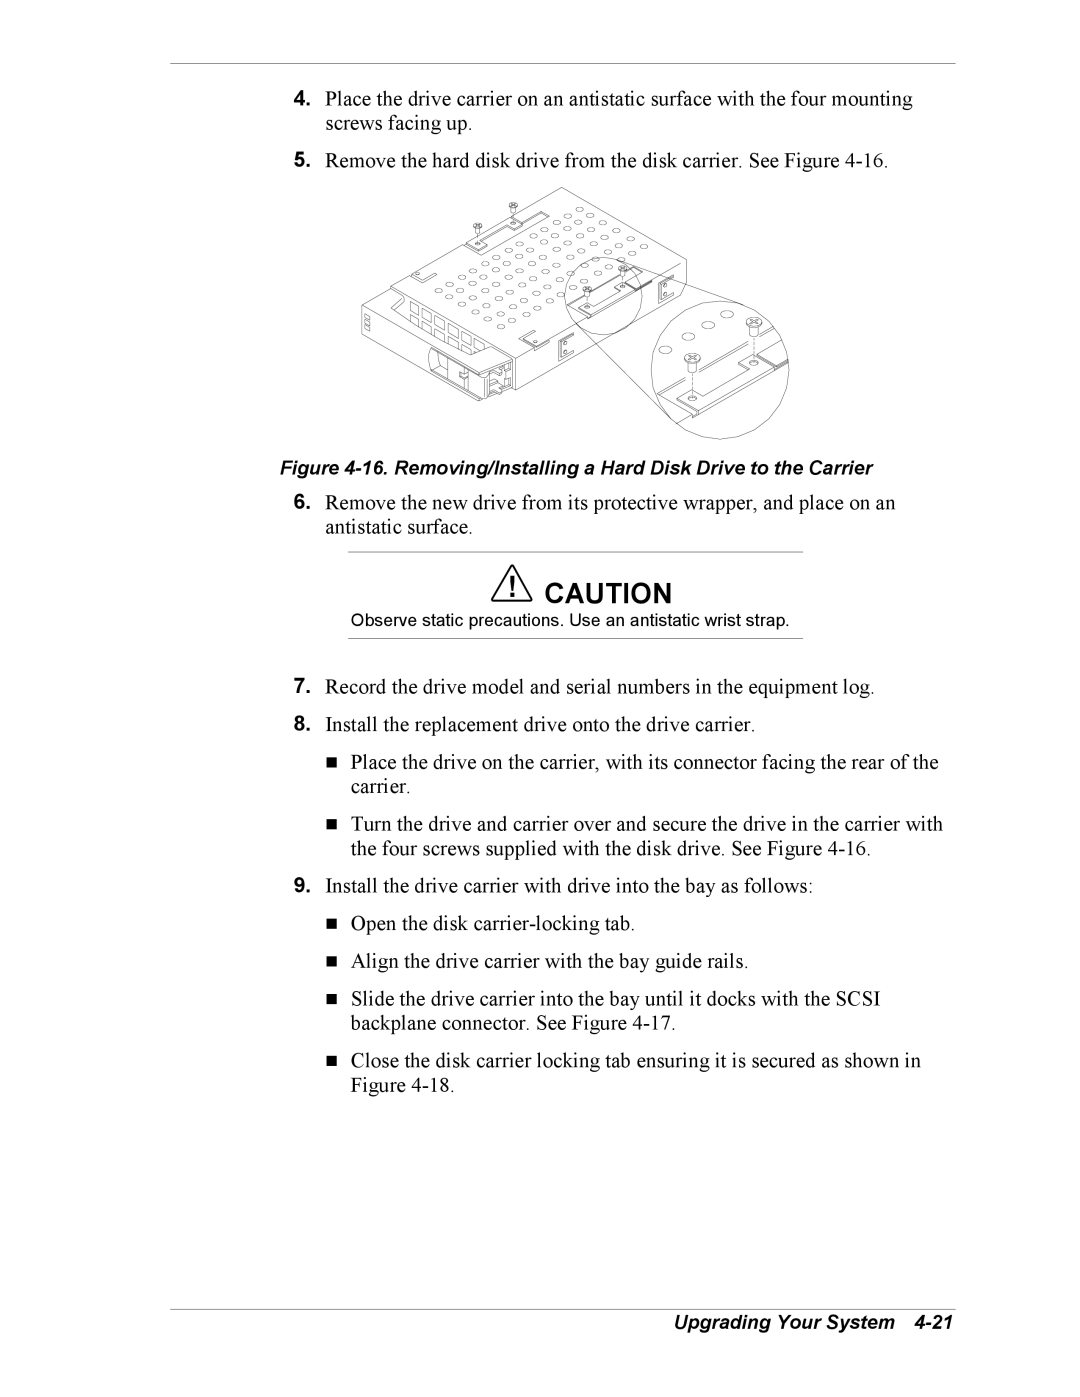
5.Remove the hard disk drive from the disk carrier. See Figure
Figure 4-16. Removing/Installing a Hard Disk Drive to the Carrier
6.Remove the new drive from its protective wrapper, and place on an antistatic surface.
!CAUTION
Observe static precautions. Use an antistatic wrist strap.
7.Record the drive model and serial numbers in the equipment log.
8.Install the replacement drive onto the drive carrier.
!Place the drive on the carrier, with its connector facing the rear of the carrier.
!Turn the drive and carrier over and secure the drive in the carrier with the four screws supplied with the disk drive. See Figure
9.Install the drive carrier with drive into the bay as follows:
!Open the disk
!Align the drive carrier with the bay guide rails.
!Slide the drive carrier into the bay until it docks with the SCSI backplane connector. See Figure
!Close the disk carrier locking tab ensuring it is secured as shown in Figure