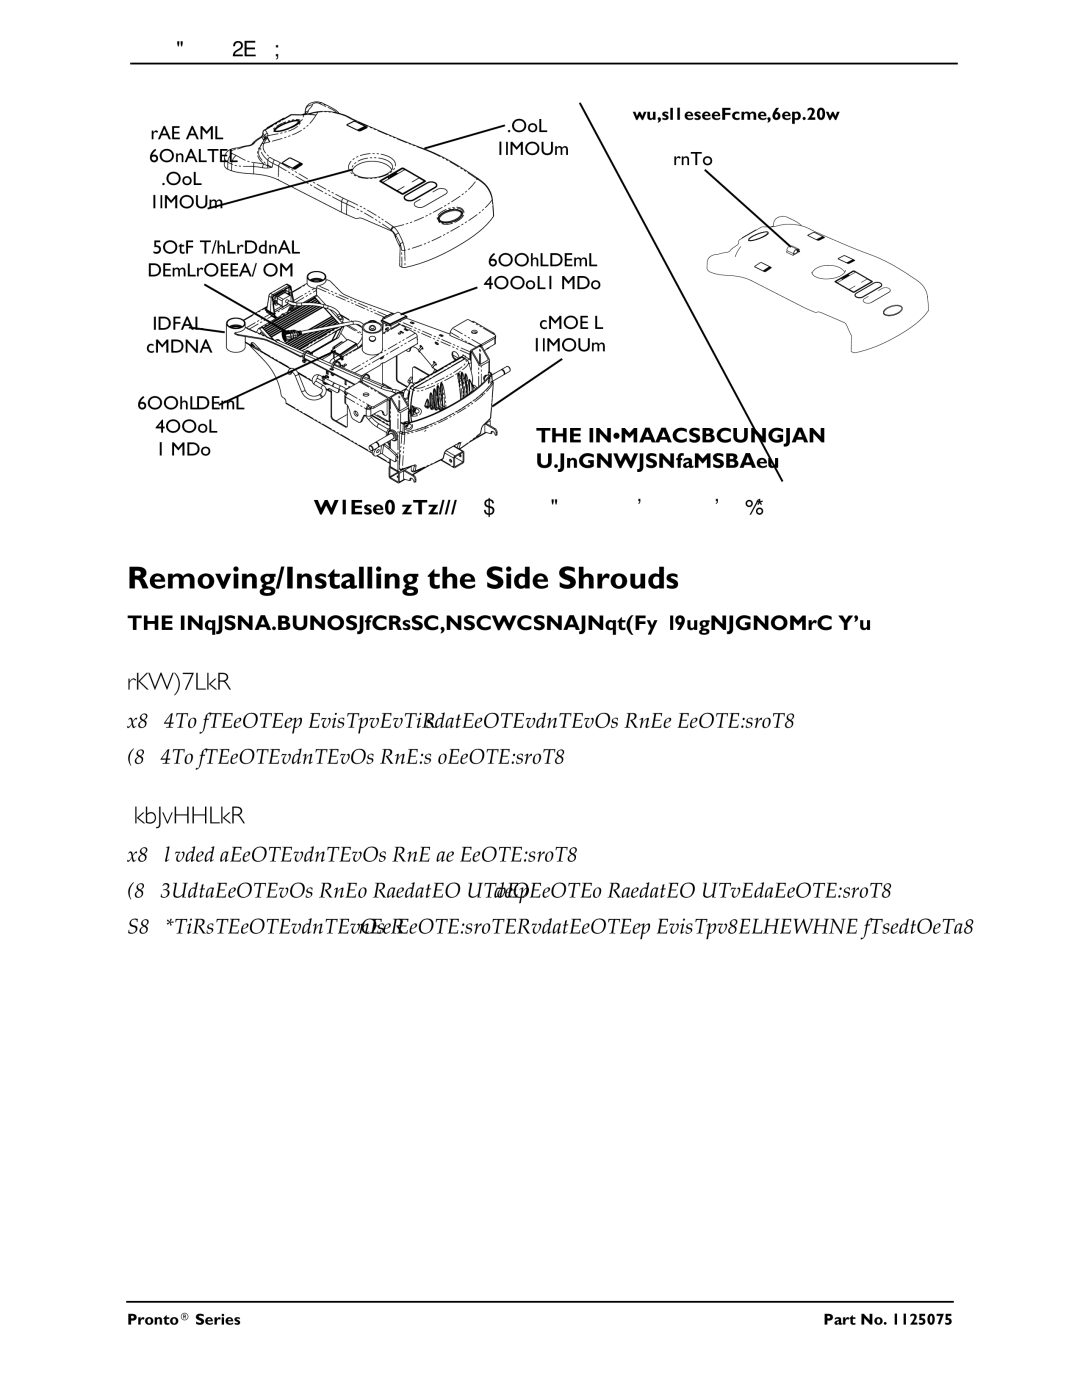
SECTION 10—SHROUDS AND FRAME
| Top | DETAIL “A” - M61 TOP SHROUD | |
Center |
| ||
Shroud |
| ||
Hole in | Clip | ||
| |||
Top |
|
| |
Shroud |
|
|
Joystick Cable
Hook and
and Connector
Loop Strap
Base | Front |
Frame | Shroud |
Hook and
LoopNOTE: Batteries not Strap
shown for clarity.
FIGURE 10.1 Removing/Installing the Top Shroud
Removing/Installing the Side Shrouds
NOTE: For this procedure, refer to FIGURE 10.2 on page 89.
Removing
1.Remove the two screws securing the side shroud to the frame.
2.Remove the side shroud from the frame.
Installing
1.Position the side shroud onto the frame.
2.Align the shroud mounting holes with the mounting holes in the frame.
3.Secure the side shroud to the frame using the two screws. DO NOT overtighten.
Pronto® Series | 88 | Part No. 1125075 |
