SECTION 10—SHROUDS AND FRAME
Frame | Screw | Front |
| ||
|
| Shroud |
Screw
Tabs
Slots
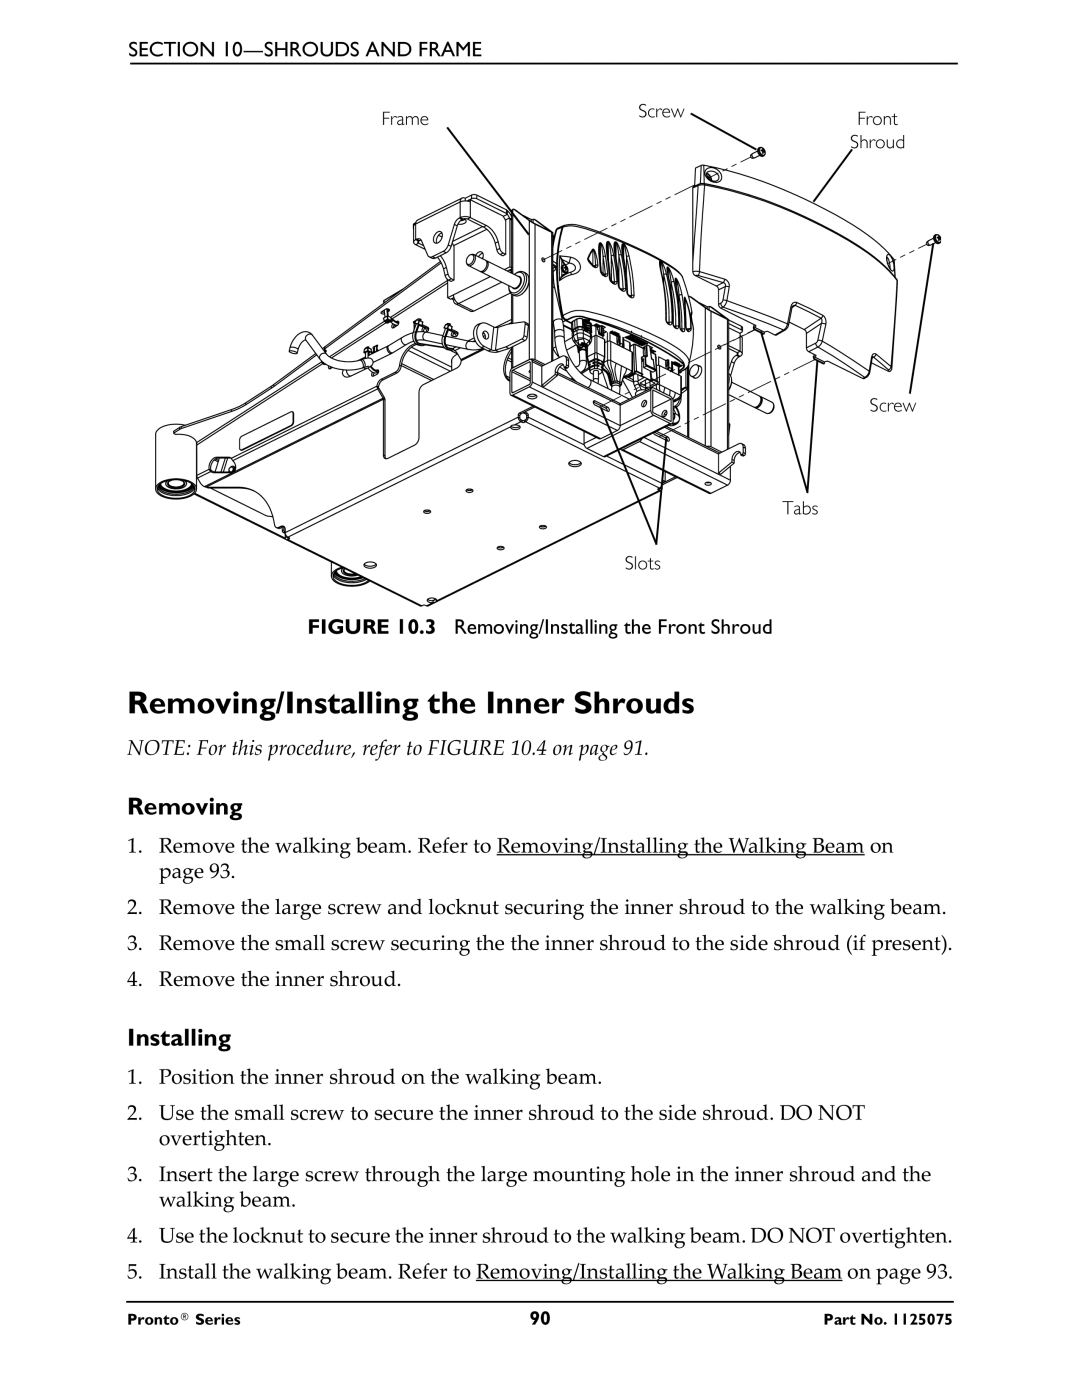
FIGURE 10.3 Removing/Installing the Front Shroud
Removing/Installing the Inner Shrouds
NOTE: For this procedure, refer to FIGURE 10.4 on page 91.
Removing
1.Remove the walking beam. Refer to Removing/Installing the Walking Beam on page 93.
2.Remove the large screw and locknut securing the inner shroud to the walking beam.
3.Remove the small screw securing the the inner shroud to the side shroud (if present).
4.Remove the inner shroud.
Installing
1.Position the inner shroud on the walking beam.
2.Use the small screw to secure the inner shroud to the side shroud. DO NOT overtighten.
3.Insert the large screw through the large mounting hole in the inner shroud and the walking beam.
4.Use the locknut to secure the inner shroud to the walking beam. DO NOT overtighten.
5.Install the walking beam. Refer to Removing/Installing the Walking Beam on page 93.
Pronto® Series | 90 | Part No. 1125075 |