Removing the back imprinter
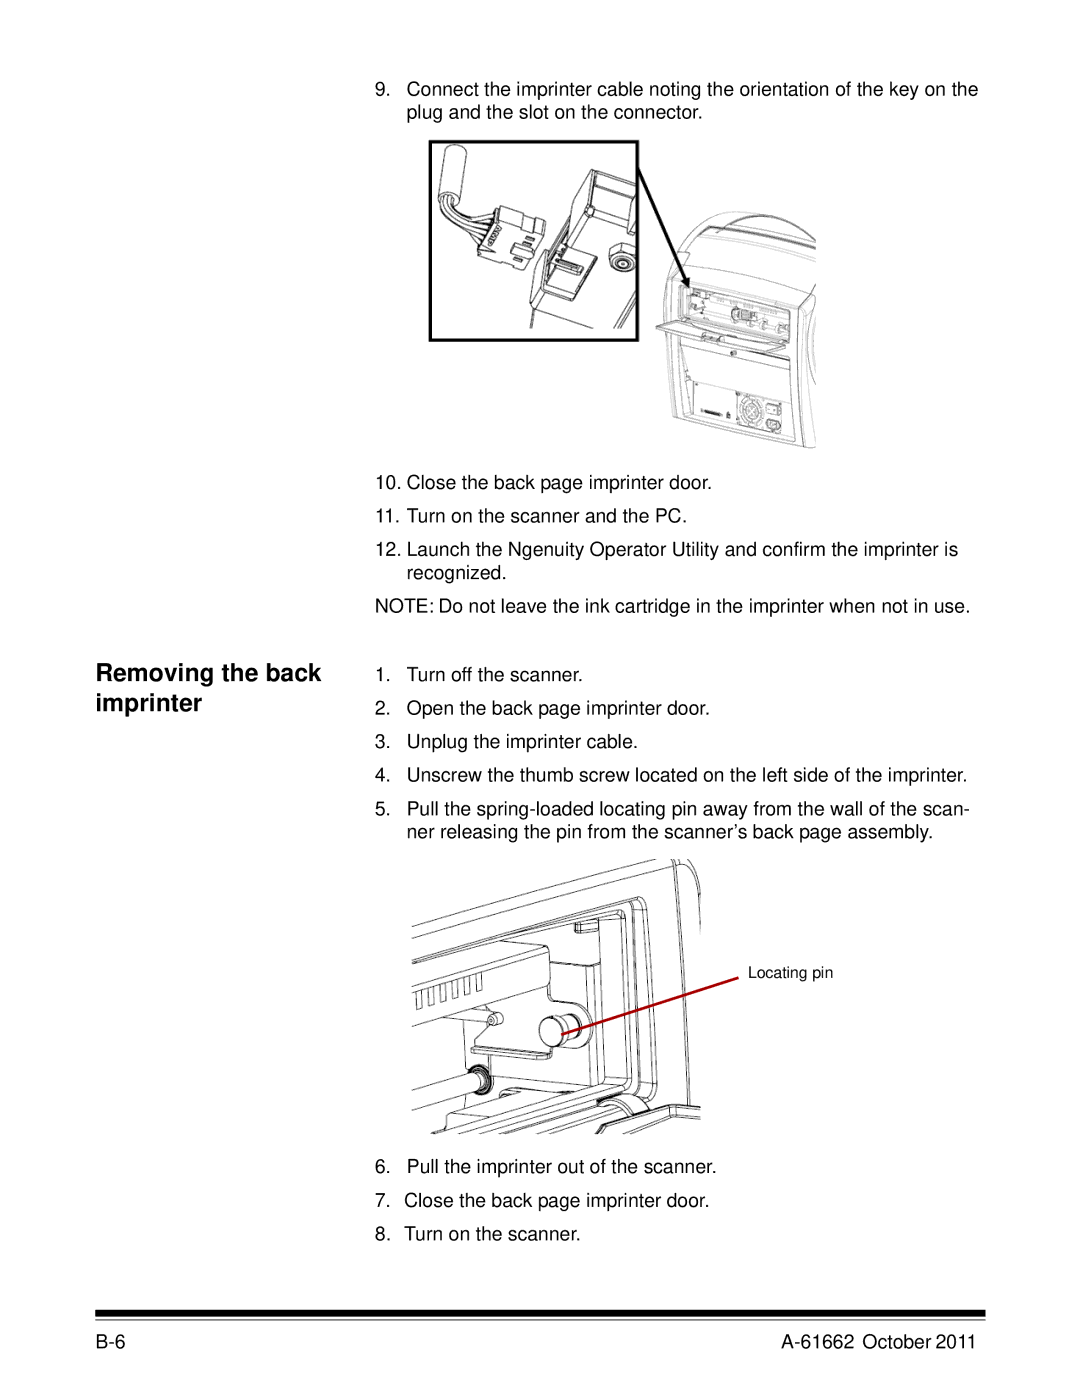
9.Connect the imprinter cable noting the orientation of the key on the plug and the slot on the connector.
10.Close the back page imprinter door.
11.Turn on the scanner and the PC.
12.Launch the Ngenuity Operator Utility and confirm the imprinter is recognized.
NOTE: Do not leave the ink cartridge in the imprinter when not in use.
1.Turn off the scanner.
2.Open the back page imprinter door.
3.Unplug the imprinter cable.
4.Unscrew the thumb screw located on the left side of the imprinter.
5.Pull the
Locating pin
6.Pull the imprinter out of the scanner.
7.Close the back page imprinter door.
8.Turn on the scanner.