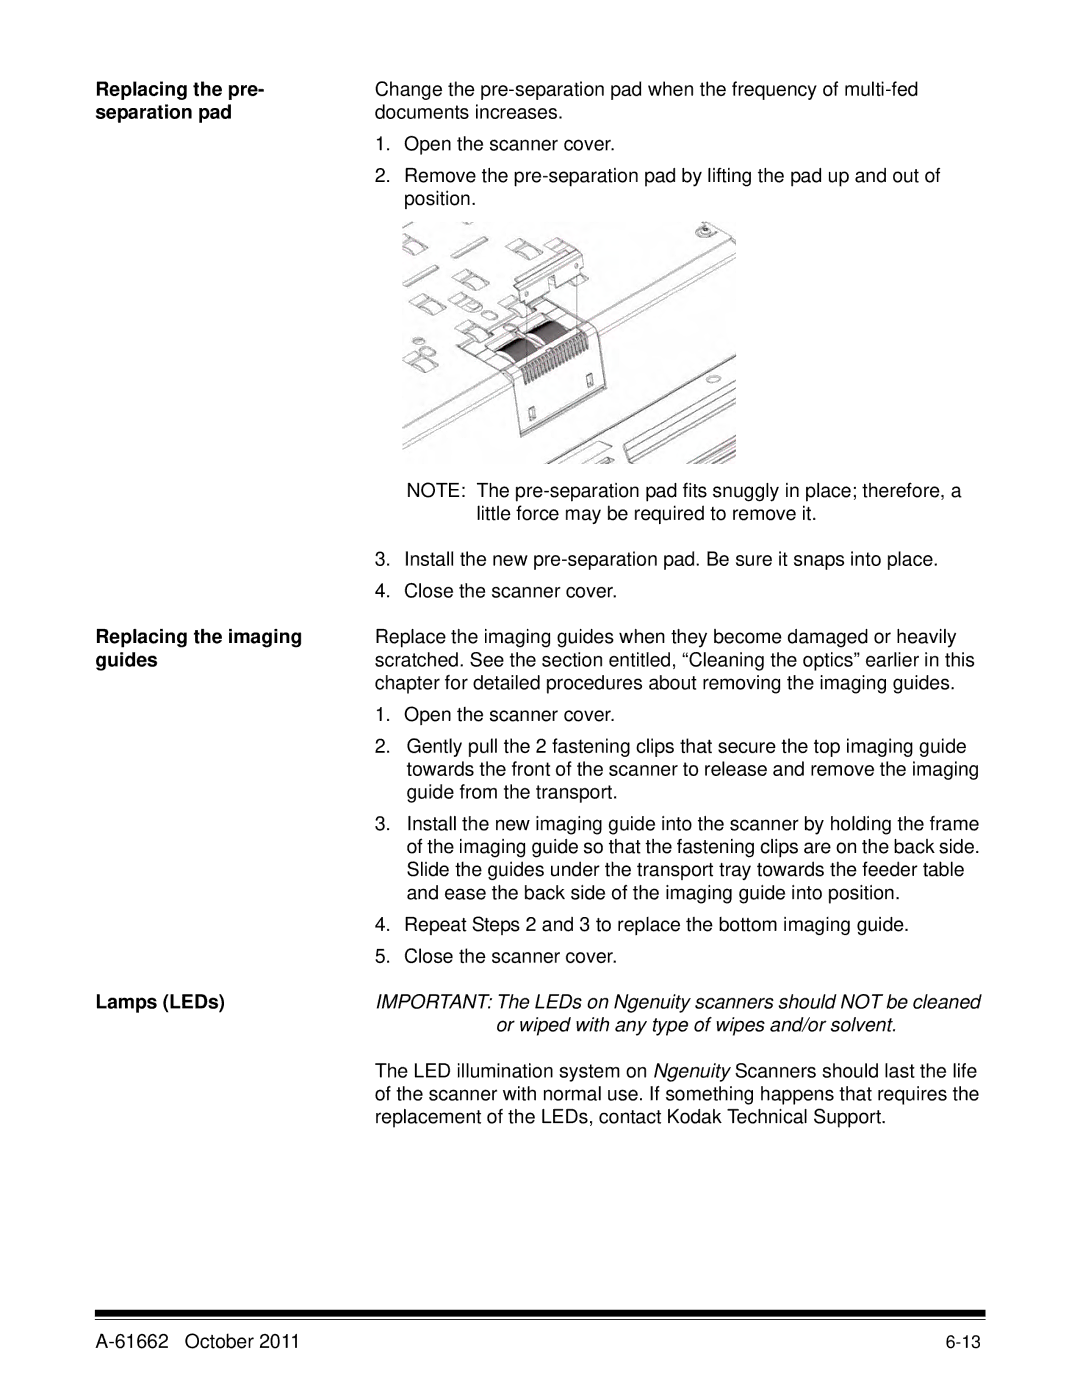
Replacing the pre- | Change the | |
separation pad | documents increases. | |
| 1. | Open the scanner cover. |
| 2. | Remove the |
|
| position. |
|
| NOTE: The |
|
| little force may be required to remove it. |
| 3. | Install the new |
| 4. | Close the scanner cover. |
Replacing the imaging | Replace the imaging guides when they become damaged or heavily | |
guides | scratched. See the section entitled, “Cleaning the optics” earlier in this | |
| chapter for detailed procedures about removing the imaging guides. | |
| 1. | Open the scanner cover. |
| 2. | Gently pull the 2 fastening clips that secure the top imaging guide |
|
| towards the front of the scanner to release and remove the imaging |
|
| guide from the transport. |
| 3. | Install the new imaging guide into the scanner by holding the frame |
|
| of the imaging guide so that the fastening clips are on the back side. |
|
| Slide the guides under the transport tray towards the feeder table |
|
| and ease the back side of the imaging guide into position. |
| 4. | Repeat Steps 2 and 3 to replace the bottom imaging guide. |
| 5. | Close the scanner cover. |
Lamps (LEDs) | IMPORTANT: The LEDs on Ngenuity scanners should NOT be cleaned | |
|
| or wiped with any type of wipes and/or solvent. |
The LED illumination system on Ngenuity Scanners should last the life of the scanner with normal use. If something happens that requires the replacement of the LEDs, contact Kodak Technical Support.