6 Line, Tunnel, Terminal, and Host Settings
Host Configuration
This page shows current settings for a remote host and lets you change these settings.
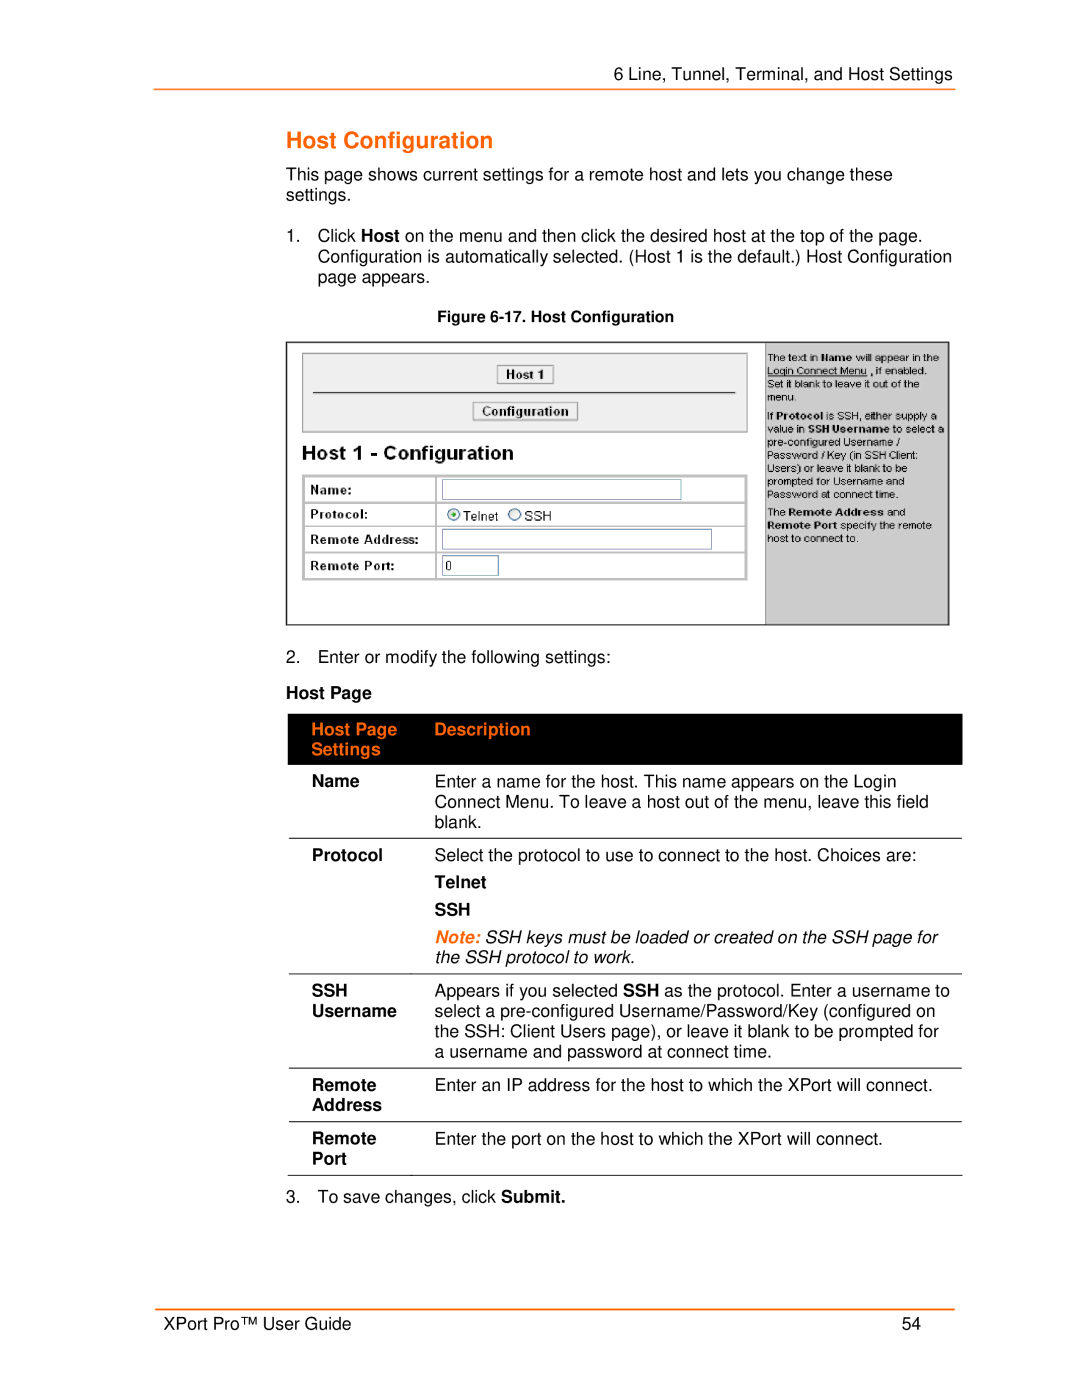
1.Click Host on the menu and then click the desired host at the top of the page. Configuration is automatically selected. (Host 1 is the default.) Host Configuration page appears.
Figure 6-17. Host Configuration
2. Enter or modify the following settings:
Host Page |
| |
|
|
|
| Host Page | Description |
| Settings |
|
| Name | Enter a name for the host. This name appears on the Login |
|
| Connect Menu. To leave a host out of the menu, leave this field |
|
| blank. |
|
|
|
| Protocol | Select the protocol to use to connect to the host. Choices are: |
|
| Telnet |
|
| SSH |
|
| Note: SSH keys must be loaded or created on the SSH page for |
|
| the SSH protocol to work. |
|
|
|
| SSH | Appears if you selected SSH as the protocol. Enter a username to |
| Username | select a |
|
| the SSH: Client Users page), or leave it blank to be prompted for |
|
| a username and password at connect time. |
|
|
|
| Remote | Enter an IP address for the host to which the XPort will connect. |
| Address |
|
|
|
|
| Remote | Enter the port on the host to which the XPort will connect. |
| Port |
|
|
|
|
3. To save changes, click Submit.
XPort Pro™ User Guide | 54 |
