9 Security Settings
2. Enter or modify the following settings:
| SSH Server: | Description |
| Authorized Users |
|
| Page Settings |
|
| Username | Enter the name of the user authorized to access the SSH |
|
| server. |
|
|
|
| Password | Enter the password associated with the username. |
|
|
|
| Public RSA Key | Enter the path and name of the existing public RSA key |
|
| you want to use with this user or use the Browse button |
|
| to select the key. If authentication is successful with the |
|
| key, no password is required. |
|
|
|
| Public DSA Key | Enter the path and name of the existing public DSA key |
|
| you want to use with this user or use the Browse button |
|
| to select the key. If authentication is successful with the |
|
| key, no password is required. |
|
|
|
3. Click Submit. |
| |
SSH Client Known Hosts
On this page you can change SSH client settings for known hosts.
Note: You do not have to complete the fields on this page for communication to occur. However, completing them adds another layer of security that protects against
To configure the SSH client for known hosts:
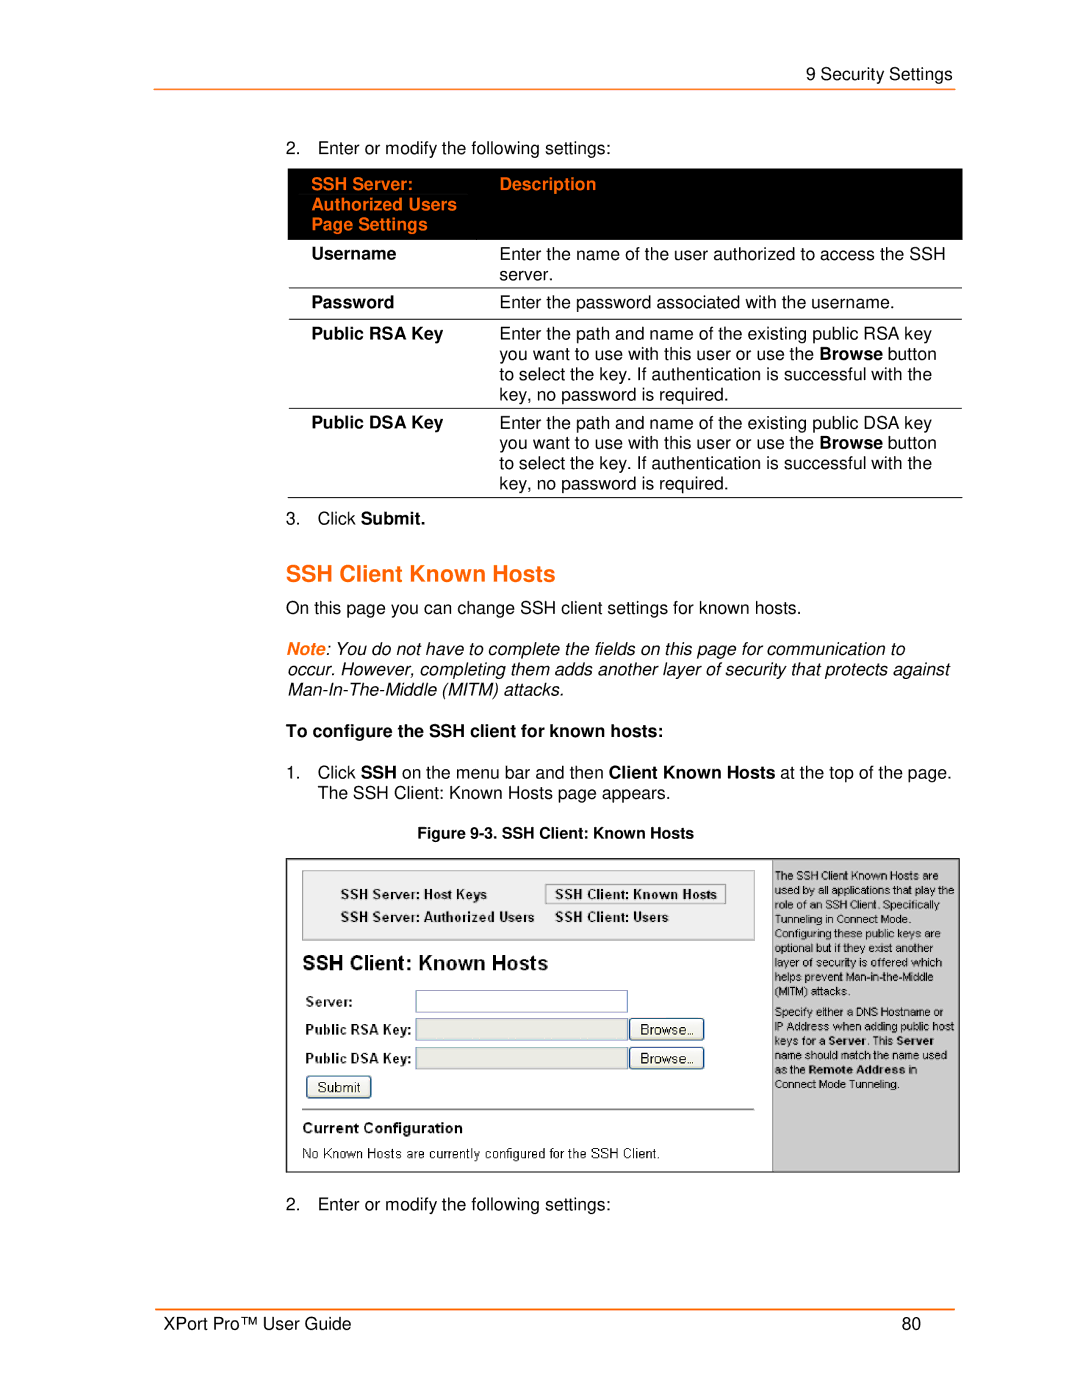
1.Click SSH on the menu bar and then Client Known Hosts at the top of the page. The SSH Client: Known Hosts page appears.
Figure 9-3. SSH Client: Known Hosts
2. Enter or modify the following settings:
XPort Pro™ User Guide | 80 |