WAN and System Configuration
Chapter 8
WAN and System Configuration
This chapter describes how to use the
This section covers the following topics:
■“WAN configuration” on page
■“Configuring Frame Relay” on page
■“Creating a new Connection Profile” on page
■“The default profile” on page
■“Scheduled connections (switched async only)” on page
■“Connection accounting screens (switched async only)” on page
■“System configuration screens” on page
■“Navigating through the system configuration screens” on page
■“System configuration features” on page
WAN configuration
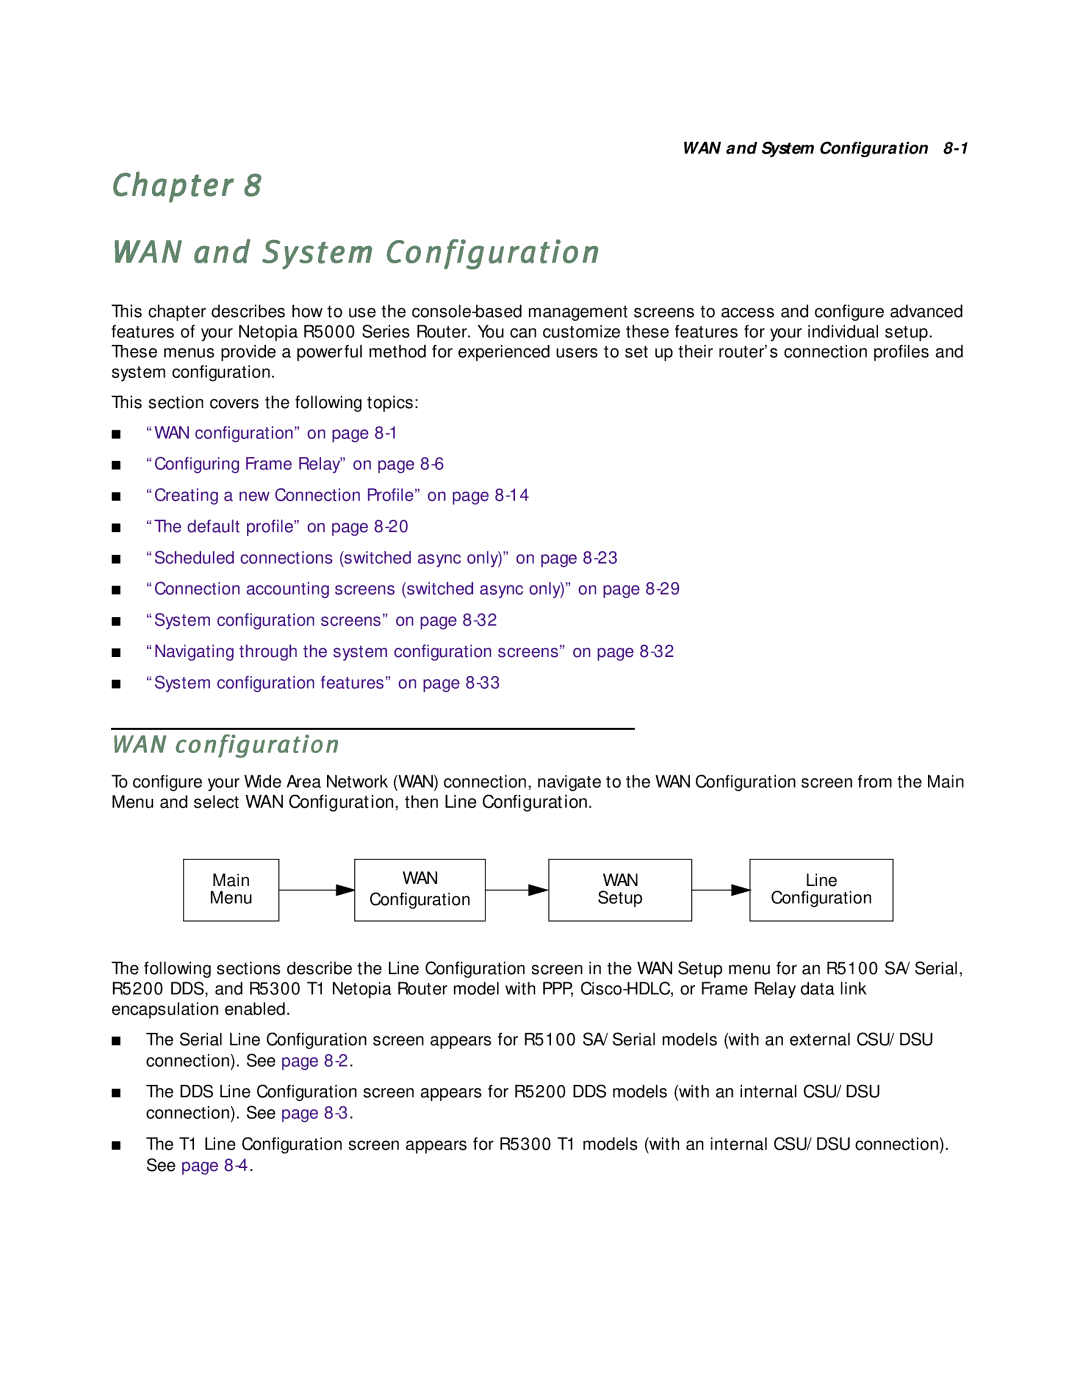
To configure your Wide Area Network (WAN) connection, navigate to the WAN Configuration screen from the Main Menu and select WAN Configuration, then Line Configuration.
Main
Menu
WAN
Configuration
WAN
Setup
Line
Configuration
The following sections describe the Line Configuration screen in the WAN Setup menu for an R5100 SA/Serial, R5200 DDS, and R5300 T1 Netopia Router model with PPP,
■The Serial Line Configuration screen appears for R5100 SA/Serial models (with an external CSU/DSU connection). See page
■The DDS Line Configuration screen appears for R5200 DDS models (with an internal CSU/DSU connection). See page
■The T1 Line Configuration screen appears for R5300 T1 models (with an internal CSU/DSU connection). See page