AppleTalk Setup
Series Router’s EtherTalk Phase II port is visible to other AppleTalk nodes. The default zone is also where new AppleTalk nodes will appear. If you do not set a default zone, the first zone you create will be the default zone.
■You can also set the range of EtherTalk Phase II network numbers. Select Net Low and enter the lower limit of the network number range. Select Net High and enter the upper limit of the range.
■Select the Seeding
You have finished configuring EtherTalk Phase II.
LocalTalk setup
For instructions on making the physical connections for LocalTalk, see “Connecting to a LocalTalk network” on page
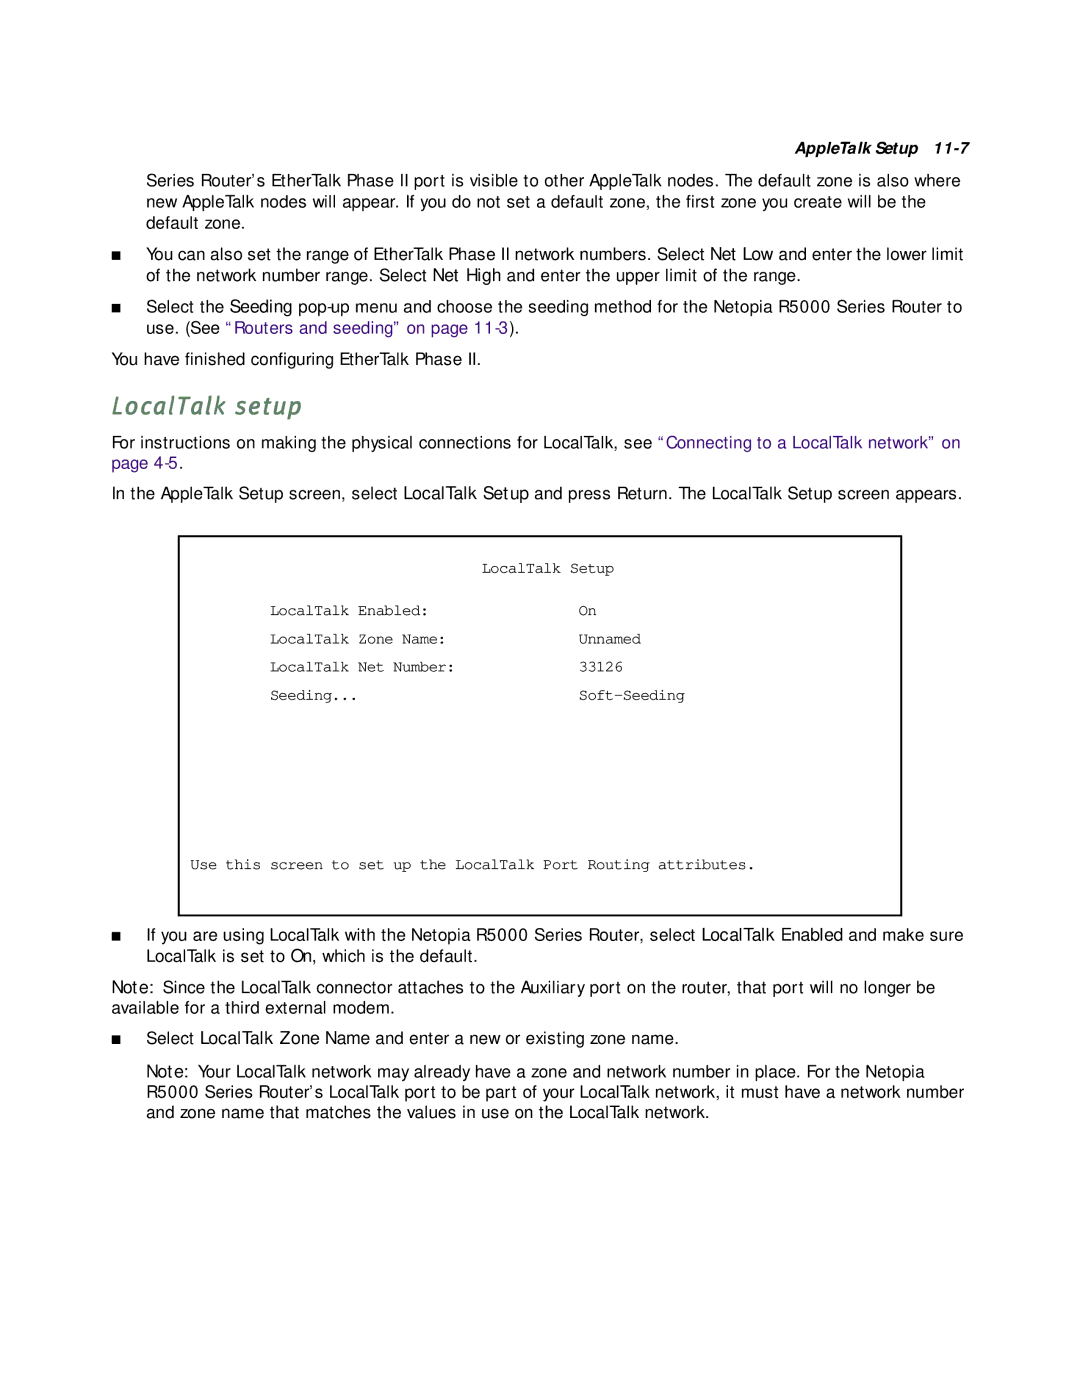
In the AppleTalk Setup screen, select LocalTalk Setup and press Return. The LocalTalk Setup screen appears.
| LocalTalk Setup |
LocalTalk Enabled: | On |
LocalTalk Zone Name: | Unnamed |
LocalTalk Net Number: | 33126 |
Seeding... |
Use this screen to set up the LocalTalk Port Routing attributes.
■If you are using LocalTalk with the Netopia R5000 Series Router, select LocalTalk Enabled and make sure LocalTalk is set to On, which is the default.
Note: Since the LocalTalk connector attaches to the Auxiliary port on the router, that port will no longer be available for a third external modem.
■Select LocalTalk Zone Name and enter a new or existing zone name.
Note: Your LocalTalk network may already have a zone and network number in place. For the Netopia R5000 Series Router’s LocalTalk port to be part of your LocalTalk network, it must have a network number and zone name that matches the values in use on the LocalTalk network.