Easy Setup
6.Select Data Link Encapsulation and highlight the method of encapsulation that you want to use from the
7.Select NEXT SCREEN and press Return. The Easy Setup Profile screen appears. See page
The DDS Line configuration screen
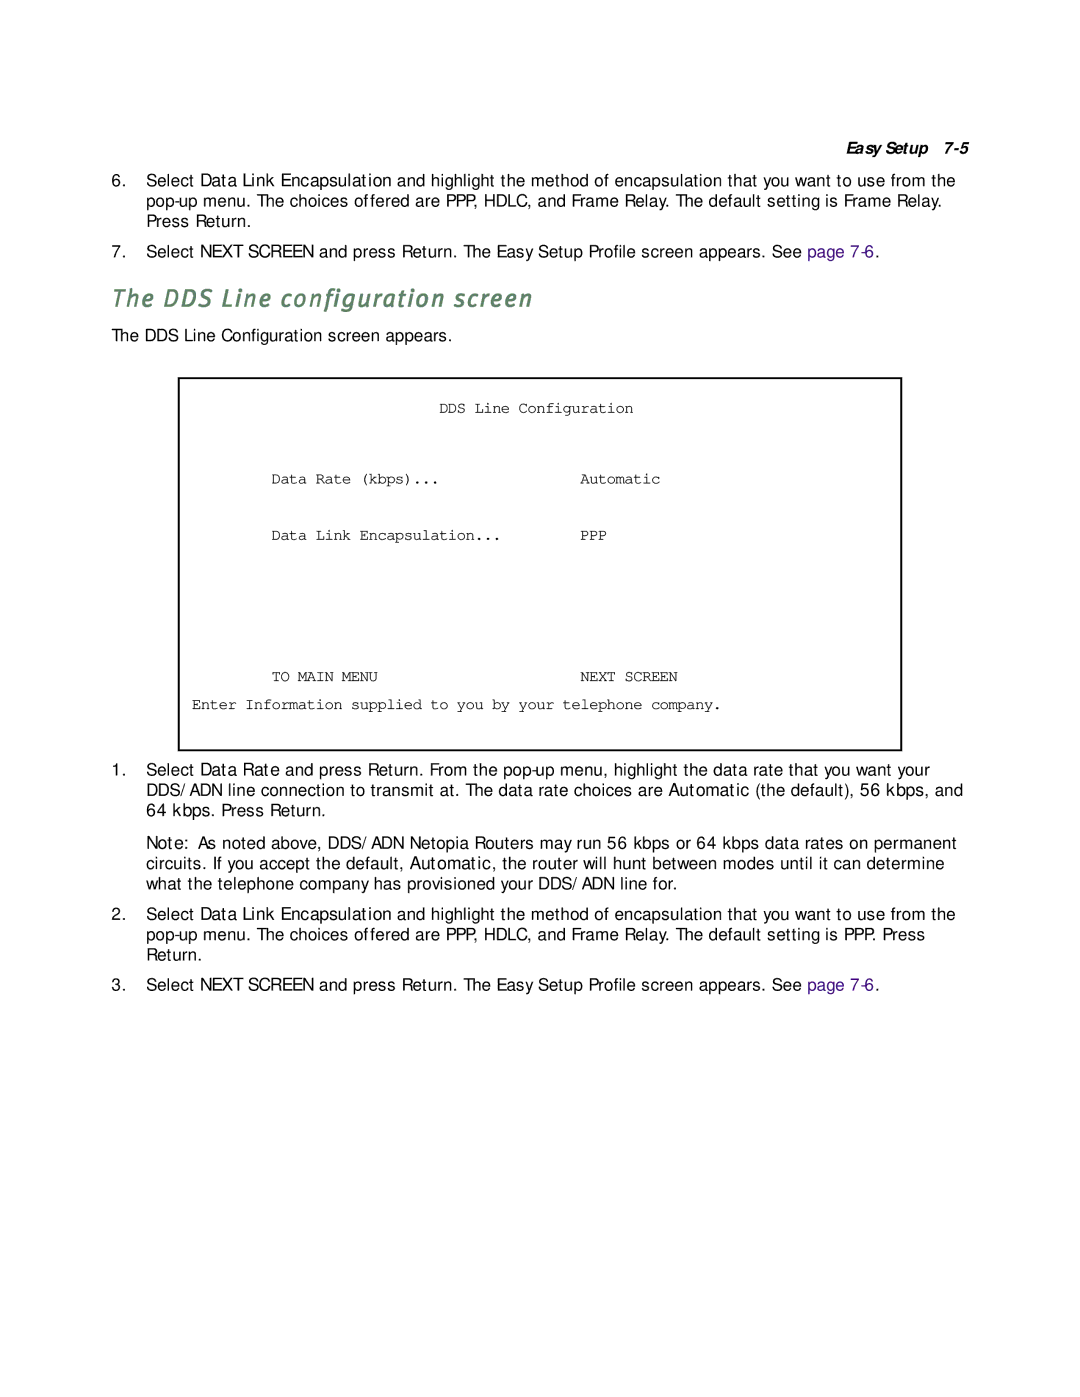
The DDS Line Configuration screen appears.
DDS Line Configuration
Data | Rate | (kbps)... | Automatic |
Data | Link | Encapsulation... | PPP |
TO MAIN MENUNEXT SCREEN
Enter Information supplied to you by your telephone company.
1.Select Data Rate and press Return. From the
Note: As noted above, DDS/ADN Netopia Routers may run 56 kbps or 64 kbps data rates on permanent circuits. If you accept the default, Automatic, the router will hunt between modes until it can determine what the telephone company has provisioned your DDS/ADN line for.
2.Select Data Link Encapsulation and highlight the method of encapsulation that you want to use from the
3.Select NEXT SCREEN and press Return. The Easy Setup Profile screen appears. See page