8-10 User’s Reference Guide
Note: The Congestion Management Enabled field will only appear if Standard or Buffered is selected as the option from the Tx Injection Management field.
4.Select Maximum Tx Frame Size and press Return. The default is automatically set to a value suitable for encapsulating a full Ethernet packet’s transmission load; however you can change the Maximum Frame Size to suit your network’s transmission load. Press Return.
You are now finished configuring the Frame Relay Configuration screen. Press the Escape key to return to the WAN Configuration screen. If you need to configure your DLCIs, go to the next section.
Frame Relay DLCI configuration
If you selected None as your LMI Type then you will need to manually configure your DLCIs.
A Frame Relay DLCI is a set of parameters that tells the Netopia Router how to initially connect to a remote destination.
The Netopia Router supports up to 16 different Frame Relay DLCI profiles.
Each Frame Relay DLCI configuration you set up allows the Netopia Router to connect your network to another network that uses IP or IPX over Frame Relay.
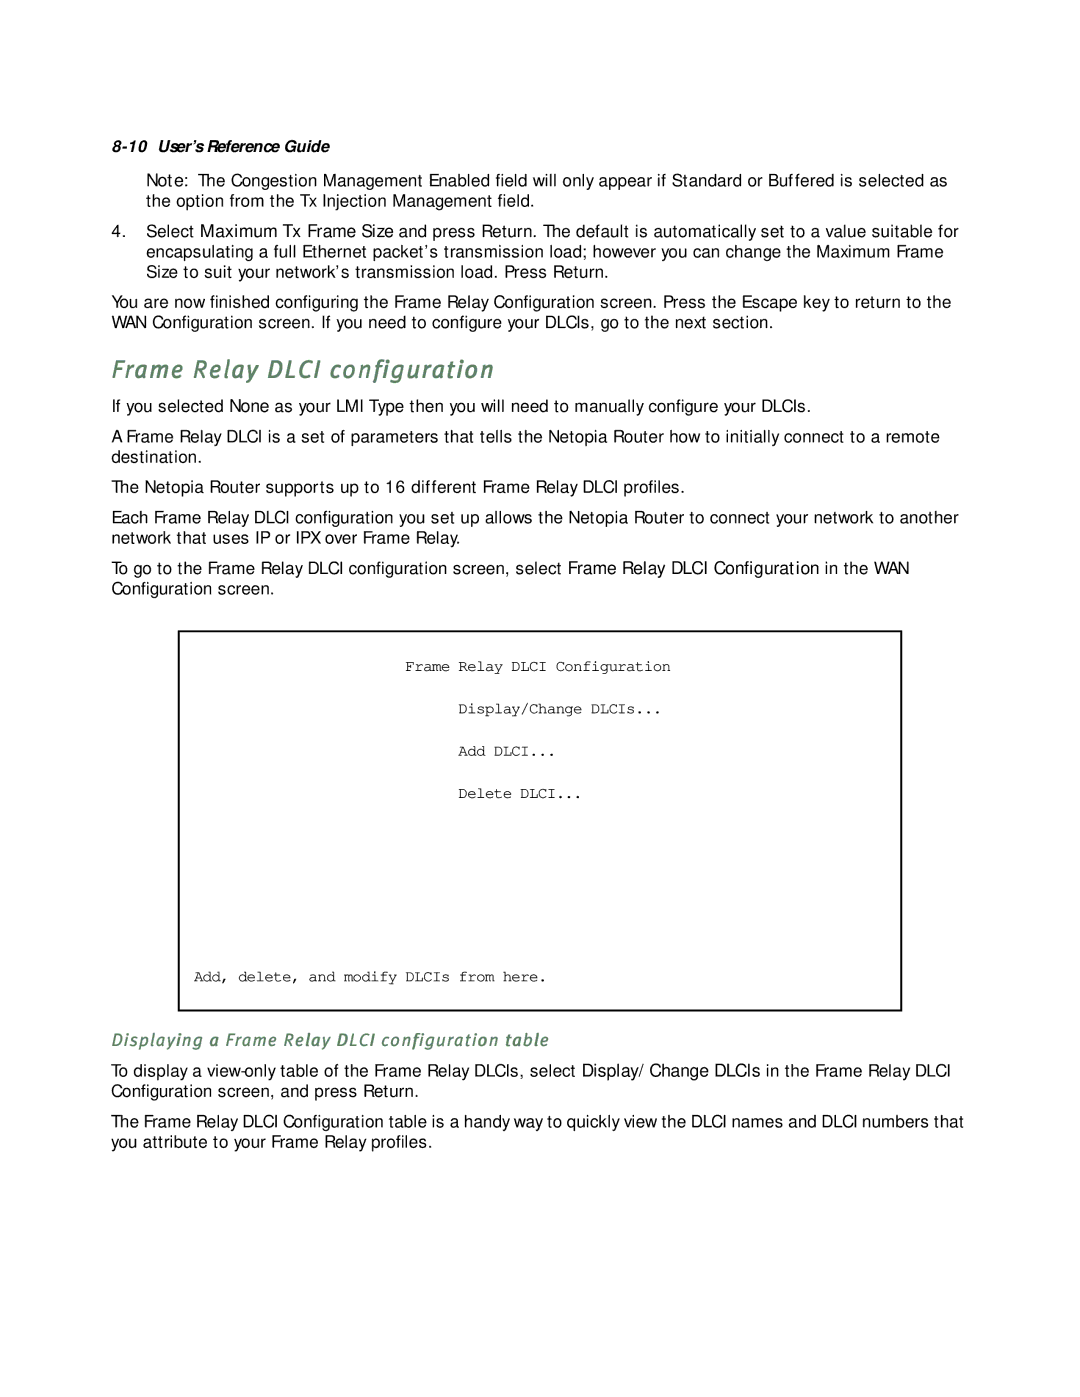
To go to the Frame Relay DLCI configuration screen, select Frame Relay DLCI Configuration in the WAN Configuration screen.
Frame Relay DLCI Configuration
Display/Change DLCIs...
Add DLCI...
Delete DLCI...
Add, delete, and modify DLCIs from here.
Displaying a Frame Relay DLCI configuration table
To display a
The Frame Relay DLCI Configuration table is a handy way to quickly view the DLCI names and DLCI numbers that you attribute to your Frame Relay profiles.
