7-2 User’s Reference Guide
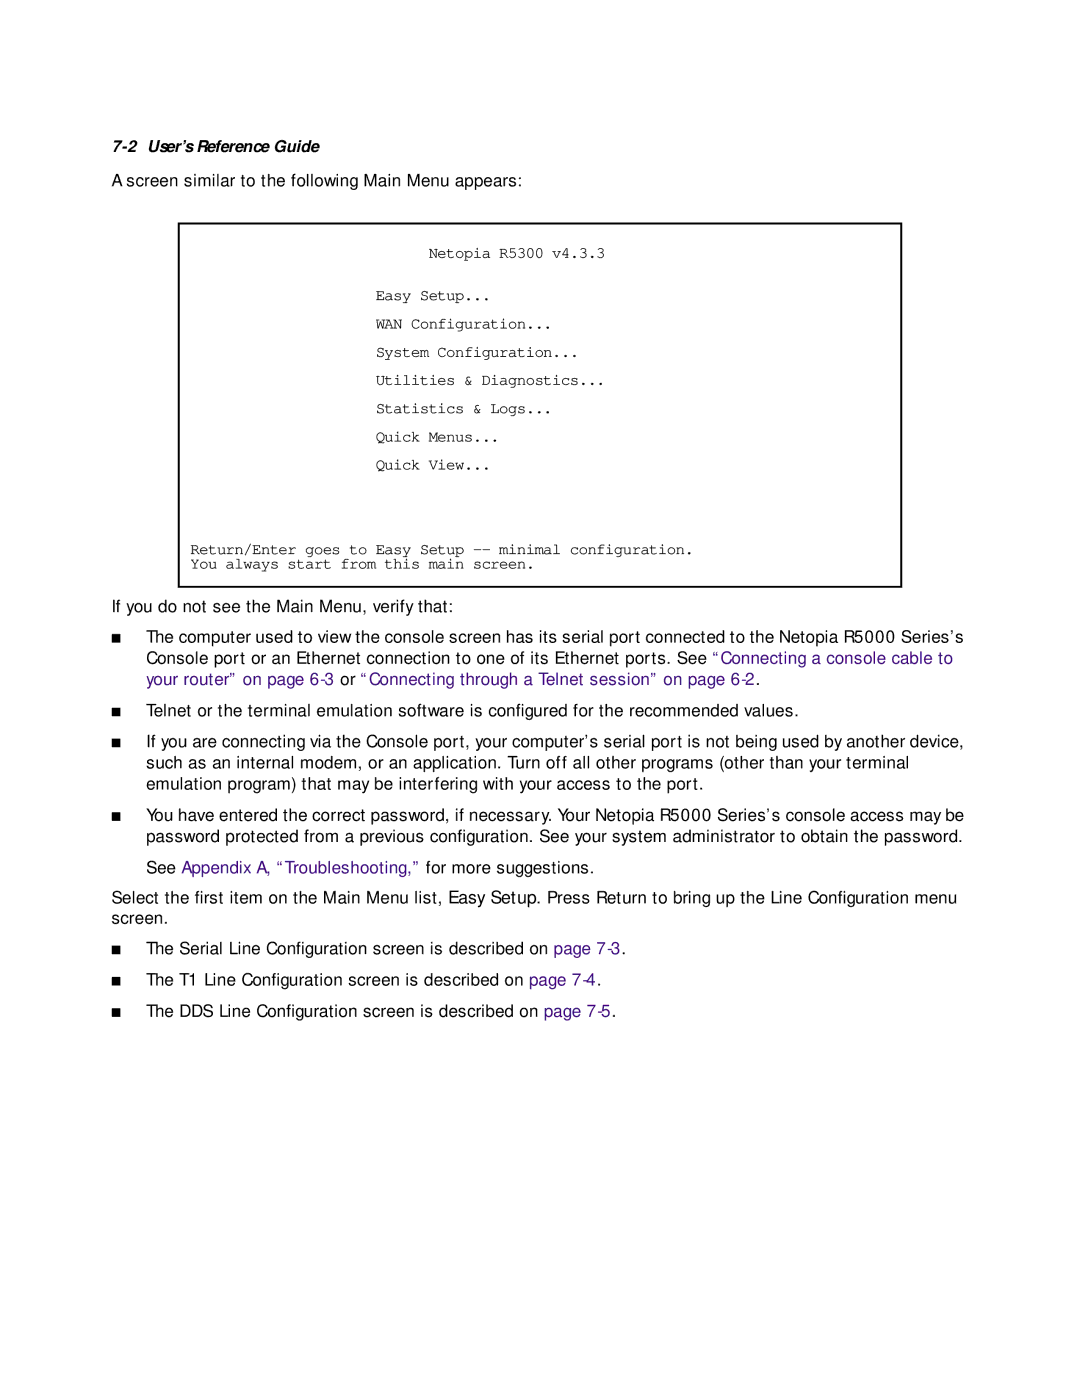
A screen similar to the following Main Menu appears:
Netopia R5300 v4.3.3
Easy Setup...
WAN Configuration...
System Configuration...
Utilities & Diagnostics...
Statistics & Logs...
Quick Menus...
Quick View...
Return/Enter goes to Easy Setup
You always start from this main screen.
If you do not see the Main Menu, verify that:
■The computer used to view the console screen has its serial port connected to the Netopia R5000 Series’s Console port or an Ethernet connection to one of its Ethernet ports. See “Connecting a console cable to your router” on page
■Telnet or the terminal emulation software is configured for the recommended values.
■If you are connecting via the Console port, your computer’s serial port is not being used by another device, such as an internal modem, or an application. Turn off all other programs (other than your terminal emulation program) that may be interfering with your access to the port.
■You have entered the correct password, if necessary. Your Netopia R5000 Series’s console access may be password protected from a previous configuration. See your system administrator to obtain the password.
See Appendix A, “Troubleshooting,” for more suggestions.
Select the first item on the Main Menu list, Easy Setup. Press Return to bring up the Line Configuration menu screen.
■The Serial Line Configuration screen is described on page
■The T1 Line Configuration screen is described on page
■The DDS Line Configuration screen is described on page