Installing the BayStack 410-24T Switch

Verifying the Installation Using the Self-Test Screen

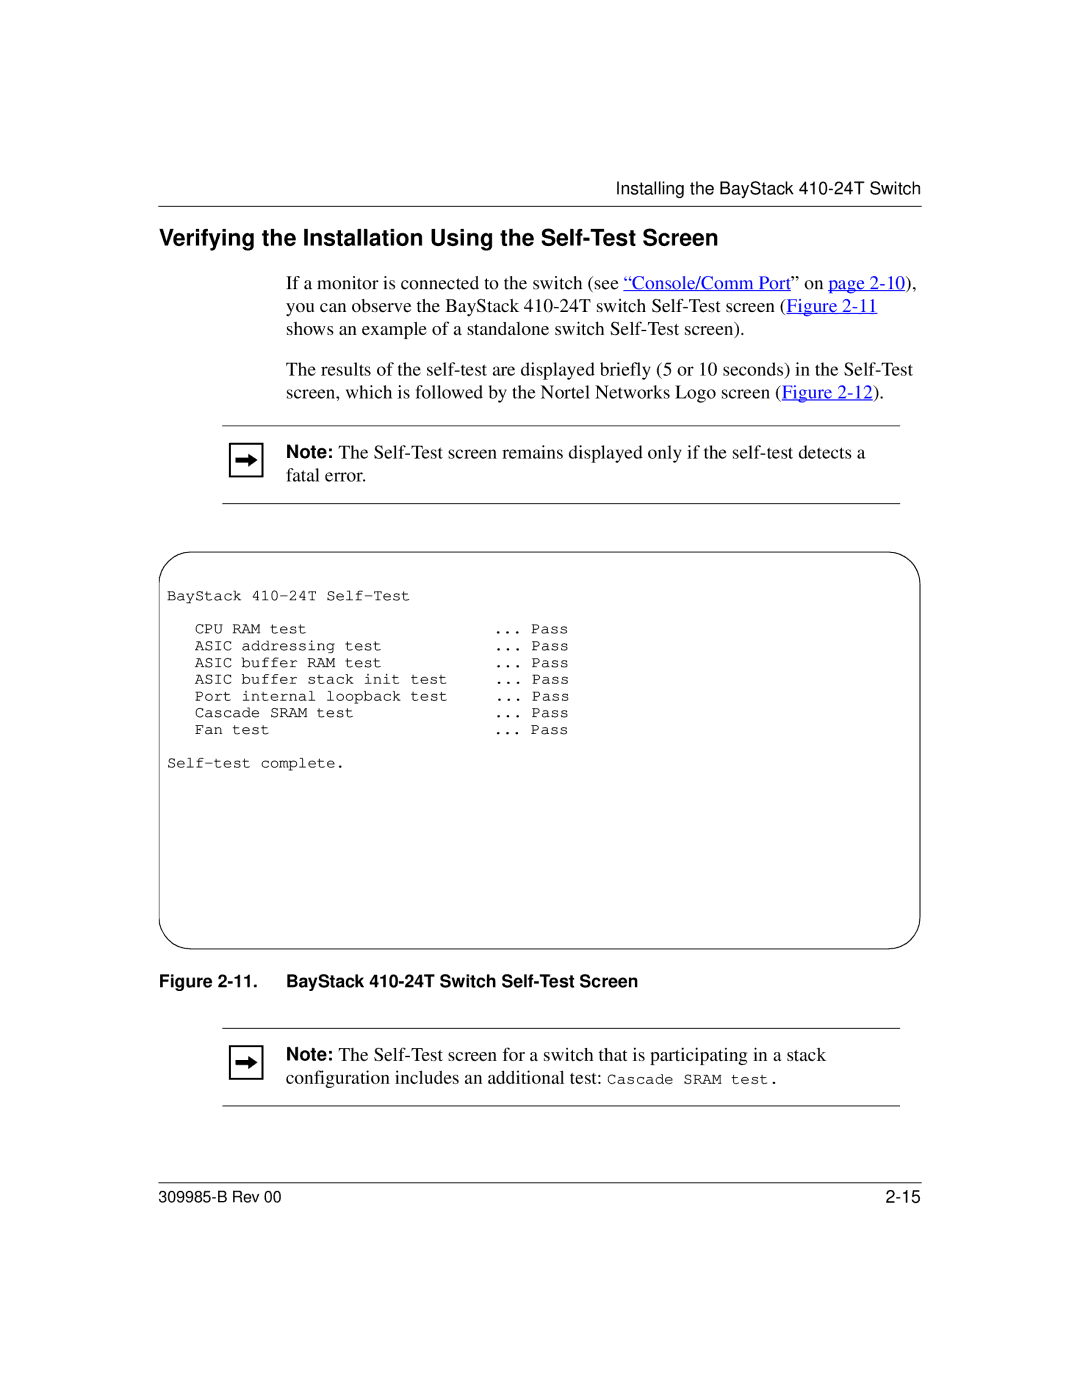
If a monitor is connected to the switch (see “Console/Comm Port” on page 2-10), you can observe the BayStack 410-24T switch Self-Test screen (Figure 2-11 shows an example of a standalone switch Self-Test screen).

The results of the self-test are displayed briefly (5 or 10 seconds) in the Self-Test screen, which is followed by the Nortel Networks Logo screen (Figure 2-12).

Note: The Self-Test screen remains displayed only if the self-test detects a fatal error.

BayStack 410-24T Self-Test


CPU RAM test

... Pass

ASIC addressing test

... Pass

ASIC buffer RAM test

... Pass

ASIC buffer stack init test

... Pass

Port internal loopback test

... Pass

Cascade SRAM test

... Pass

Fan test

... Pass

Self-test complete.


Figure 2-11. BayStack 410-24T Switch Self-Test Screen

Note: The Self-Test screen for a switch that is participating in a stack

configuration includes an additional test: Cascade SRAM test.

309985-B Rev 00

2-15

Page 129
Image 129
Nortel Networks 24T manual Verifying the Installation Using the Self-Test Screen