13. General Information
13.2 Specifications
13.2.1 Base unit
■Applicable lines:
Public Switched Telephone Network
■Document size:
Max. 216 mm in width, Max. 600 mm in length
■Effective scanning width: 208 mm
■Effective printing width: A4: 202 mm
■Transmission time*1: Approx. 8 s/page
■Scanning density: Horizontal: 8 pels/mm
Vertical: 3.85 lines/mm – in standard resolution, 7.7 lines/mm – in fine/photo resolution,
15.4 lines/mm – in super fine resolution
■Photo resolution:
■Scanner type: Contact Image Sensor
■Printer type:
Thermal Transfer on plain paper
■Data compression system:
Modified Huffman (MH), Modified READ (MR), Modified Modified READ (MMR)
■Modem speed:
14,400 / 12,000 / 9,600 / 7,200 / 4,800 / 2,400 bps; Automatic Fallback
■Operating environment:
5 °C – 35 °C, 20 % – 80 % RH (Relative Humidity)
■Dimensions:
Approx. height 139 mm ⋅ width 331 mm ⋅ depth 238 mm
■Mass (Weight): Approx. 3.1 kg
■Power consumption: Standby: Approx. 4.5 W Transmission: Approx. 15 W
Reception: Approx. 35 W (When receiving a 20 % black document)
Copy: Approx. 40 W (When copying a 20 % black document)
Maximum: Approx. 130 W (When copying a 100 % black document)
■Power supply:
220 V – 240 V AC, 50/60 Hz
■Fax memory capacity*3:
Approx. 25 pages of memory transmission Approx. 30 pages of memory reception (Based on the
■Voice memory capacity*4:
Approx. 28 minutes of recording time including greeting messages
*1 Transmission speed depends upon the contents of the pages, resolution, telephone line conditions and capability of the other party’s machine.
*2 Transmission speed is based upon the
*3 If an error occurs during fax reception, such as a paper jam or if the recording paper runs out, the fax and subsequent faxes will be retained in memory.
*4 Recording time may be reduced by the calling party’s background noise.
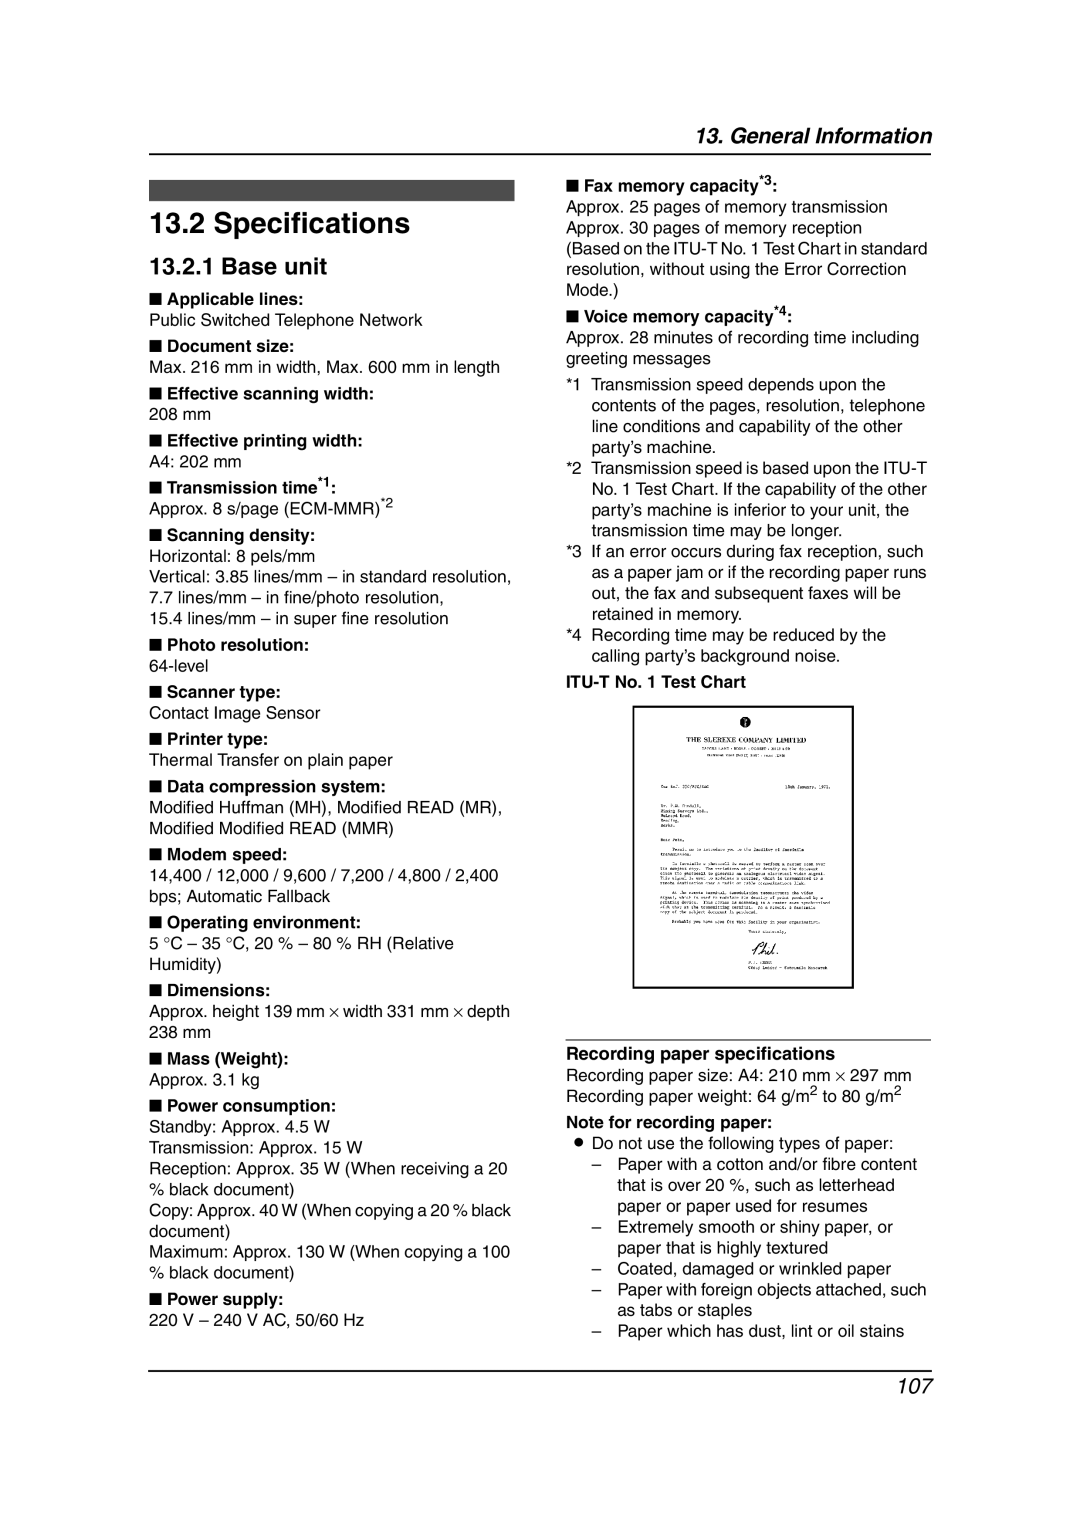
ITU-T No. 1 Test Chart
Recording paper specifications
Recording paper size: A4: 210 mm ⋅ 297 mm
Recording paper weight: 64 g/m2 to 80 g/m2
Note for recording paper:
LDo not use the following types of paper:
–Paper with a cotton and/or fibre content that is over 20 %, such as letterhead paper or paper used for resumes
–Extremely smooth or shiny paper, or paper that is highly textured
–Coated, damaged or wrinkled paper
–Paper with foreign objects attached, such as tabs or staples
–Paper which has dust, lint or oil stains
107