Installation
Power-Up Self-Test
After you connect the DSU/CSU to a power source, the unit performs the
The
The
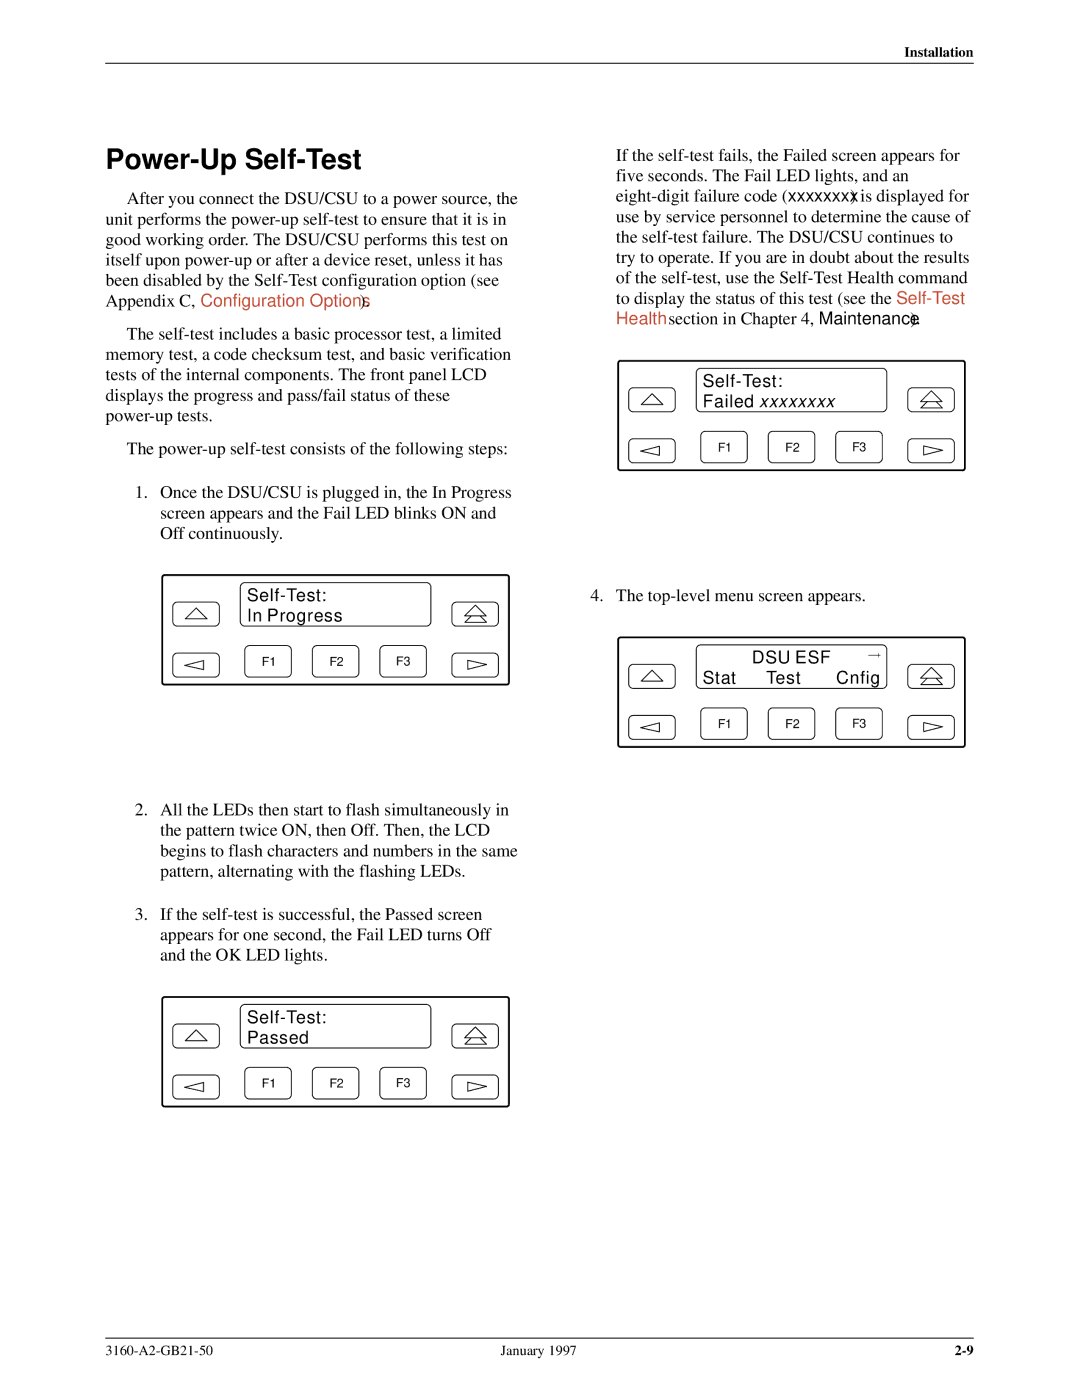
1.Once the DSU/CSU is plugged in, the In Progress screen appears and the Fail LED blinks ON and Off continuously.
Self-Test:
In Progress
F1 F2 F3
2.All the LEDs then start to flash simultaneously in the pattern twice ON, then Off. Then, the LCD begins to flash characters and numbers in the same pattern, alternating with the flashing LEDs.
3.If the
Self-Test:
Passed
F1 F2 F3
If the
Self-Test:
Failed xxxxxxxx
F1 F2 F3
4. The
DSU ESF
Stat Test Cnfig
F1 F2 F3
January 1997 |