Operation
Individual Channel Assignment Method
The Assign By configuration option screen appears after you select a port.
To assign by the individual channel method,
1.Press the ![]() key once to bring the Chan selection onto the screen.
key once to bring the Chan selection onto the screen.
Assign By:Block
Next Block ACAMI
F1 F2 F3
2. Press F3 (Chan).
Assign By:Chan
Block ACAMI Chan
F1 F2 F3
3.Press F1 (Next) to display the next configuration option (channel allocation).
4.Line 1 displays the 24 channels for the network interface or the DTE Drop/Insert ![]() or
or ![]() key scrolls the channels onto the screen in groups of three. Select the channel by pressing the Function key under the desired number. Portn appears. The port is assigned to that channel. To deallocate a port, press the Function key under that port number. Pressing the Function key under channels assigned to other ports has no effect.
key scrolls the channels onto the screen in groups of three. Select the channel by pressing the Function key under the desired number. Portn appears. The port is assigned to that channel. To deallocate a port, press the Function key under that port number. Pressing the Function key under channels assigned to other ports has no effect.
| N1 | N2 |
Next | Prt1 | Prt2 |
F1 | F2 | F3 |
Allocating DS0 Channels from the DTE Drop/Insert Interface to the Network Interface
By using the configuration options, you can allocate DS0 channels from the DTE Drop/Insert
To allocate DS0 channels from the DTE Drop/Insert
1.From the
2.Select the configuration option set to be copied into the Edit area by using the appropriate Function key. Use the scroll keys, if necessary.
3.Select Edit.
4.From the Edit screen, press the ![]() key until the Chan selection appears on the screen.
key until the Chan selection appears on the screen.
5.Select Chan.
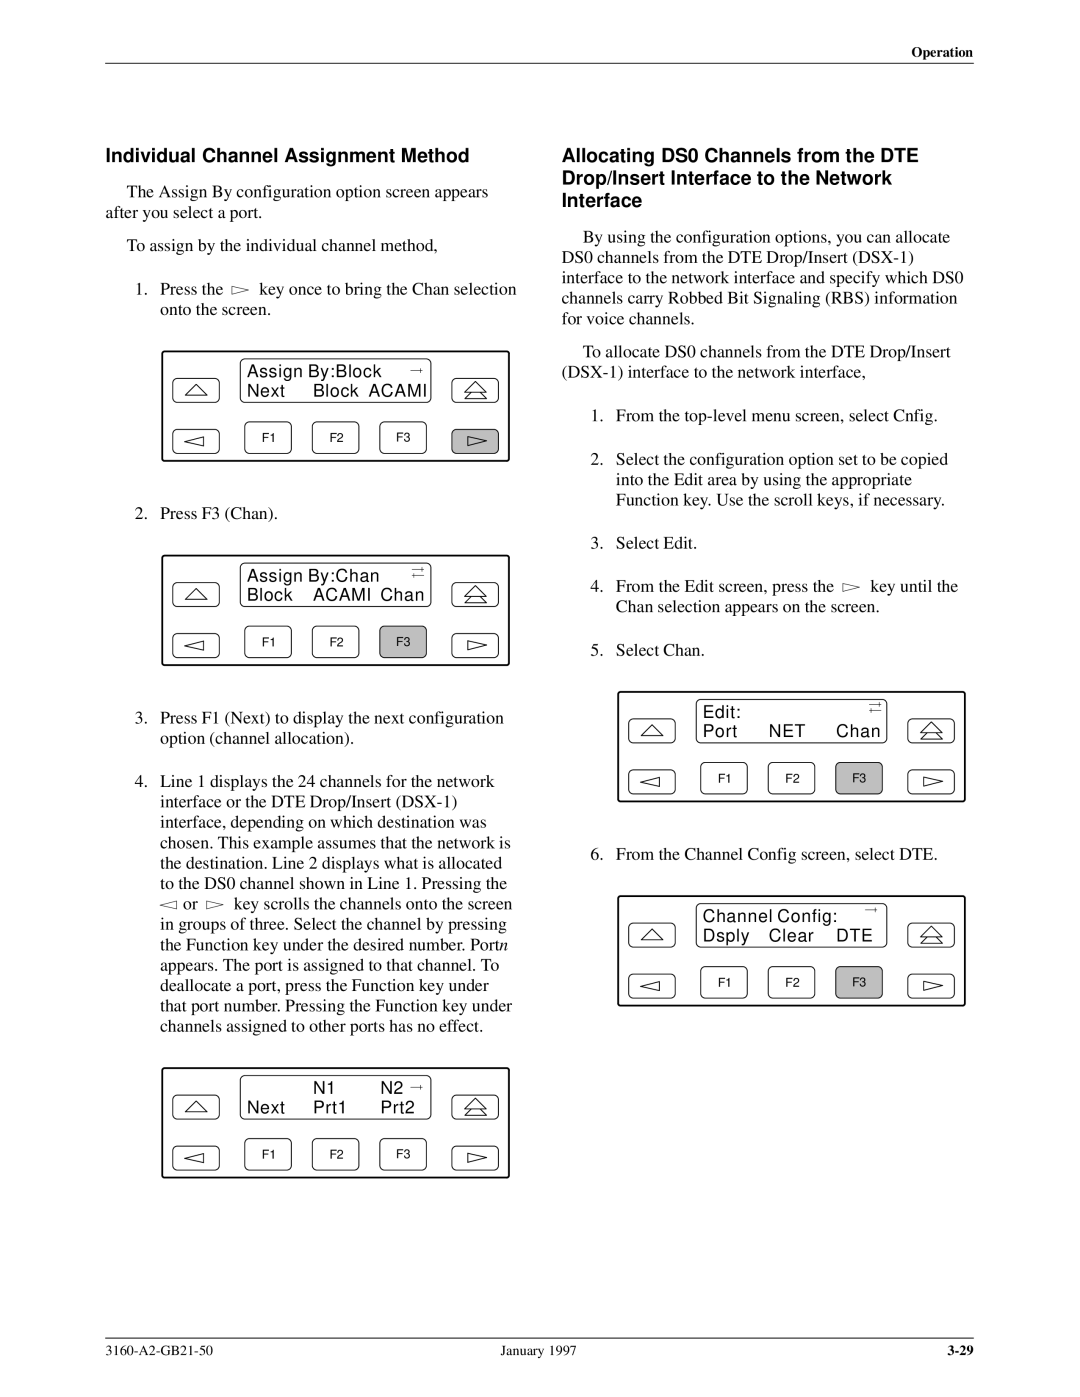
Edit:
Port NET Chan
F1 F2 F3
6. From the Channel Config screen, select DTE.
Channel Config:
Dsply Clear DTE
F1 F2 F3
January 1997 |