Listening to your system
Using the multichannel analog inputs
If you’ve connected to the multichannel inputs on the rear panel (see Connecting the multichannel analog outputs on page 16), you will be able to select them as your input source. See Using the Stream Direct mode below if you want to bypass the signal processing in this receiver for a pure analog signal.
1 Press MULTI CH INPUT on the remote control Home menu ( ) screen.
You can also use the front panel INPUT SELECTOR dial.
 HOME 2/3
![]() RECEIVER
RECEIVER ![]() RECEIVER
RECEIVER
1 | INPUT 2 | 3 | |
VCR2 | VCR3 | ||
/ TAPE1 | |||
|
| ||
VIDEO | MULTI CH |
| |
INPUT |
| ||
|
| ||
TV | MULTI | SYSTEM | |
CONT | OPERATION | OFF | |
| SETUP |
|
2If necessary, press SIGNAL SELECT to choose the number of channels you’ll hear.
See Selecting USB and multichannel analog input channels on page 47 for more on this.
![]() Note
Note
•The number of channels you hear will depend on the source and the SB CH mode setting (see Using the surround back channel on page 48 for more on this).
Using the Stream Direct mode
• Default setting: SD:1 NORMAL (on)
Use the Stream Direct mode when you want to hear the truest possible reproduction of a source. All unnecessary signal processing is bypassed, and you’re left with the pure analog or digital sound source.
1While listening to a source, press STREAM DIRECT to switch on or off.
Check the digital format indicators in the front panel display to see how the source is being processed.
![]() RECEIVER 1/3
RECEIVER 1/3
RECEIVER STREAM
DIRECT
SIGNAL ACOUSTIC
SELECTCAL.
LISTENING STEREO
MODE
STANDARD THX
ADVANCED ADVANCED
CINEMA CONCERT
05
ACOUSTIC |
|
|
|
|
|
|
|
|
| TUNER | SBCH |
CAL. | MIDNIGHT | LOUDNESS | TONE | OPTION |
|
| DIGITALNR | INPUT ATT | CLASS | STATION | MODE |
PHONES | SPSYSTEM | SIGNAL | VIDEO | TAPE2 | STREAM | SETUP |
|
| VIDEOINPUT |
| |
|
|
|
|
| |||||||
| A/B | SELECT | SELECT | MONITOR | DIRECT | MIC | DIGITALIN |
|
|
|
|
|
|
|
|
|
|
|
|
| VIDEO | L AUDIO R | |
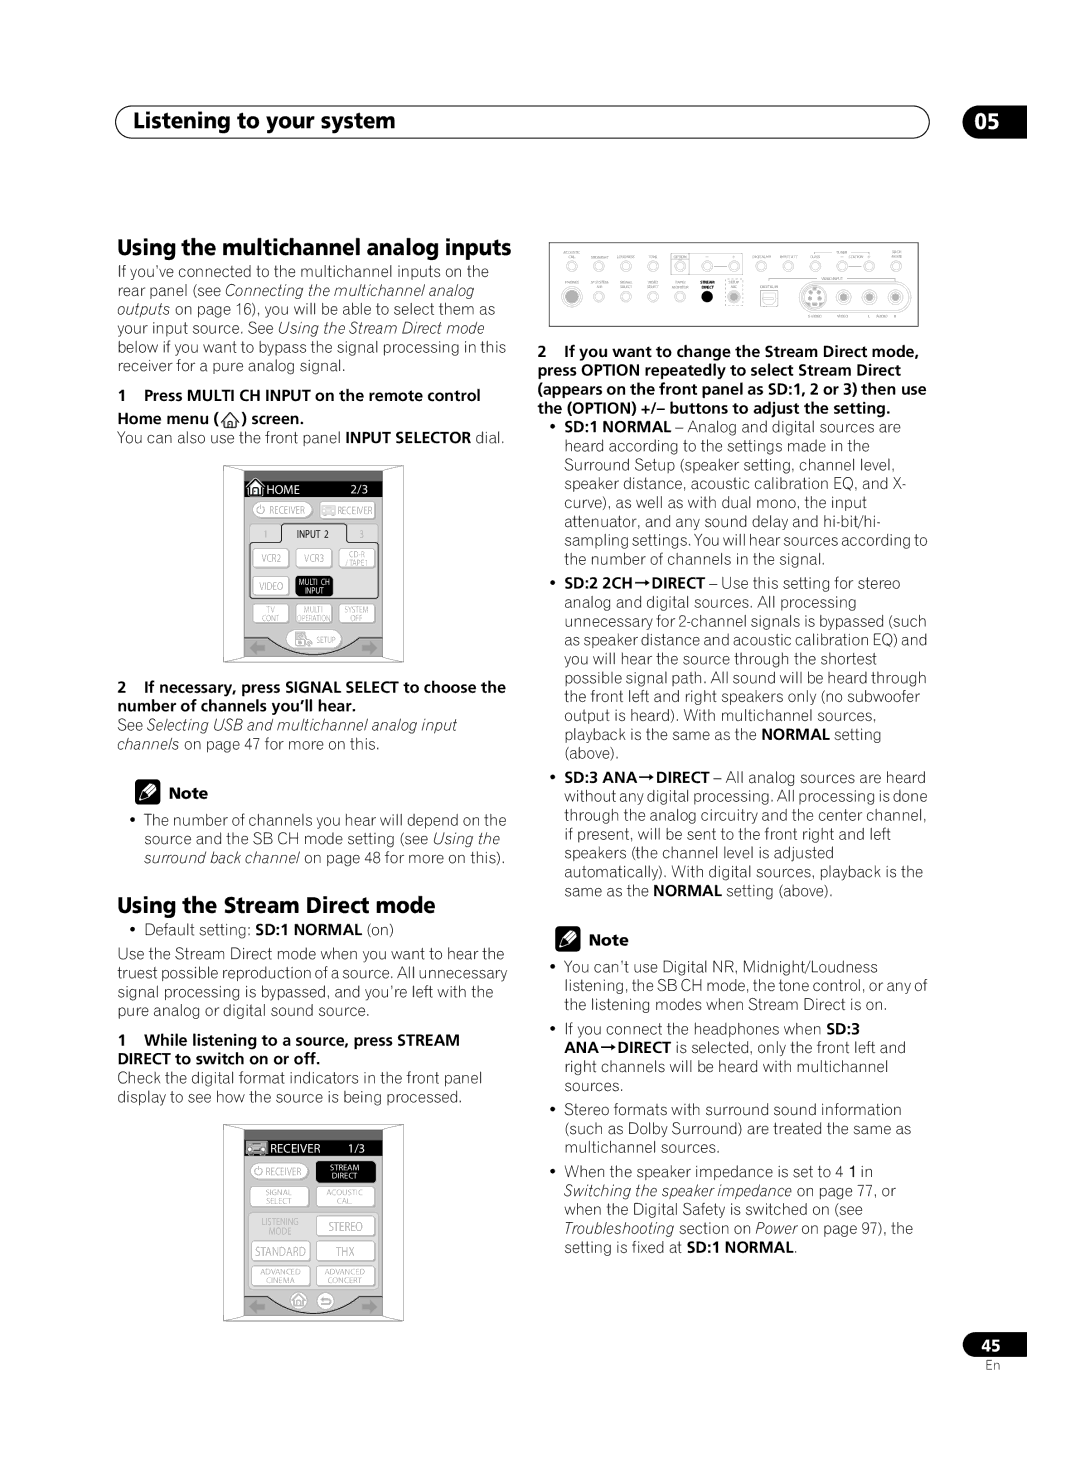
2If you want to change the Stream Direct mode, press OPTION repeatedly to select Stream Direct (appears on the front panel as SD:1, 2 or 3) then use the (OPTION) +/– buttons to adjust the setting.
•SD:1 NORMAL – Analog and digital sources are heard according to the settings made in the Surround Setup (speaker setting, channel level, speaker distance, acoustic calibration EQ, and X- curve), as well as with dual mono, the input attenuator, and any sound delay and
• SD:2 2CH DIRECT – Use this setting for stereo analog and digital sources. All processing unnecessary for
• SD:3 ANA DIRECT – All analog sources are heard without any digital processing. All processing is done through the analog circuitry and the center channel, if present, will be sent to the front right and left speakers (the channel level is adjusted automatically). With digital sources, playback is the same as the NORMAL setting (above).
![]() Note
Note
•You can’t use Digital NR, Midnight/Loudness listening, the SB CH mode, the tone control, or any of the listening modes when Stream Direct is on.
•If you connect the headphones when SD:3
ANA DIRECT is selected, only the front left and right channels will be heard with multichannel sources.
•Stereo formats with surround sound information (such as Dolby Surround) are treated the same as multichannel sources.
•When the speaker impedance is set to 4Ω in Switching the speaker impedance on page 77, or when the Digital Safety is switched on (see Troubleshooting section on Power on page 97), the setting is fixed at SD:1 NORMAL.
45
En
