11Advanced setup
Dynamic Range Control
• Default setting: OFF
This setting specifies the amount of dynamic range adjustment to movie soundtracks. You may want to use this when listening to surround sound at low volumes.
1Select
2Choose the setting that you want.
3.3.Dynamic Range
Control
![]() Compression Level
Compression Level
![]() [MID]
[MID] ![]()
dts[OFF]
[Return]
•OFF – No dynamic range adjustment (use when listening at higher volume).
•MID – Mid setting.
•MAX – Dynamic range is reduced (loud sounds are reduced in volume while quieter sounds are increased)
3When you're finished, select RETURN and press
ENTER.
You will return to the Expert Setup menu.
Function Rename
You can customize the names that appears on the display when you select an input source (for example, you could change the name of VCR1/DVR to
1Select ‘Function Rename’ from the Expert Setup menu.
2Select the name of the input you want to rename and press ENTER.
The functions are divided into three different
3. 4. Function Rename
DVD/LD [ DVD/LD ]
![]() DVD/LD [ DVD/LD ]
DVD/LD [ DVD/LD ]
TV/DVD [ TV/DVD ]
SAT [ SAT ]
VIDEO [ VIDEO ]
DVR/VCR1 [ DVR/VCR1 ]
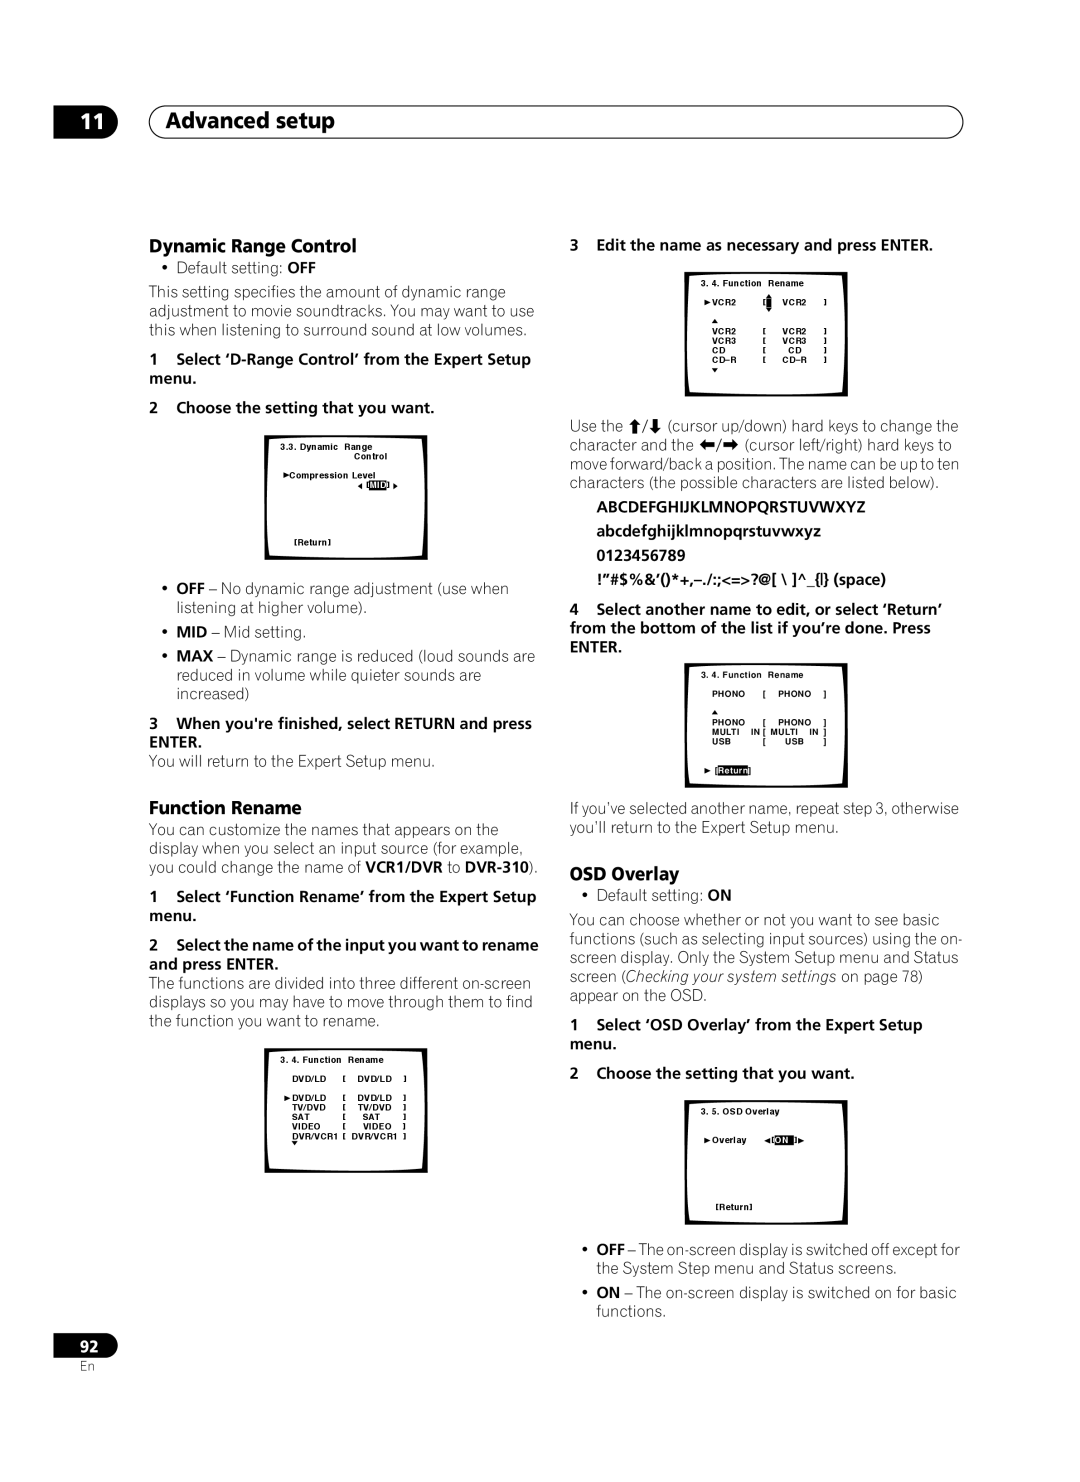
3 Edit the name as necessary and press ENTER.
3. 4. Function |
| Rename |
| |
VCR2 | [ |
| VCR2 | ] |
| ||||
VCR2 | [ |
| VCR2 | ] |
VCR3 | [ |
| VCR3 | ] |
CD | [ |
| CD | ] |
CD_R | [ |
| CD_R | ] |
|
|
|
|
|
Use the | (cursor up/down) hard keys to change the | |
character and the | (cursor left/right) hard keys to | |
move forward/back a position. The name can be up to ten characters (the possible characters are listed below).
ABCDEFGHIJKLMNOPQRSTUVWXYZ
abcdefghijklmnopqrstuvwxyz
0123456789
4Select another name to edit, or select ‘Return’ from the bottom of the list if you’re done. Press
ENTER.
3.4. Function Rename
PHONO [ PHONO ]
PHONO | [ | PHONO ] | |
MULTI | IN [ MULTI | IN ] | |
USB | [ | USB | ] |
![]() [Return]
[Return]
If you’ve selected another name, repeat step 3, otherwise you’ll return to the Expert Setup menu.
OSD Overlay
• Default setting: ON
You can choose whether or not you want to see basic functions (such as selecting input sources) using the on- screen display. Only the System Setup menu and Status screen (Checking your system settings on page 78) appear on the OSD.
1Select ‘OSD Overlay’ from the Expert Setup menu.
2Choose the setting that you want.
3. 5. OSD Overlay
![]() Overlay
Overlay ![]() [ON ]
[ON ]![]()
[Return]
• OFF – The
• ON – The
92
En