Listening to your system | 05 |
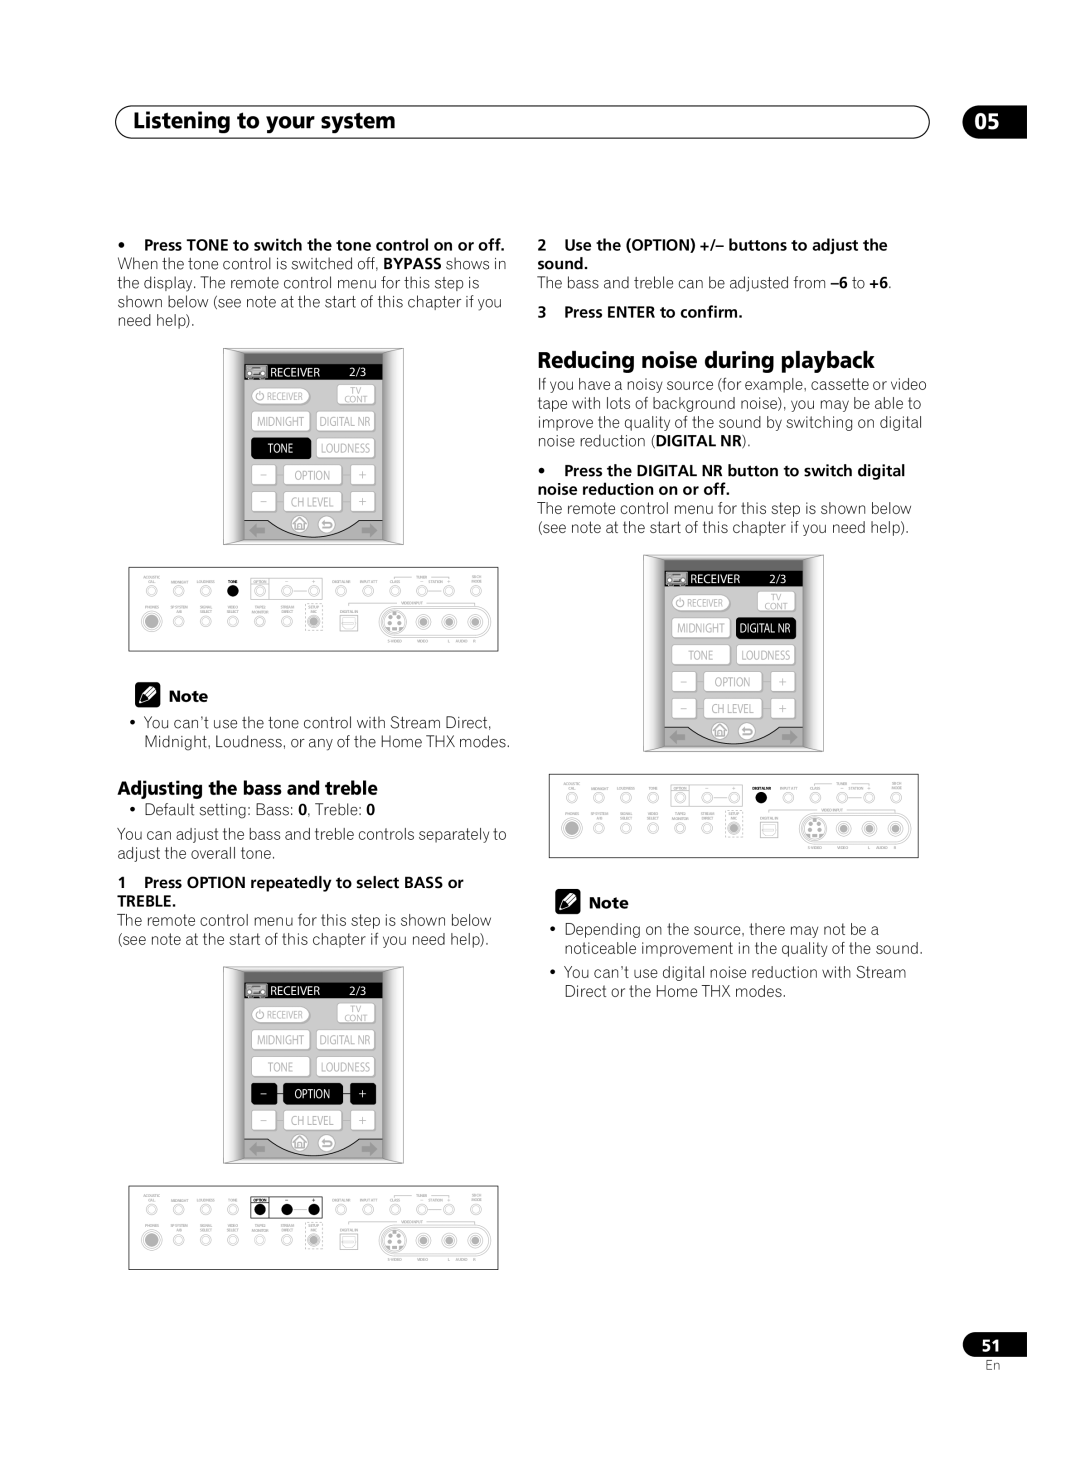
•Press TONE to switch the tone control on or off. When the tone control is switched off, BYPASS shows in the display. The remote control menu for this step is shown below (see note at the start of this chapter if you need help).
| RECEIVER | 2/3 | |
| RECEIVER |
| TV |
|
| CONT | |
MIDNIGHT | DIGITAL NR | ||
| TONE | LOUDNESS | |
– | OPTION | + | |
– | CH LEVEL | + | |
ACOUSTIC |
|
|
|
|
|
|
|
|
| TUNER | SBCH |
CAL. | MIDNIGHT | LOUDNESS | TONE | OPTION |
|
| DIGITALNR | INPUT ATT | CLASS | STATION | MODE |
PHONES | SPSYSTEM | SIGNAL | VIDEO | TAPE2 | STREAM | SETUP |
|
| VIDEOINPUT |
| |
|
|
|
|
| |||||||
| A/B | SELECT | SELECT | MONITOR | DIRECT | MIC | DIGITALIN |
|
|
|
|
|
|
|
|
|
|
|
|
| VIDEO | L AUDIO R | |
![]() Note
Note
•You can’t use the tone control with Stream Direct, Midnight, Loudness, or any of the Home THX modes.
2Use the (OPTION) +/– buttons to adjust the sound.
The bass and treble can be adjusted from
3Press ENTER to confirm.
Reducing noise during playback
If you have a noisy source (for example, cassette or video tape with lots of background noise), you may be able to improve the quality of the sound by switching on digital noise reduction (DIGITAL NR).
•Press the DIGITAL NR button to switch digital noise reduction on or off.
The remote control menu for this step is shown below (see note at the start of this chapter if you need help).
![]() RECEIVER 2/3
RECEIVER 2/3
TV
RECEIVER CONT
MIDNIGHT | DIGITAL NR | ||
| TONE | LOUDNESS | |
– | OPTION | + | |
– | CH LEVEL | + | |
Adjusting the bass and treble
• Default setting: Bass: 0, Treble: 0
You can adjust the bass and treble controls separately to adjust the overall tone.
1Press OPTION repeatedly to select BASS or
TREBLE.
The remote control menu for this step is shown below (see note at the start of this chapter if you need help).
![]() RECEIVER 2/3
RECEIVER 2/3
TV
RECEIVER CONT
MIDNIGHT | DIGITAL NR | ||
| TONE | LOUDNESS | |
– | OPTION | + | |
– | CH LEVEL | + | |
ACOUSTIC |
|
|
|
|
|
|
|
|
| TUNER | SBCH |
CAL. | MIDNIGHT | LOUDNESS | TONE | OPTION |
|
| DIGITALNR | INPUT ATT | CLASS | STATION | MODE |
PHONES | SPSYSTEM | SIGNAL | VIDEO | TAPE2 | STREAM | SETUP |
|
| VIDEOINPUT |
| |
|
|
|
|
| |||||||
| A/B | SELECT | SELECT | MONITOR | DIRECT | MIC | DIGITALIN |
|
|
|
|
|
|
|
|
|
|
|
|
| VIDEO | L AUDIO R | |
![]() Note
Note
•Depending on the source, there may not be a noticeable improvement in the quality of the sound.
•You can’t use digital noise reduction with Stream Direct or the Home THX modes.
ACOUSTIC |
|
|
|
|
|
|
CAL. | MIDNIGHT | LOUDNESS | TONE | OPTION |
|
|
PHONES | SPSYSTEM | SIGNAL | VIDEO | TAPE2 | STREAM | SETUP |
| A/B | SELECT | SELECT | MONITOR | DIRECT | MIC |
|
|
| TUNER | SBCH |
DIGITALNR | INPUT ATT | CLASS | STATION | MODE |
|
| VIDEOINPUT |
| |
DIGITALIN |
|
|
|
|
|
| VIDEO | L AUDIO R | |
51
En