The Surround Setup menu
Note that changing the room (for example, moving furniture or paintings) will affect the calibration results. In such cases, you should recalibrate your system.
Using Professional Acoustic Calibration EQ
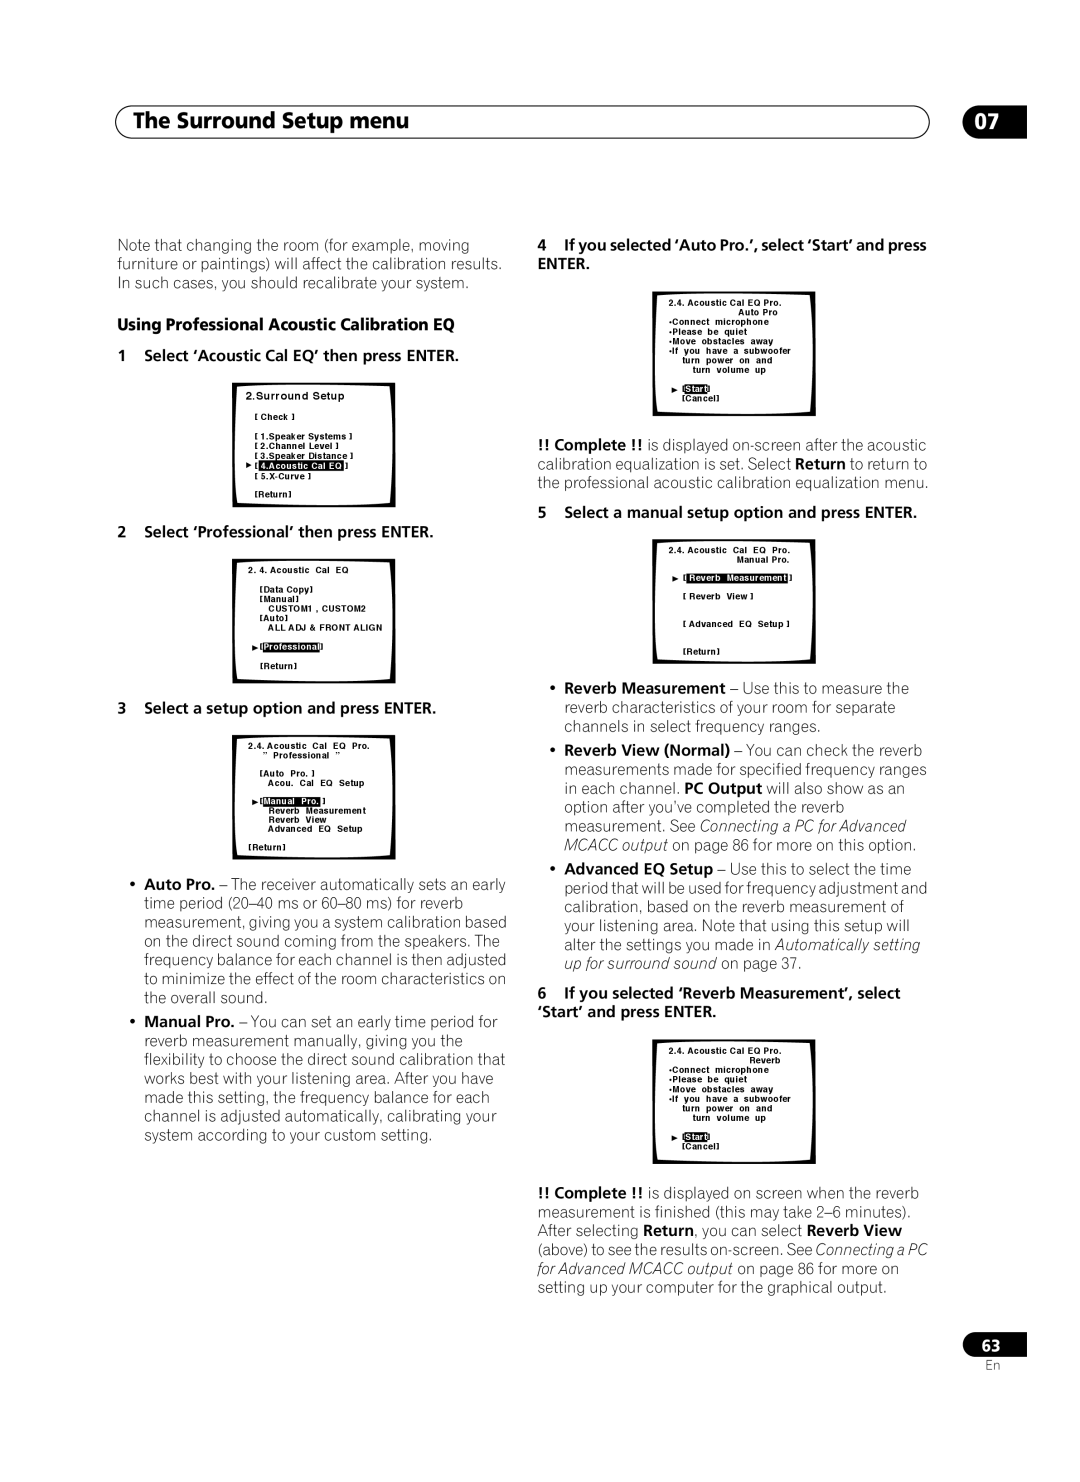
1 Select ‘Acoustic Cal EQ’ then press ENTER.
2.Surround Setup
[ Check ]
[ 1.Speaker Systems ] [ 2.Channel Level ]
[ 3.Speaker Distance ] ![]() [ 4.Acoustic Cal EQ ]
[ 4.Acoustic Cal EQ ]
[
[Return]
2Select ‘Professional’ then press ENTER.
2.4. Acoustic Cal EQ
[Data Copy] [Manual]
CUSTOM1 , CUSTOM2 [Auto]
ALL ADJ & FRONT ALIGN
![]() [Professional]
[Professional]
[Return]
3 Select a setup option and press ENTER.
2.4.Acoustic Cal EQ Pro.
”Professional ”
[Auto Pro. ]
Acou. Cal EQ Setup
![]() [Manual Pro. ]al Surround
[Manual Pro. ]al Surround
Reverb Measurement
Reverb View
Advanced EQ Setup
[Return]
•Auto Pro. – The receiver automatically sets an early time period
•Manual Pro. – You can set an early time period for reverb measurement manually, giving you the flexibility to choose the direct sound calibration that works best with your listening area. After you have made this setting, the frequency balance for each channel is adjusted automatically, calibrating your system according to your custom setting.
07
4If you selected ‘Auto Pro.’, select ‘Start’ and press
ENTER.
2.4.Acoustic Cal EQ Pro.
Auto Pro
•Connect microphone
•Please be quiet
•Move obstacles away
•If you have a subwoofer turn power on and
turn volume up
![]() [Start] [Cancel]
[Start] [Cancel]
!!Complete !! is displayed
5Select a manual setup option and press ENTER.
2.4.Acoustic Cal EQ Pro.
Manual Pro.
![]() [ Reverb Measurement ]
[ Reverb Measurement ]
[ Reverb View ]
[ Advanced EQ Setup ]
[Return]
•Reverb Measurement – Use this to measure the reverb characteristics of your room for separate channels in select frequency ranges.
•Reverb View (Normal) – You can check the reverb measurements made for specified frequency ranges in each channel. PC Output will also show as an option after you’ve completed the reverb measurement. See Connecting a PC for Advanced MCACC output on page 86 for more on this option.
•Advanced EQ Setup – Use this to select the time period that will be used for frequency adjustment and calibration, based on the reverb measurement of your listening area. Note that using this setup will alter the settings you made in Automatically setting up for surround sound on page 37.
6If you selected ‘Reverb Measurement’, select ‘Start’ and press ENTER.
2.4.Acoustic Cal EQ Pro.
Reverb
•Connect microphone
•Please be quiet
•Move obstacles away
•If you have a subwoofer turn power on and
turn volume up
![]() [Start] [Cancel]
[Start] [Cancel]
!!Complete !! is displayed on screen when the reverb measurement is finished (this may take
63
En