Advanced setup | 11 |
4When you're finished, select RETURN and press
ENTER.
You will return to the Input Assign menu.
Assigning the component video inputs
•Default settings: Component 1 – OFF Component 2 – OFF
Component 3 – OFF
If you used component video cords to connect your video equipment you must tell the receiver which device it is, or else you may see the
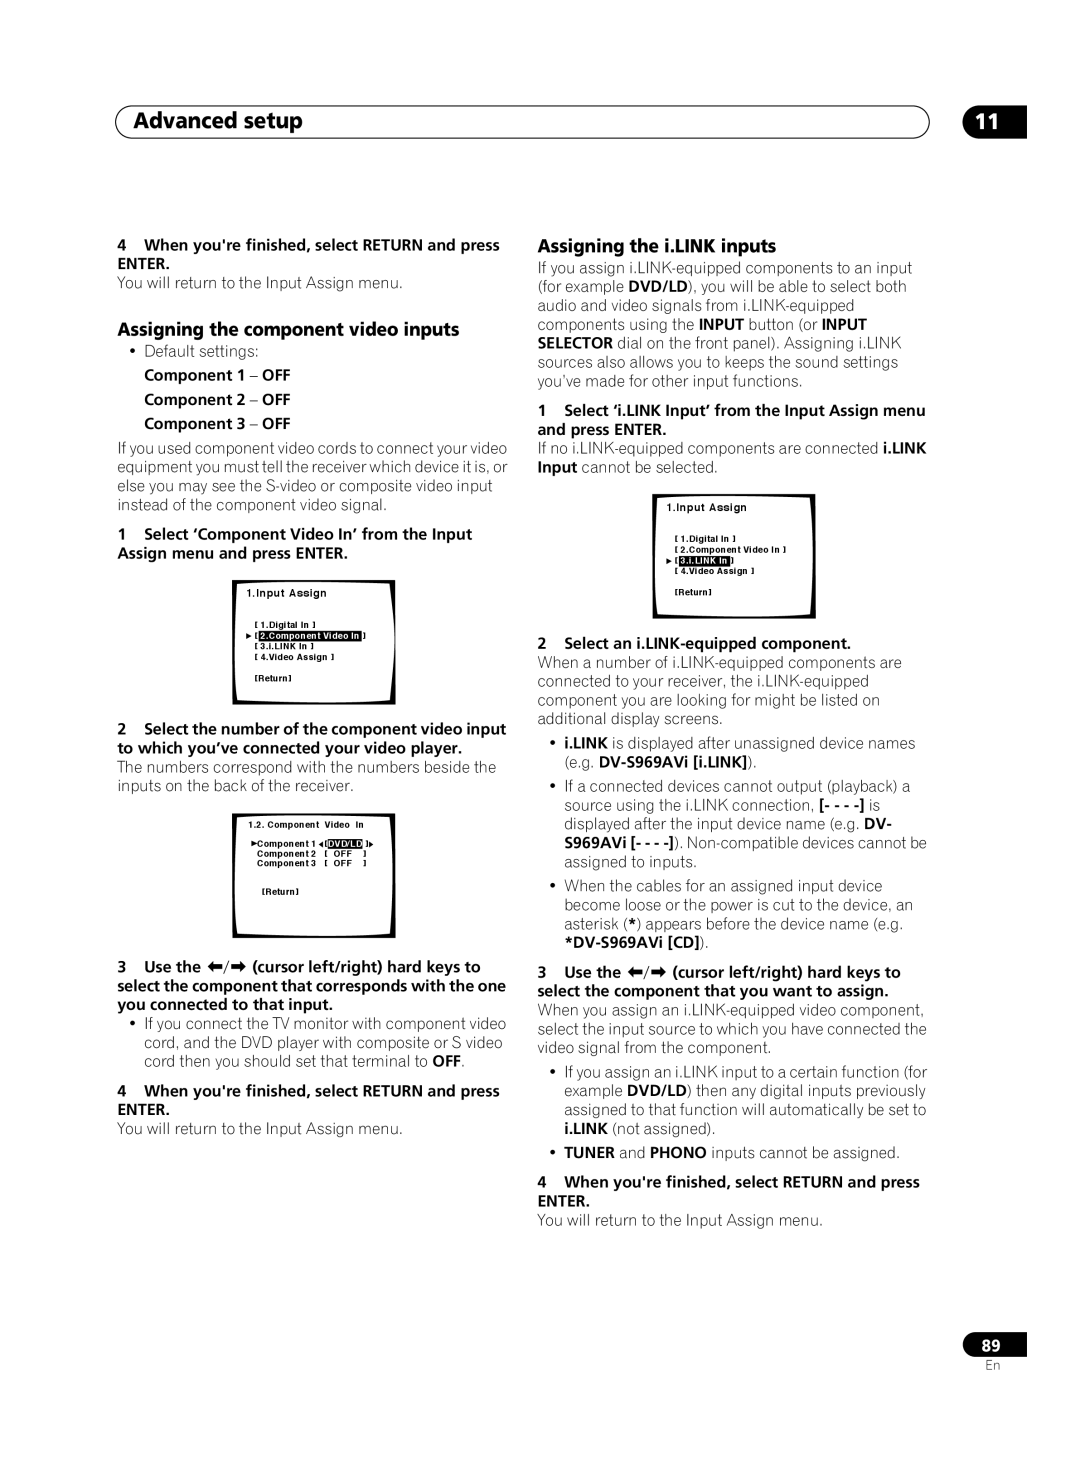
1Select ‘Component Video In’ from the Input Assign menu and press ENTER.
1.Input Assign
[ 1.Digital In ]
![]() [ 2.Component Video In ] [ 3.i.LINK In ]
[ 2.Component Video In ] [ 3.i.LINK In ]
[ 4.Video Assign ]
[Return]
2Select the number of the component video input to which you’ve connected your video player.
The numbers correspond with the numbers beside the inputs on the back of the receiver.
1.2. Component | Video | In | ||
Component 1 | [ |
| ] | |
DVD/LD | ||||
Component 2 | [ | OFF |
| ] |
Component 3 | [ | OFF | ] | |
[Return]
3 Use the (cursor left/right) hard keys to select the component that corresponds with the one you connected to that input.
•If you connect the TV monitor with component video cord, and the DVD player with composite or S video cord then you should set that terminal to OFF.
4When you're finished, select RETURN and press
ENTER.
You will return to the Input Assign menu.
Assigning the i.LINK inputs
If you assign
1Select ‘i.LINK Input’ from the Input Assign menu and press ENTER.
If no
1.Input Assign
[ 1.Digital In ]
[ 2.Component Video In ] ![]() [ 3.i.LINK In ]
[ 3.i.LINK In ]
[ 4.Video Assign ]
[Return]
2Select an i.LINK-equipped component.
When a number of
•i.LINK is displayed after unassigned device names (e.g.
•If a connected devices cannot output (playback) a source using the i.LINK connection, [- - -
•When the cables for an assigned input device become loose or the power is cut to the device, an asterisk (*) appears before the device name (e.g.
3 Use the (cursor left/right) hard keys to select the component that you want to assign.
When you assign an
•If you assign an i.LINK input to a certain function (for example DVD/LD) then any digital inputs previously assigned to that function will automatically be set to i.LINK (not assigned).
•TUNER and PHONO inputs cannot be assigned.
4When you're finished, select RETURN and press
ENTER.
You will return to the Input Assign menu.
89
En