Using the tuner
Chapter 6
Using the tuner
![]() Note
Note
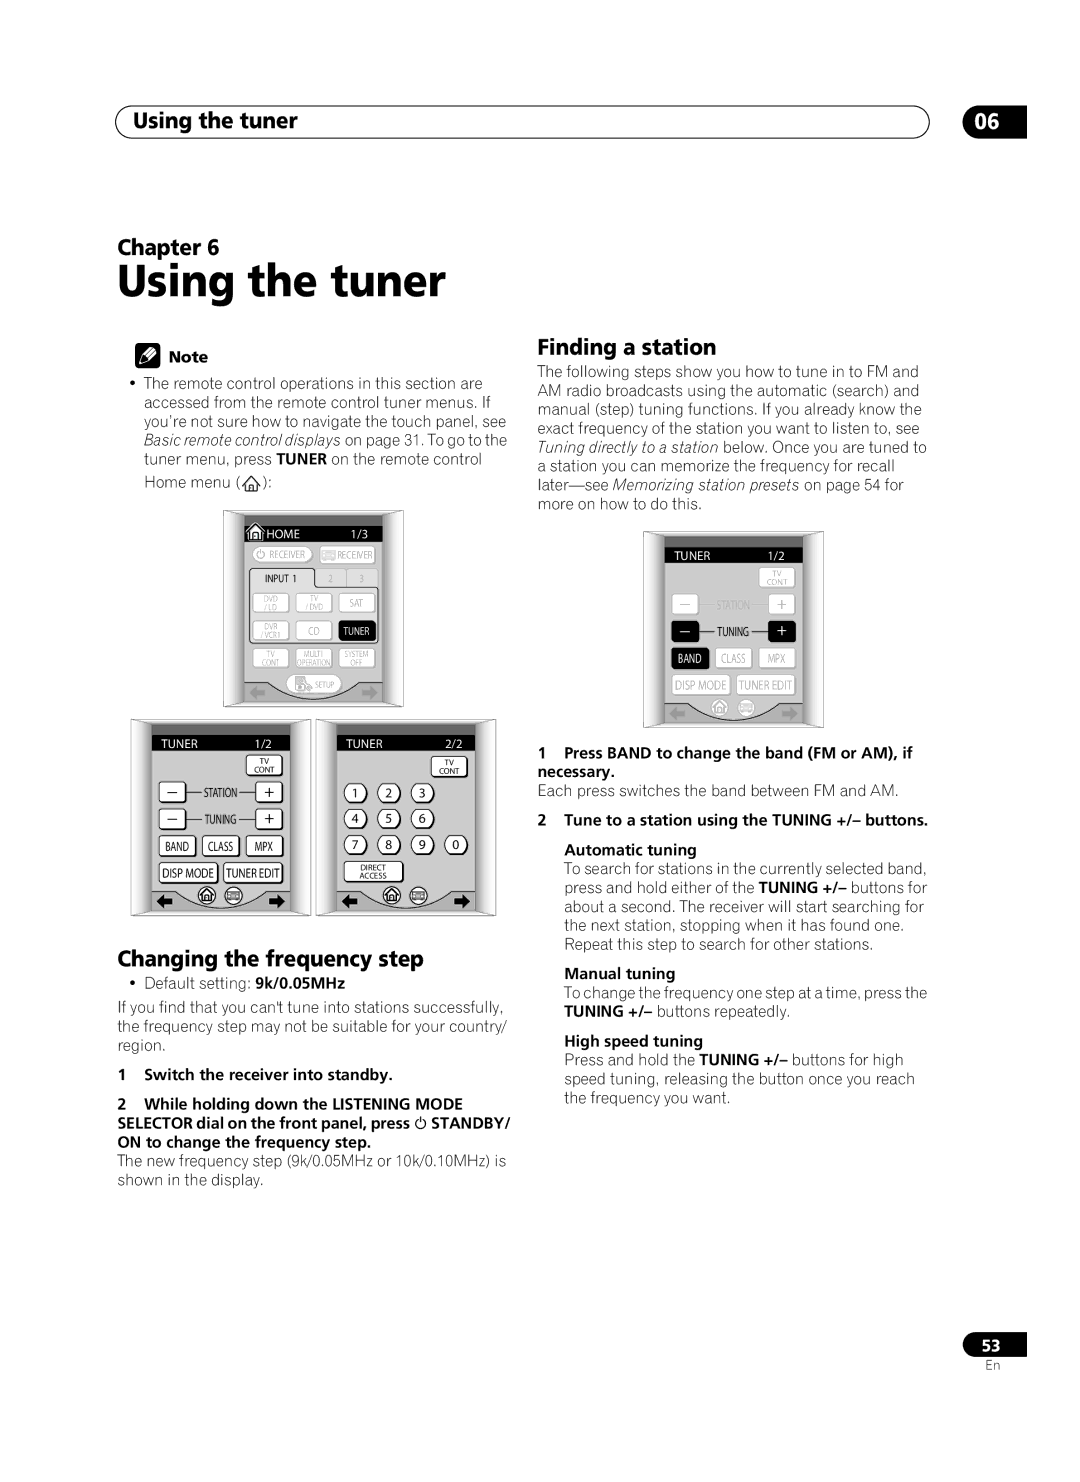
•The remote control operations in this section are accessed from the remote control tuner menus. If you’re not sure how to navigate the touch panel, see Basic remote control displays on page 31. To go to the tuner menu, press TUNER on the remote control Home menu (![]()
![]() ):
):
![]() HOME 1/3
HOME 1/3
![]() RECEIVER
RECEIVER ![]() RECEIVER
RECEIVER
INPUT 1 | 2 | 3 | |
DVD |
| TV | SAT |
/ LD |
| / DVD | |
|
| ||
DVR |
| CD | TUNER |
/ VCR1 |
| ||
|
|
| |
TV |
| MULTI | SYSTEM |
CONT | OPERATION | OFF | |
![]() SETUP
SETUP
06
Finding a station
The following steps show you how to tune in to FM and AM radio broadcasts using the automatic (search) and manual (step) tuning functions. If you already know the exact frequency of the station you want to listen to, see Tuning directly to a station below. Once you are tuned to a station you can memorize the frequency for recall
TUNER 1/2
TV
CONT
– STATION +
– TUNING +
BAND CLASS MPX
DISP MODE TUNER EDIT
TUNER 1/2
TV
CONT
– STATION +
– TUNING +
BAND CLASS MPX
DISP MODE TUNER EDIT
TUNER 2/2
TV
CONT
1 2 3
4 5 6
7 8 9 0
DIRECT
ACCESS
1 Press BAND to change the band (FM or AM), if |
necessary. |
Each press switches the band between FM and AM. |
2 Tune to a station using the TUNING +/– buttons. |
Automatic tuning |
To search for stations in the currently selected band, |
press and hold either of the TUNING +/– buttons for |
about a second. The receiver will start searching for |
the next station, stopping when it has found one. |
Repeat this step to search for other stations. |
Changing the frequency step
• Default setting: 9k/0.05MHz
If you find that you can't tune into stations successfully, the frequency step may not be suitable for your country/ region.
1Switch the receiver into standby.
2While holding down the LISTENING MODE
SELECTOR dial on the front panel, press STANDBY/ ON to change the frequency step.
The new frequency step (9k/0.05MHz or 10k/0.10MHz) is shown in the display.
Manual tuning |
To change the frequency one step at a time, press the |
TUNING +/– buttons repeatedly. |
High speed tuning |
Press and hold the TUNING +/– buttons for high |
speed tuning, releasing the button once you reach |
the frequency you want. |
53
En