Getting Started with the DA700/DA750 Printer • 2
Installing and Removing the Ink Jet Cartridge (continued)
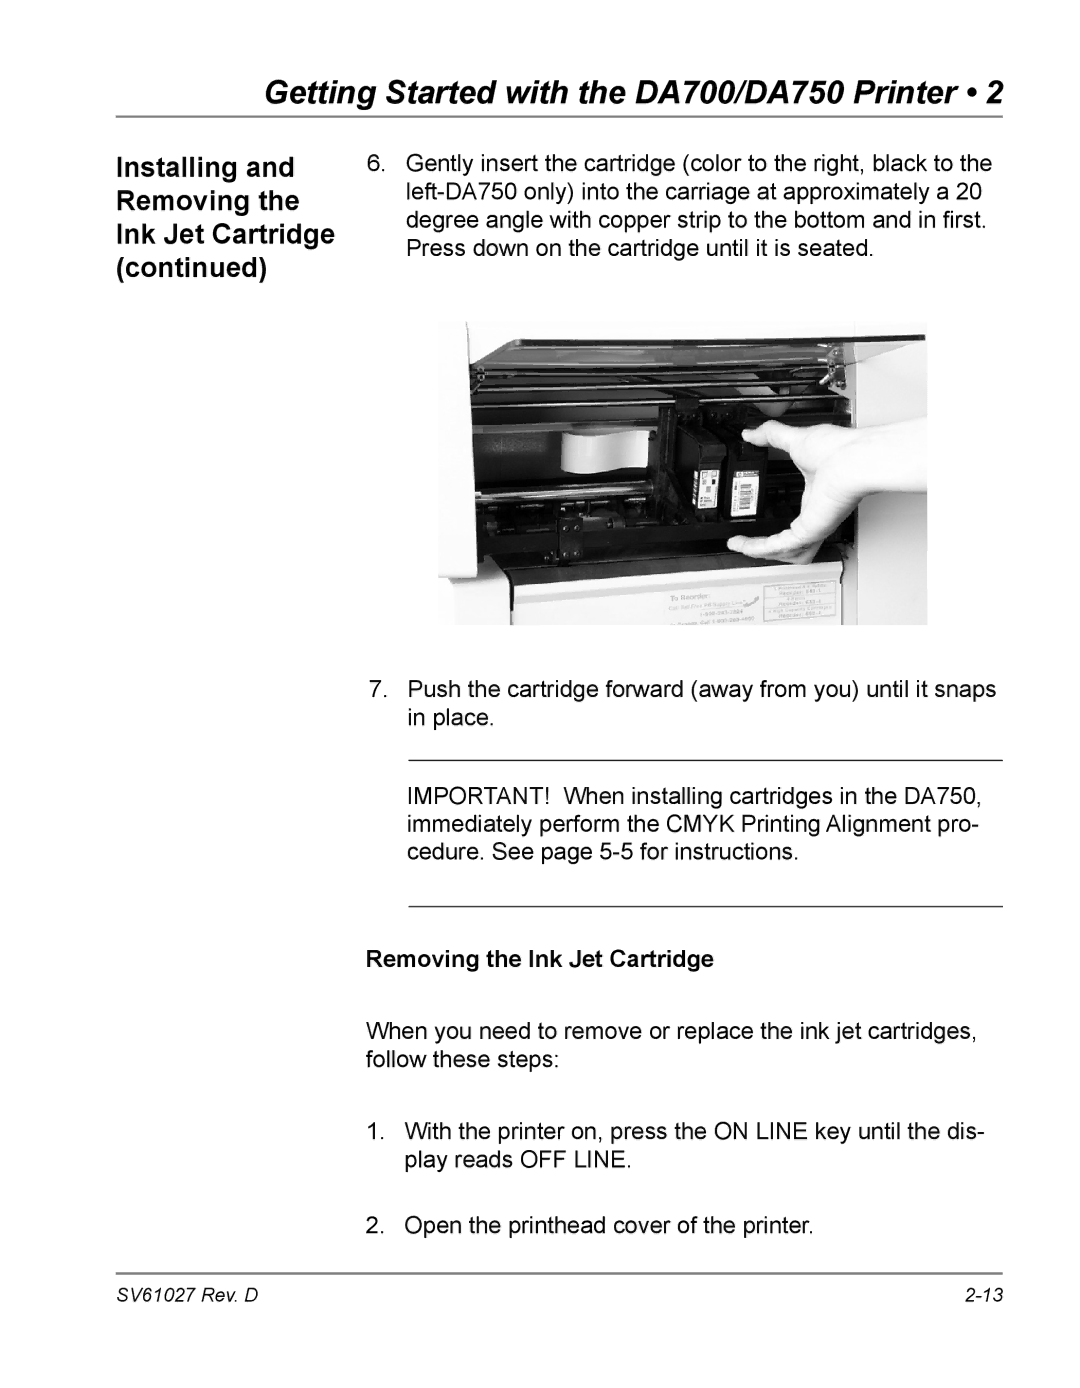
6.Gently insert the cartridge (color to the right, black to the
7.Push the cartridge forward (away from you) until it snaps in place.
IMPORTANT! When installing cartridges in the DA750, immediately perform the CMYK Printing Alignment pro- cedure. See page
Removing the Ink Jet Cartridge
When you need to remove or replace the ink jet cartridges, follow these steps:
1.With the printer on, press the ON LINE key until the dis- play reads OFF LINE.
2.Open the printhead cover of the printer.
SV61027 Rev. D |
