DA700, DA750
FCC Notice Safety EN60950 IEC950
Table of Contents
Troubleshooting
Using the DA700/DA750 With Your Computer
Printer Maintenance
Index
Appendix A, Control Panel Menus
Appendix B, Specifications
This page is intentionally blank
Chapter
Introduction
Using This Guide
DA700/DA750 Printer Overview
Welcome to the DA700/ DA750 Color Ink Jet Printer
Appendix B, Specifications
CPU
System Requirements
Phone Support
Getting Help
Online Help
World Wide Web
Printer Options Ordering Supplies
This page is intentionally blank
Getting Started with the DA700/DA750 Printer
Unpacking the Printer
Getting Started with the DA700/DA750 Printer
SV61027 Rev. D
Choosing a Location for Your Printer Important Safety Notes
Important Safety Notes Assembling the DA700/DA750
Assembling the DA700/ DA750
Attach the Wire Frame to the Printer
Install the Sliding Fence
Position the Output Stacker Tray
Connecting the Parallel Cable or Serial Cable
Connecting the DA700/DA750 to Your Computer
Getting Started with the DA700/DA750 Printer
Connecting the Power Cord
Plugging in the Power Cord Turning on the DA700/DA750
Install the Ink Jet Cartridges
Installing Removing Ink Jet Cartridge
Removing the Ink Jet Cartridge
Installing and Removing the Ink Jet Cartridge
Getting Started with the DA700/DA750 Printer
DA700/DA750 Features and Adjustments
Printer
DA700/DA750 Features and Adjustments
Features
DA700/DA750 Throughput
Printing Color with Color Cartridge Installed DA750 only
Media Size
Printer Features
Font Size
Material Thickness
DA700/DA750 Features and Adjustments
Figure below calls out key machine adjustments. Each
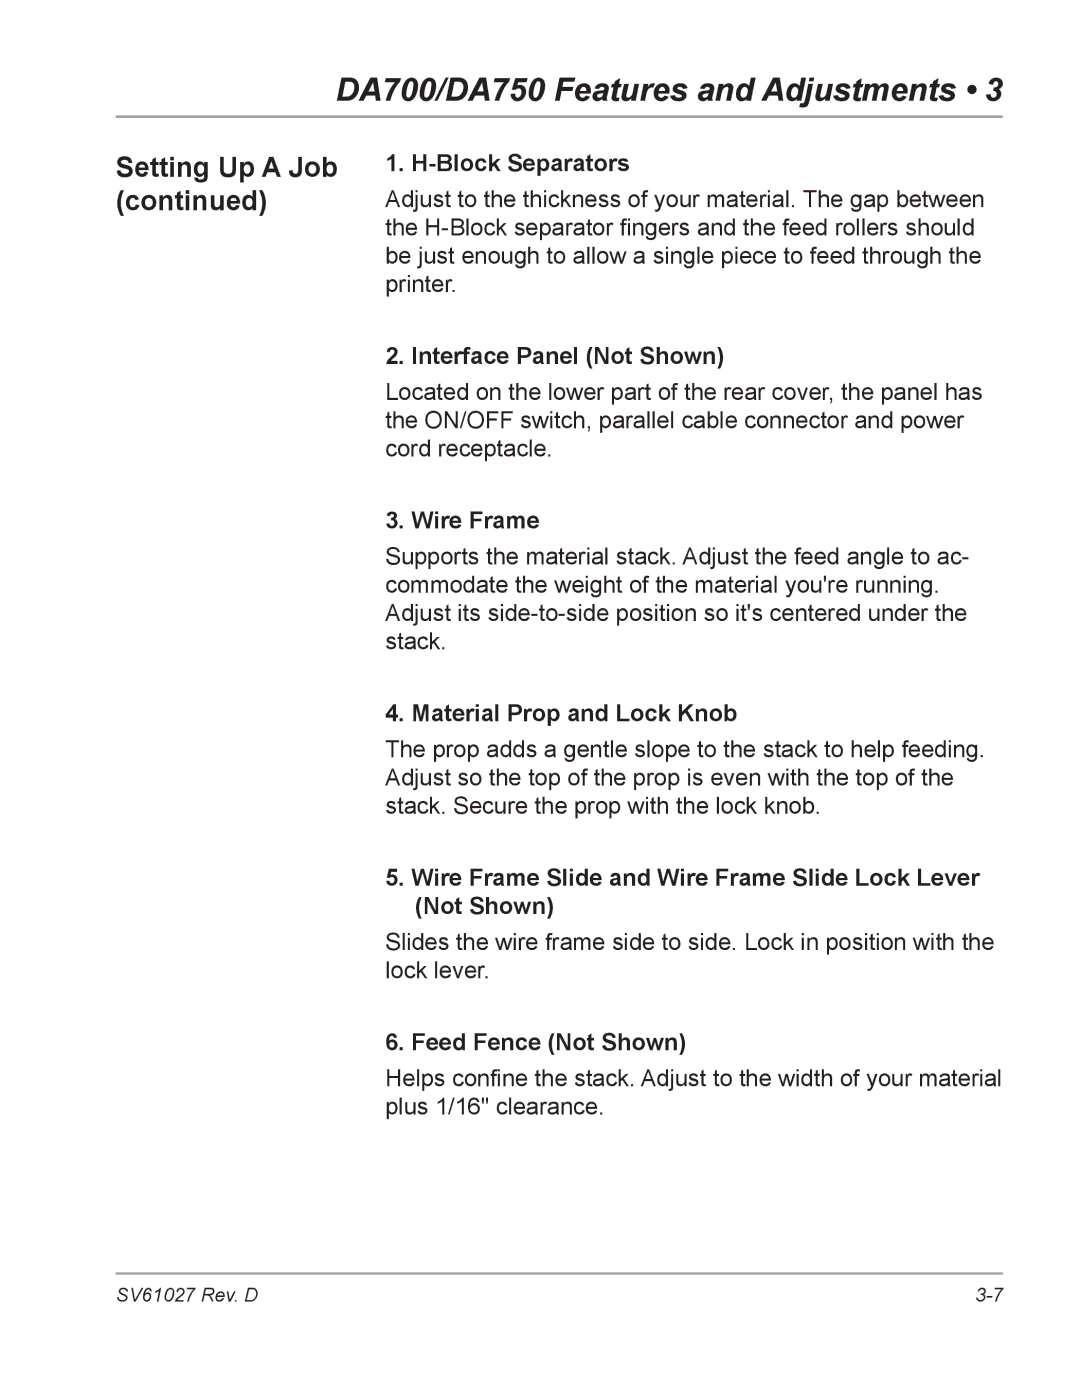
Setting Up a Job
Interface Panel Not Shown
Wire Frame
Wire Frame Slide and Wire Frame Slide Lock Lever Not Shown
Block Separators
Exit Rollers Not Shown
Print Area Door Assembly
Control Panel
Stacker Tray
Set the Separator Gap
Setting the Proper Feed Gap
Setup Example Using #10 Envelopes
Locking lever pushed down
Set the Feed Angle
To make the adjustment
DA700/DA750 Features and Adjustments
Set the Wire Frame Ramp
To position the fence
Position the Feed Fence
To avoid misfeeds, follow these instructions
Load Material
Adjust the Media Thickness Knob
DA700/DA750 Features and Adjustments
Adjust the Exit Rollers
Output Stack Height
Print a Test Piece
This page is intentionally blank
Using DA700/DA750 With Your Computer
Printer Driver Software
Using the DA700/DA750 with Your Computer
Selecting Printer Properties
General tab
Selecting Printer Properties Using the Printer Window
Using the Printer Properties Window
Properties Window
Using
Properties window
To display the Port window, left click the Port tab
To display the Advanced window, left click the Advanced tab
Spooling and Printing Options
Using the DA700/DA750 with Your Computer
Color Management tab in the Properties window
To display the Security window, left click the Security tab
Settings tab in the Properties window
Selecting the DA700/DA750 Printer from Windows Application
Using the DA700/DA750 with Your Computer
This page is intentionally blank
Printer Maintenance
Print Quality Problems
Printer Maintenance
Preventive Maintenance Cleaning
Print Head Shaft
Print Quality Problems Exit Rollers
Sensor
Floor Assembly and Top Cover
Cmyk Printing Alignment DA750 only
Printer Maintenance
Printer Maintenance
Printer Maintenance
Printer Maintenance
Press Menu twice to return to the normal on Line screen
Troubleshooting
Problem Intermittent Feed
Troubleshooting
Problems and Solutions
Feed Problems
Low Intensity Color Ink DA750 only
Problem Multifeed Feeds Doubles or Skewing
Problem No Print
Gray or Light Print Black Ink Off Color or
Address Printing is not Sharp
Problem Address Smudging
Problem Unwanted Bolding
Problem No Communications Printer Does Not Respond
Print Quality Problems Interface Problems
Problem Addresses Walking
Barcode
Problems
Problem Barcode Lower Right is not Printing
Problem Paper Out or Paper Jam
Barcode Problems Other Problems
Problem Address Too High
Problem Barcode Fails Merlin Standards at Usps
Shuttle Jam
Problem Memory Card Error
Problem Out of Memory
Appendix a
Appendix a Control Panel Menus
Using the Control Panel
Control Panel Menus Appendix a
Using the Menus
Using the Main Menu
Menu Options
Main Menu
Distance to Right Left Margin
Address Layout
Distance to Bottom Bottom Margin
Orientation Control
Line Spacing
Orientation
Appendix a Control Panel Menus
Letter Quality
Print Quality
Executive Quality
Appendix a Control Panel Menus
Width
Font Selection
Name
Size
Outline
Italic
Digit On / Off
Location
No 11 Digit Barcode will Print
Clear Memory
Address Recovery
Get Addresses
Address Recovery Clear Counter
Save
Load
Job Settings
Using the Setup Menu
Setup Menu Menu Options
Heavy Media Mode Test Print Head
Test Print Head Purge Print Head
Lines Per Address
Mode COM19600,N,8,1,P and press Enter
Word Length
Communications
Baud Rate
Parity
Hex Dump Mode
Hex Chart
Example
Language
Menu Languages
Inch / Millimeter
Envelope Feed Delay
Auto Envelope Eject
ROM Revision Number
This page is intentionally blank
Appendix B
Equipment Specifications
Appendix B DA700/DA750 Specifications
Executive
DA700/DA750 Specifications Appendix B
Address Recovery
Print Modes Print Resolution Draft
Equipment
Specifications
Barcode Printing Types
Barcode Printing Position
Stacker Capacity
Throughput Refer to the chart on
Destination Address Throughput
Draft Letter Executive
Printhead/InkJet Cartridges
Effective Print Area
Environmental Limits
Print Position Accuracy
Approved Media
Material Specifications
Noise Level
Recommended Usage
Material Notes
Material Size and Thickness
Envelope Sizes
This page is intentionally blank
Index
Index
SV61027 Rev. D
Index
Index
Index
Page
Sv61027RevD