Chapter 2
Getting Started with the DA700/DA750 Printer
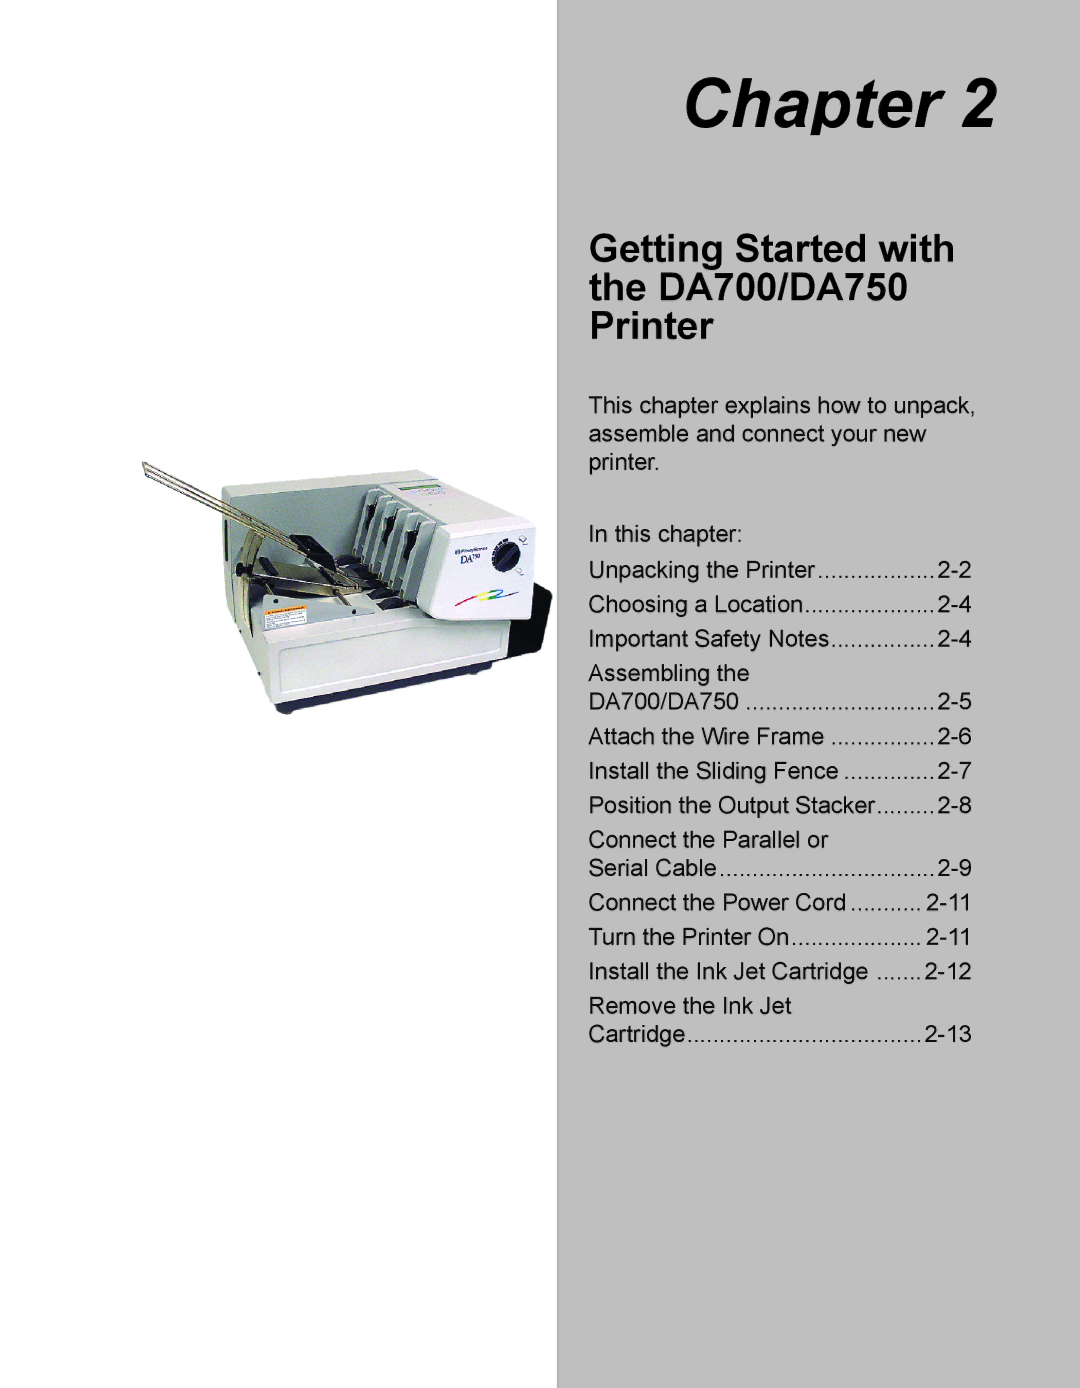
This chapter explains how to unpack, assemble and connect your new printer.
In this chapter: |
|
Unpacking the Printer | |
Choosing a Location | |
Important Safety Notes | |
Assembling the |
|
DA700/DA750 | |
Attach the Wire Frame | |
Install the Sliding Fence | |
Position the Output Stacker | |
Connect the Parallel or |
|
Serial Cable | |
Connect the Power Cord | |
Turn the Printer On | |
Install the Ink Jet Cartridge | |
Remove the Ink Jet |
|
Cartridge |
