PRINTING A REPORT
You can print a report on the machine's configuration or font list, etcetera.
1.Press Machine Setup on the control panel.
2.Press Admin Setting. When the login message pops up, then enter password and press OK.
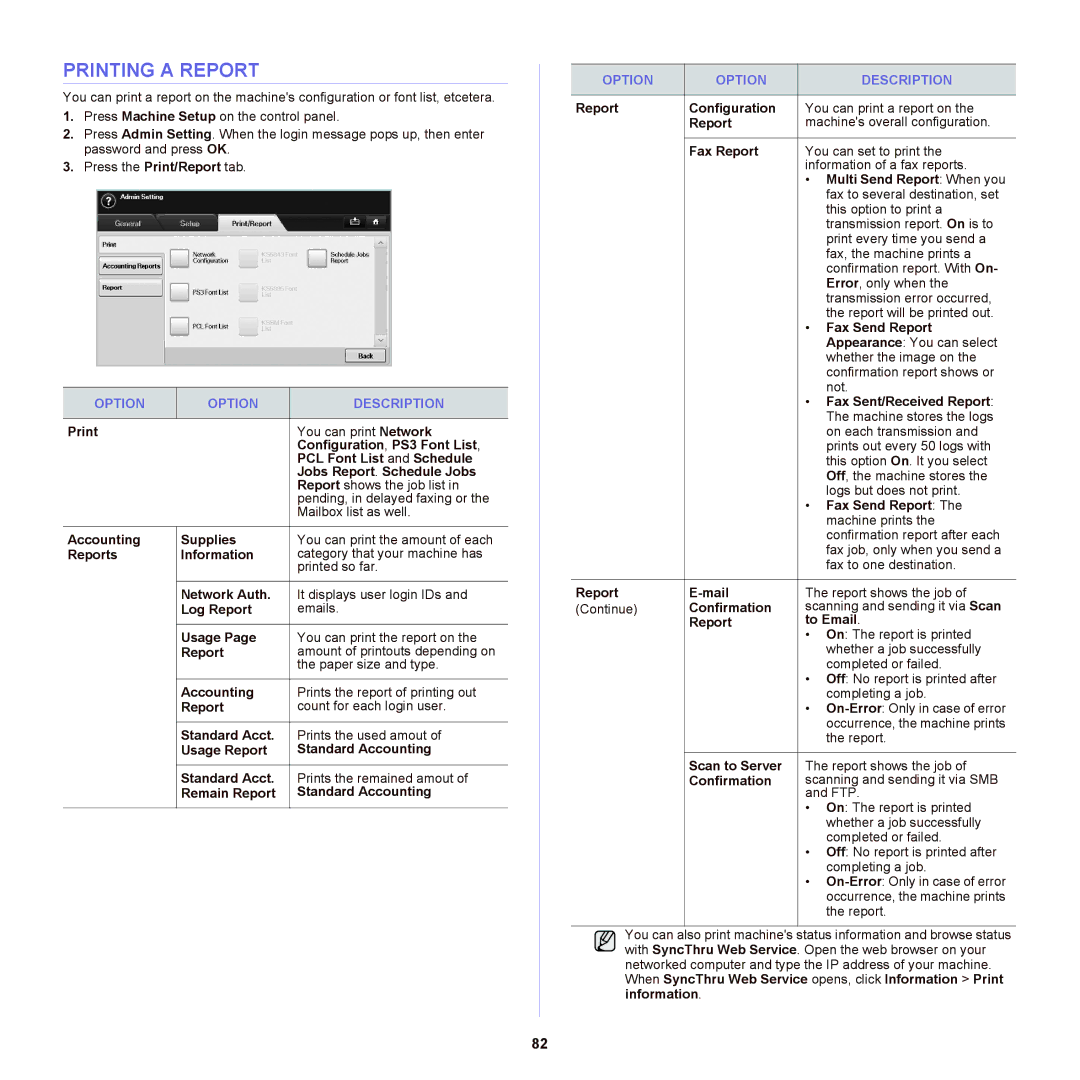
3.Press the Print/Report tab.
OPTION | OPTION | DESCRIPTION |
|
|
|
| You can print Network | |
|
| Configuration, PS3 Font List, |
|
| PCL Font List and Schedule |
|
| Jobs Report. Schedule Jobs |
|
| Report shows the job list in |
|
| pending, in delayed faxing or the |
|
| Mailbox list as well. |
|
|
|
Accounting | Supplies | You can print the amount of each |
Reports | Information | category that your machine has |
|
| printed so far. |
|
|
|
| Network Auth. | It displays user login IDs and |
| Log Report | emails. |
|
|
|
| Usage Page | You can print the report on the |
| Report | amount of printouts depending on |
|
| the paper size and type. |
|
|
|
| Accounting | Prints the report of printing out |
| Report | count for each login user. |
|
|
|
| Standard Acct. | Prints the used amout of |
| Usage Report | Standard Accounting |
|
|
|
| Standard Acct. | Prints the remained amout of |
| Remain Report | Standard Accounting |
|
|
|
OPTION | OPTION |
| DESCRIPTION |
|
|
| |
Report | Configuration | You can print a report on the | |
| Report | machine's overall configuration. | |
|
|
| |
| Fax Report | You can set to print the | |
|
| information of a fax reports. | |
|
| • Multi Send Report: When you | |
|
|
| fax to several destination, set |
|
|
| this option to print a |
|
|
| transmission report. On is to |
|
|
| print every time you send a |
|
|
| fax, the machine prints a |
|
|
| confirmation report. With On- |
|
|
| Error, only when the |
|
|
| transmission error occurred, |
|
|
| the report will be printed out. |
|
| • | Fax Send Report |
|
|
| Appearance: You can select |
|
|
| whether the image on the |
|
|
| confirmation report shows or |
|
|
| not. |
|
| • | Fax Sent/Received Report: |
|
|
| The machine stores the logs |
|
|
| on each transmission and |
|
|
| prints out every 50 logs with |
|
|
| this option On. It you select |
|
|
| Off, the machine stores the |
|
|
| logs but does not print. |
|
| • Fax Send Report: The | |
|
|
| machine prints the |
|
|
| confirmation report after each |
|
|
| fax job, only when you send a |
|
|
| fax to one destination. |
|
|
| |
Report | The report shows the job of | ||
(Continue) | Confirmation | scanning and sending it via Scan | |
| Report | to Email. | |
|
| • On: The report is printed | |
|
|
| whether a job successfully |
|
|
| completed or failed. |
|
| • Off: No report is printed after | |
|
|
| completing a job. |
|
| • | |
|
|
| occurrence, the machine prints |
|
|
| the report. |
|
|
| |
| Scan to Server | The report shows the job of | |
| Confirmation | scanning and sending it via SMB | |
|
| and FTP. | |
|
| • On: The report is printed | |
|
|
| whether a job successfully |
|
|
| completed or failed. |
|
| • Off: No report is printed after | |
|
|
| completing a job. |
|
| • | |
|
|
| occurrence, the machine prints |
|
|
| the report. |
|
|
|
|
You can also print machine's status information and browse status with SyncThru Web Service. Open the web browser on your networked computer and type the IP address of your machine. When SyncThru Web Service opens, click Information > Print information.
82