Please read before using telephone
User’s Guide
Important Safety Instructions
Getting Started
Packing List
Before you begin
Important Notes for DSL users
Getting Started This page intentionally left blank
External Paging Adapter
Other Optional Accessories
Music On Hold Adapter
Door Intercom/Door Opener Adapter
Table of Contents
Memory Dialing
Intercom Operation
Answering System
58-71
Expanding the Epic System
Centrex Operation
Additional Information
Index
Location of Controls
Xii
Installing Your System Identify Your Existing Wiring System
Label the jacks at each location
If you are installing new wiring and jacks
If you have difficulty in identifying wall jacks
Installing Your System Plan Your Installation
Standard Installation
Installation Worksheet
Stn
Connect First Line Cord
Installing Your System Install Desk/Table Top Phones
Connect Second Line Cord
Verify Proper Installation
Connect Power Cord
Install Batteries Optional
Connect Handset
Connect Cords to Wall
Installing Your System Install Wall Mounted Phones
Connect Cords to Telephone
Reverse Handset Hook
Attach Telephone to Wall
Using Station Names
Installing Your System Verifying Proper Installation
Setting Up Your System Setting Up Your System At a Glance
Following must be done at each station
Following must be done at Station #11
Setting Up Your System Setting Automatic Line Selection
To choose which line will be automatically selected
Setting Up Your System Setting Distinctive Ringing
To assign distinctive rings to one or more lines
Setting Up Your System Setting Up Toll Restriction
Turning toll restriction on/off at a particular telephone
To set the restricted numbers at a particular telephone
Worksheet
Choices are L1 Normal factory setting
To completely restrict specific lines at a telephone
To set the allowed numbers at a particular telephone
Enter
Choices are Call PrivacyON factory setting Call PrivacyOFF
Setting Up Your System Setting System Call Privacy On/Off
To set system call privacy on/off At Station #11
To program
Choices are L2 Shared factory setting
L2 L2 AUX1
Page
Intercom Indicator
Operating Your System Indicator Light Description
Line indicators
LCD Station In-Use Indicators
Operating Your System
To choose how each line will ring
Operating Your System Adjusting Volume Levels
Operating Your System Making a Tone/Pulse Selection
Choices are Dial Tone factory setting Dial Pulse
To set your system to Tone or Pulse Dialing At Station #11
To make and answer calls using the speakerphone
To make and answer calls using the handset
Operating Your System Making and Answering a Call
To redial the last phone num- ber you dialed
Operating Your System Using Redial
To redial any of the last five phone numbers you dialed
To put an outside call on hold
Operating Your System Using Hold
Press Hold to place an outside Call on hold
To make a call on another line
To switch between lines
To answer a call ringing on another line
To conference two outside calls
Operating Your System Conferencing Calls
To conference another station while on an outside call
Press Transfer To send a call to Another station
To use the transfer ring
To use one of eight personal rings
To see the caller ID informa- tion of an incoming call
Operating Your System Using Caller ID
To view numbers in the caller list
To use call waiting caller ID
To delete numbers from the caller list
To dial a number in the caller list
Entering Area Codes into your Epic telephone
To use your MSG lamp to indi- cate voice mail messages
Operating Your System Using Telephone Company Voice Mail
To access your voice mail mes- sages
To turn off the MSG lamp
Operating Your System Using Flash
Operating Your System Using Mute
To turn mute on/off during a call
Operating Your System
To cancel Line Reserve
Operating Your System Using Line Reserve
To reserve a line that is cur- rently being used
Operating Your System Releasing Call Privacy
To release call privacy during a call
Operating Your System Using Toll Restriction
To view the elapsed time dur- ing your call
Operating Your System Using the Call Timer
To restart the timer from zero
To view the length of your pre- vious five calls
To make and answer a call using the headset
Usethe HEADSETbutton totoggle the headset on and off
Page
Memory Dialing Memory Features
Directory Card
To store a memory dial num- ber
Memory Dialing Using Memory Dial
To dial a memory dial number
To store a personal directory dial number
Memory Dialing Using Personal Directory Dial
To dial a personal directory number
To store a shared directory dial number At Station #11
Memory Dialing Using Shared Directory Dial
To dial a shared directory number
Storing a hyphen into memory
Memory Dialing Special Memory Features
Storing a switchhook flash into memory
Storing a dialing pause into memory
Predialing
Storing one of the last five numbers dialed into memory
Storing a Caller ID number into memory
Erasing numbers stored in memory
Intercom Operation Making Intercom Calls
To intercom another station
If your phone is set to Intercom Voice
Intercom Operation Answering Intercom Calls
If your phone is set to Intercom Ring
If your phone is set to Intercom Handsfree
To page another station
Intercom Operation Making Pages
To make an All
To answer a page directed to your station or an All
Intercom Operation Answering Pages
Blocking Pages at your telephone
To choose how your phone will respond to intercom calls
To respond to an off hook voice announcement
Intercom Operation Using Off Hook Voice Announce
To make an off hook voice announcement
Blocking off hook voice announcements at your telephone
Intercom Operation Monitoring a Room Using the Intercom
To Name a Station in Your Epic System At Station #11
Intercom Operation Naming Stations
Guide for Entering Names
Answering System
Setting Up and Operating Your Telephone’s Answering System
Answering System Overview
Turning your Answering System On/Off
To turn your answering sys- tem on/off
To record your OGM
Recording your OGM
Follow the instructions at left to record your OGM
Erasing your OGM
Reviewing your OGM
Changing your OGM
Listening to your Messages
Jump forward
Message auto save Using dialpad
Saving a message as new
Changing Playback Speed
To change playback speed
To erase all messages
Erasing messages
To erase a message
Use the Erase button to erase any or all of your messages
Setting your Telephone’s Pickup Delay
To set your telephone’s pickup delay
Use the xbutton to record a memo or your con- versation
Recording a Memo or Conversation
To record a memo or conver- sation
Recording a Memo
Use the bbutton
To screen your calls
Toll Saver feature can
To set Toll Saver on/off
Back Enter Next
Setting New Message Beep On/Off
To set New Message Beep On/Off
Setting Up and Operating a Telephone as an Auto Attendant
Auto Attendant Overview
Auto Attendant Sequence for Callers
Setting your Telephone as an Auto Attendant
To set your telephone as an Auto Attendant
To record your Auto Attendant Day, Night and Zero-Out OGMs
Recording your Auto Attendant Day, Night and Zero-Out OGMs
Choices are AA Day OGM AA Night OGM
Reviewing an Auto Attendant OGM
Reviewing, Erasing or Changing an Auto Attendant OGM
To review an Auto Attendant OGM
Erasing an Auto Attendant OGM
To set the Auto Attendant Pickup Delay
Setting the Auto Attendant Pickup Delay
Set the AA Delay to 0 for a quiet office
Setting the Auto Attendant Day and Night Times
To set the Auto Attendant Day and Night Times
Setting More than One Phone as an Auto Attendant
To set more than one phone as an Auto Attendant
Advanced Auto Attendant Features
Using Additional Auto Attendant OGMs
To record additional Auto Attendant OGMs
To set separate Auto Attendant OGMs for different lines
Setting Separate Auto Attendant OGMs for Different Lines
You may easily assign separate OGMs to different lines
Turning the Auto Attendant Off on One or More Lines
To turn off the Auto Attendant on one or more lines
Choosing the Zero-Out Action
To choose the Zero-Out Action
Answering System
Pressing # to Leave a Message at the Auto Attendant
To repeat an Auto Attendant OGM
Repeating an Auto Attendant OGM
To repeat the main menu
Setting the Night Message On/Off by Line
To set the Night Message On/Off by Line
Transferring Direct to Voice Mail
To transfer direct to voice mail
Summary of Auto Attendant Actions
Caller Dials Auto Attendant Response
Remote Operation
Use the Remote Code to
Connecting with the Answering System
To connect with the answering system
Expanding the Epic System
Standard Configuration
Private Lines
Important Note
Auxiliary Lines
To assign a distinctive ring to your Centrex line
Centrex Operation Using Centrex With Your Epic Telephone
To set up a private Centrex line at your telephone
To store a Centrex code into a memory location
Centrex Operation Storing the Centrex Prefix
To store the Centrex prefix
To set up a telephone as a Centrex console
Choices are Centrex CSL OFF factory setting Centrex CSL on
To set up a telephone to ring a Centrex console
Choices are Ring Console no factory setting Ring Console YES
Setting Centrex Transfer On/Off
Centrex Operation Using Centrex Auto Attendant
Choices are Centrex TrnfON
Centrex Operation Storing the Dial Prefix
To store the Dial prefix
Using standard telephones
Using other Epic intercom telephones
Using fax machines and computer modems
Additional Information
Data/fax jack is found on the right side of your Epic phone
External Feature Module set as a Music On Hold Adapter
External Feature Module set as an External Paging Adapter
To answer a door speaker over the intercom
To adjust the door intercom bell volume at your telephone
To unlock a magnetic door lock
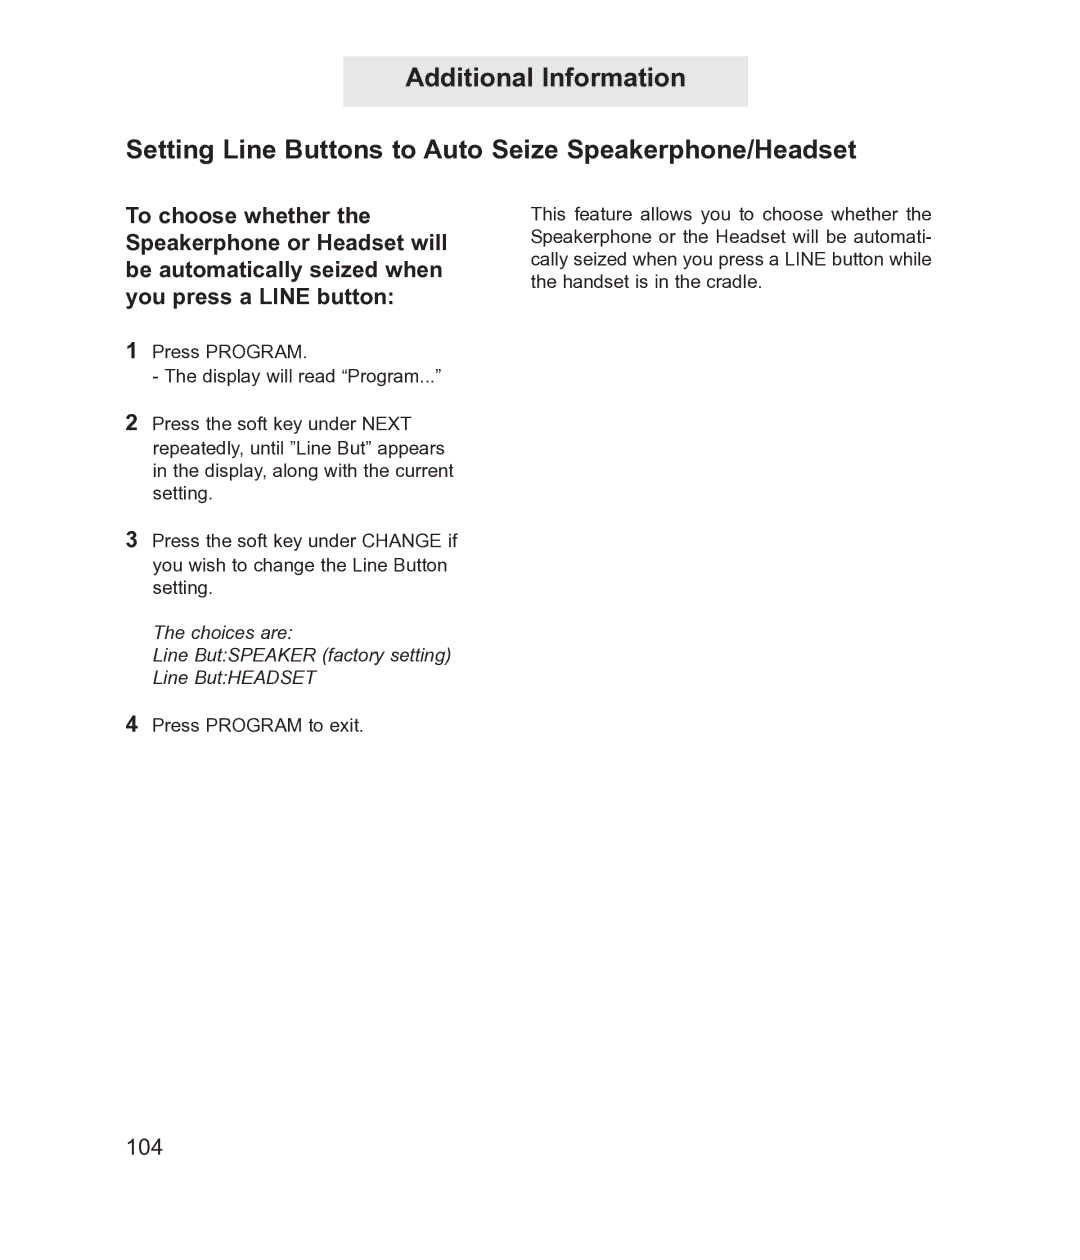
Choices are Line ButSPEAKER factory setting Line ButHEADSET
Additional Information Locking Station Assignments
Choices are Station #NORMAL factory setting Station #LOCKED
To lock your telephone’s sta- tion assignment
Additional Information Replacing Your Battery
Operation During a Power Failure
Additional Information Adjusting Held Call Reminder
Additional Information Adjusting Auto Hold Drop Time
Additional Information Adjusting Flash Length
Additional Information Erasing All Feature Settings
To erase all feature settings at a particular telephone
Additional Information Setting the Loop Voltage Detector
To set your telephone’s loop voltage detector
Additional Information Troubleshooting Guide
Controlled by a wall switch
Problem Solution
Problem may be caused by DSL microfilters. Note
114
Resetting Procedure
Additional Information FCC Information
Automatic Dialers
How do you make a warranty claim?
Additional Information Warranty Information
What does your warranty cover?
For how long after the original purchase?
Limitations and Exclusions
Index
32-33, 46-47 , 32-33
121
122
TMC Corporation