OPERATION
BEFORE STARTING
Before plugging in the transceiver, check your in- stallation to make sure your AC voltage is correct, and that your ground and antenna are connected as de- scribed in the Installation chapter. Then preset the fol- lowing controls as indicated:
[POWER], [ANT RX], [MOX], [VOX], and [AF REV] buttons all off
AGC selector to AUTO [IPO] button to off
AF GAIN and SUB AF knobs matched at approxi- mately 9 o’clock
MIC, PROC, RF PWR, MONI, SQL, SUB SQL, and NB knobs all counterclockwise
RF GAIN knob fully clockwise
SHIFT, WIDTH, and NOTCH knobs 12 o’clock (de-
tent)
[LOCK], [FAST], [SPOT],
Connect your microphone and CW key/paddle, then plug the AC cord into the wall outlet.
MARK-V FT-1000MP
MENU PROGRAMMING
The
Menu programming is enabled by pressing the [FAST] button, followed by [ENT]. You may then rotate the VRF/MEM CH knob to display the desired setting. Each of the settings can be changed or customized, as you like, in this mode. For clarity’s sake, transceiver functions that have several settings or options are ref- erenced to the Menu Programming chapter separately, where details of programming are covered. Descrip- tions for most transceiver functions in this chapter as- sume default
There also are some
RECEIVING
Note: the following procedure assumes the transceiver has not been used before, and not already set for Dual reception. If “DUAL” appears on the display when you switch on the set in the next step, you should press the blue [DUAL] button to return to the
Press the [POWER] switch on. The meter and dis- play should light up. If the display is too bright for your taste, it can be switched to a more subdued level using menu selection
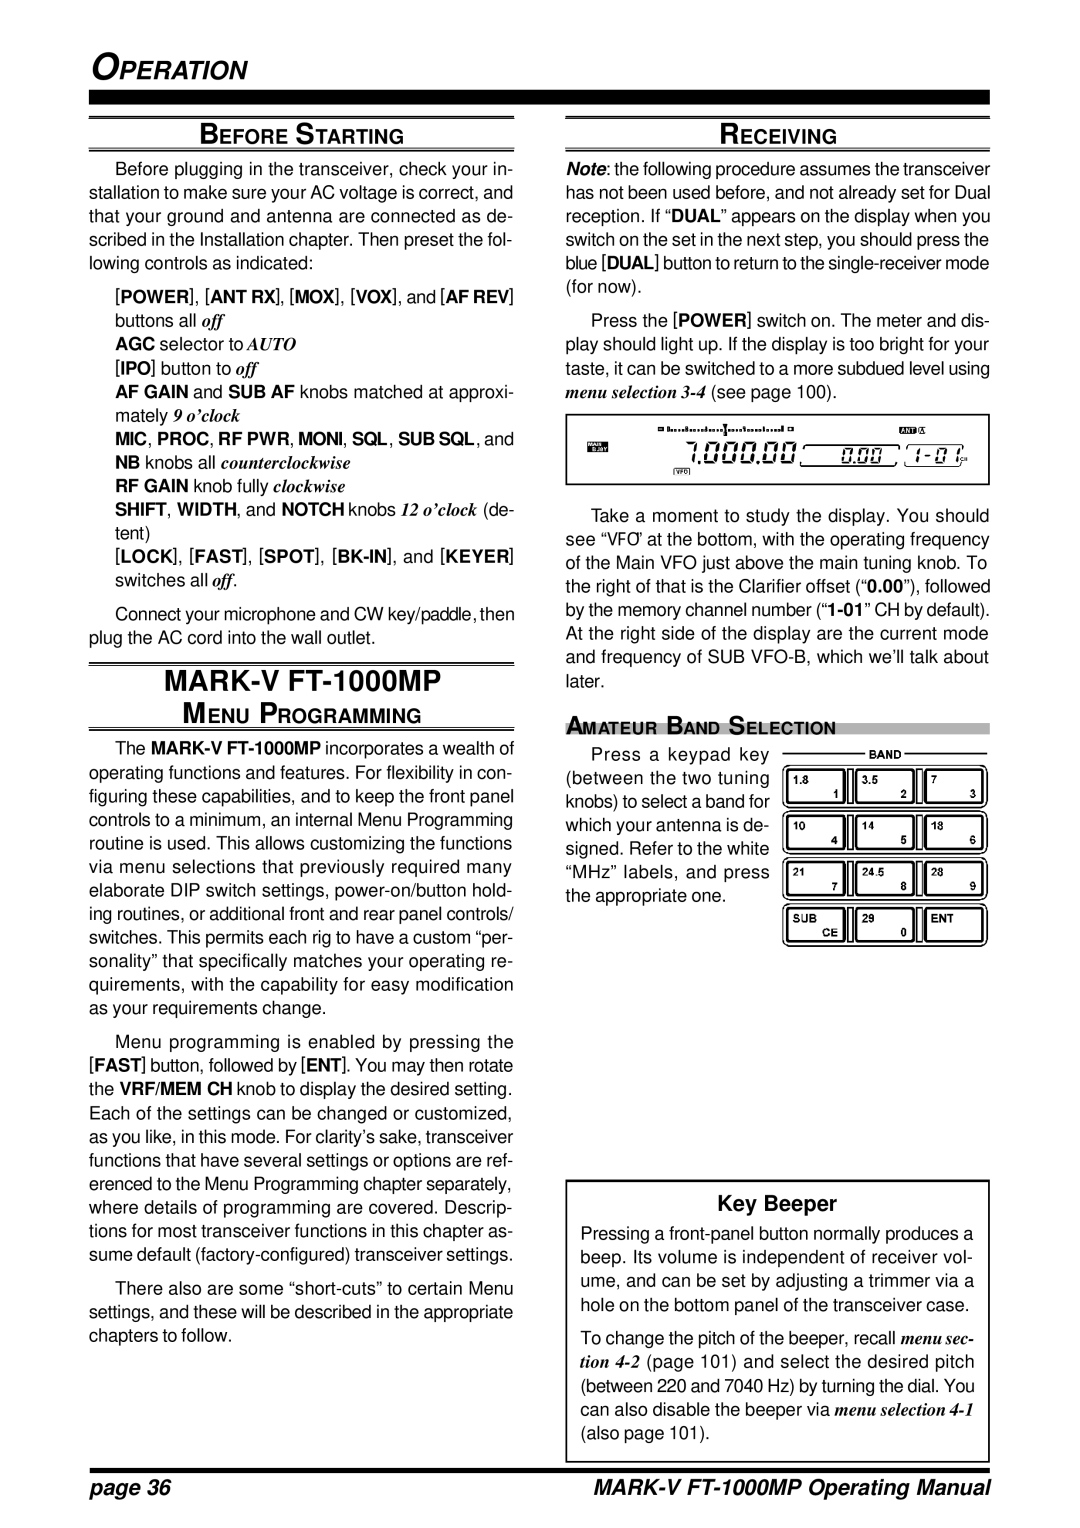
Take a moment to study the display. You should see “VFO” at the bottom, with the operating frequency of the Main VFO just above the main tuning knob. To the right of that is the Clarifier offset (“0.00”), followed by the memory channel number
AMATEUR BAND SELECTION
Press a keypad key (between the two tuning knobs) to select a band for which your antenna is de- signed. Refer to the white “MHz” labels, and press the appropriate one.
Key Beeper
Pressing a
To change the pitch of the beeper, recall menu sec- tion
page 36 |
|