30VISIONEER ONETOUCH 9420 USB SCANNER USER’S GUIDE
ABOUT THE ONETOUCH BUTTON PANEL’S NAMES AND ICONS
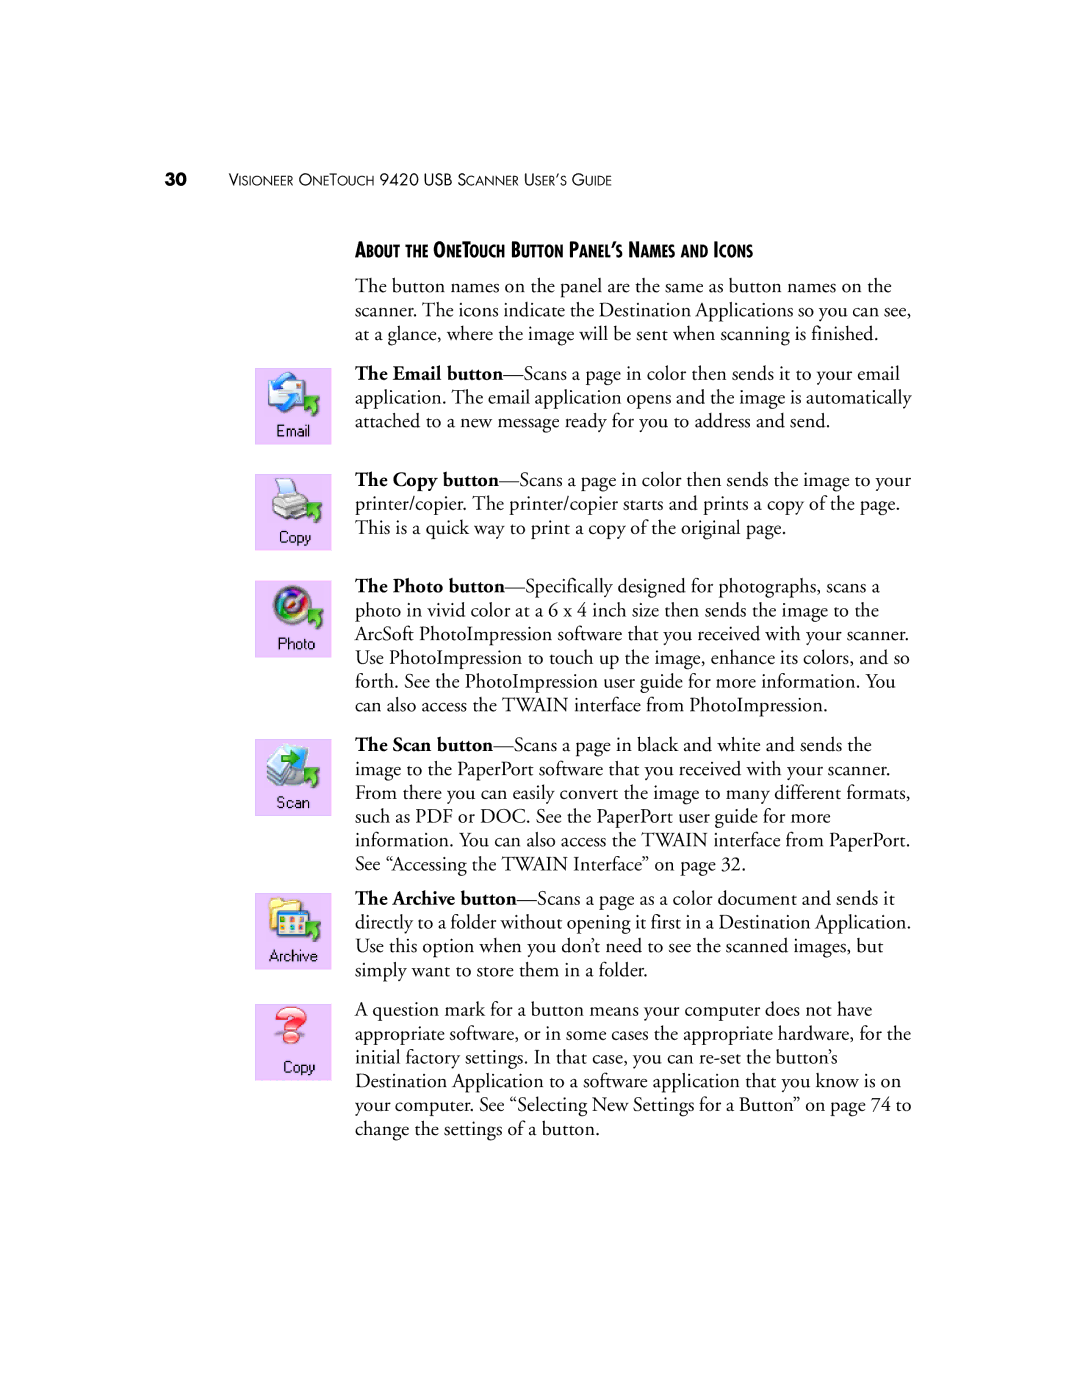
The button names on the panel are the same as button names on the scanner. The icons indicate the Destination Applications so you can see, at a glance, where the image will be sent when scanning is finished.
The Email button—Scans a page in color then sends it to your email application. The email application opens and the image is automatically attached to a new message ready for you to address and send.
The Copy button—Scans a page in color then sends the image to your printer/copier. The printer/copier starts and prints a copy of the page. This is a quick way to print a copy of the original page.
The Photo button—Specifically designed for photographs, scans a photo in vivid color at a 6 x 4 inch size then sends the image to the ArcSoft PhotoImpression software that you received with your scanner. Use PhotoImpression to touch up the image, enhance its colors, and so forth. See the PhotoImpression user guide for more information. You can also access the TWAIN interface from PhotoImpression.
The Scan button—Scans a page in black and white and sends the image to the PaperPort software that you received with your scanner. From there you can easily convert the image to many different formats, such as PDF or DOC. See the PaperPort user guide for more information. You can also access the TWAIN interface from PaperPort. See “Accessing the TWAIN Interface” on page 32.
The Archive button—Scans a page as a color document and sends it directly to a folder without opening it first in a Destination Application. Use this option when you don’t need to see the scanned images, but simply want to store them in a folder.
A question mark for a button means your computer does not have appropriate software, or in some cases the appropriate hardware, for the initial factory settings. In that case, you can re-set the button’s Destination Application to a software application that you know is on your computer. See “Selecting New Settings for a Button” on page 74 to change the settings of a button.

