5.3.11 Routing ISDN Trunks Screen
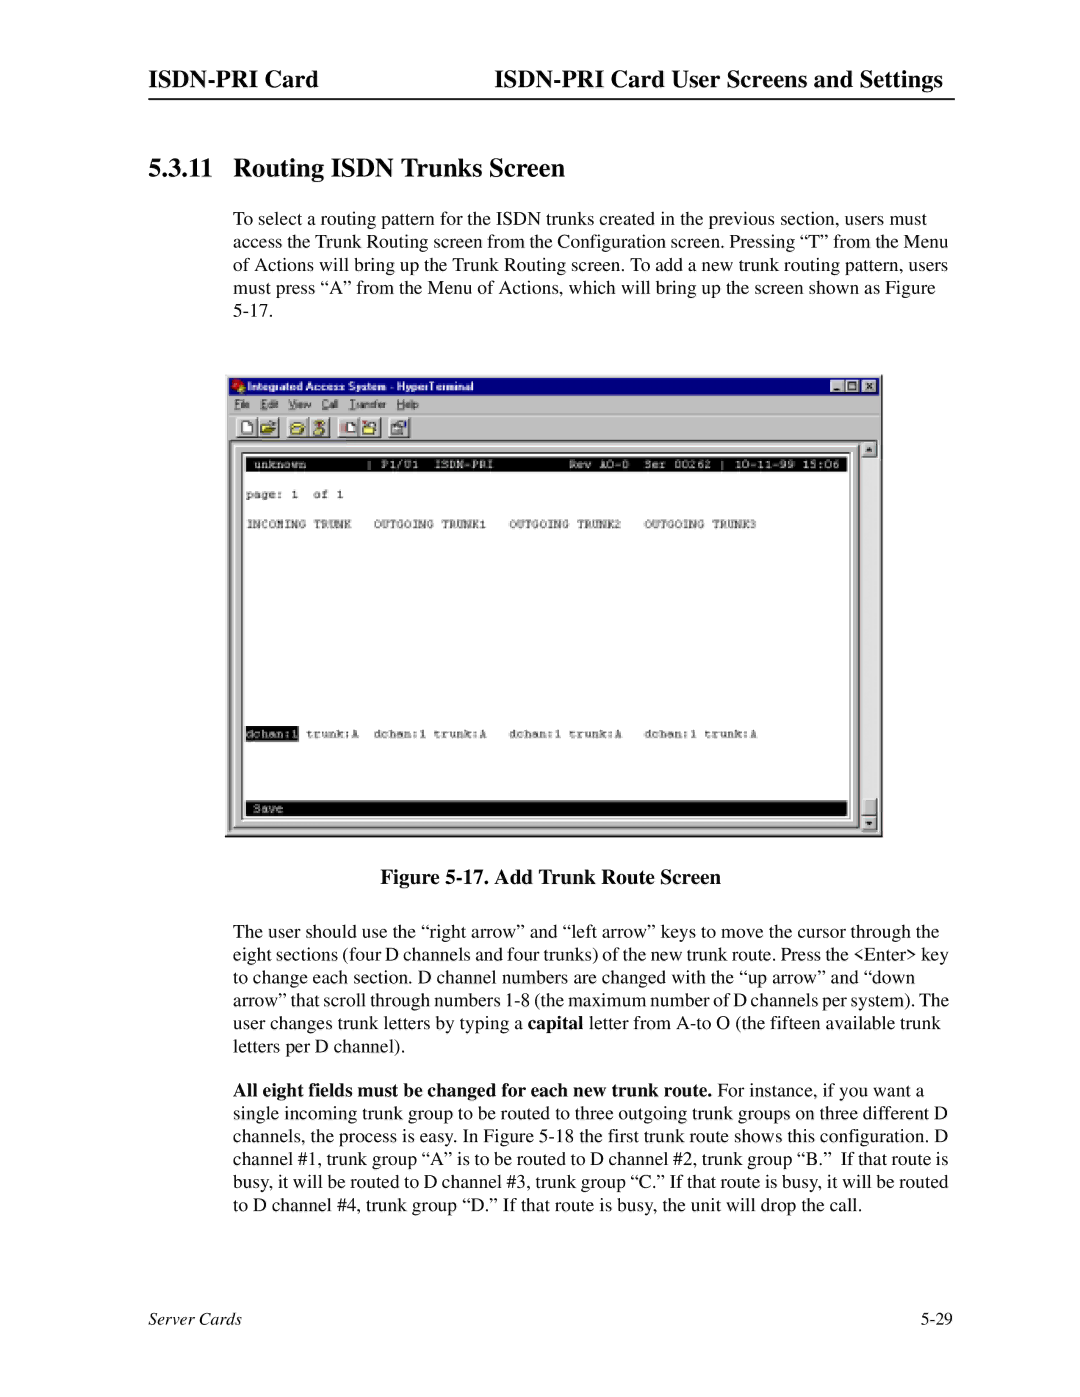
To select a routing pattern for the ISDN trunks created in the previous section, users must access the Trunk Routing screen from the Configuration screen. Pressing “T” from the Menu of Actions will bring up the Trunk Routing screen. To add a new trunk routing pattern, users must press “A” from the Menu of Actions, which will bring up the screen shown as Figure
Figure 5-17. Add Trunk Route Screen
The user should use the “right arrow” and “left arrow” keys to move the cursor through the eight sections (four D channels and four trunks) of the new trunk route. Press the <Enter> key to change each section. D channel numbers are changed with the “up arrow” and “down arrow” that scroll through numbers
All eight fields must be changed for each new trunk route. For instance, if you want a single incoming trunk group to be routed to three outgoing trunk groups on three different D channels, the process is easy. In Figure
Server Cards |