|
|
| Other Useful | English |
|
|
|
| |
|
|
| Features |
|
|
|
| Illumination Control |
|
|
|
| With the sidemarker lamps of the vehicle ON, | |
|
|
| setting the illumination control to AUTO |
|
|
|
| decreases the illumination brightness of the | |
|
|
|
| |
|
|
| If the illumination of the unit is too bright during | |
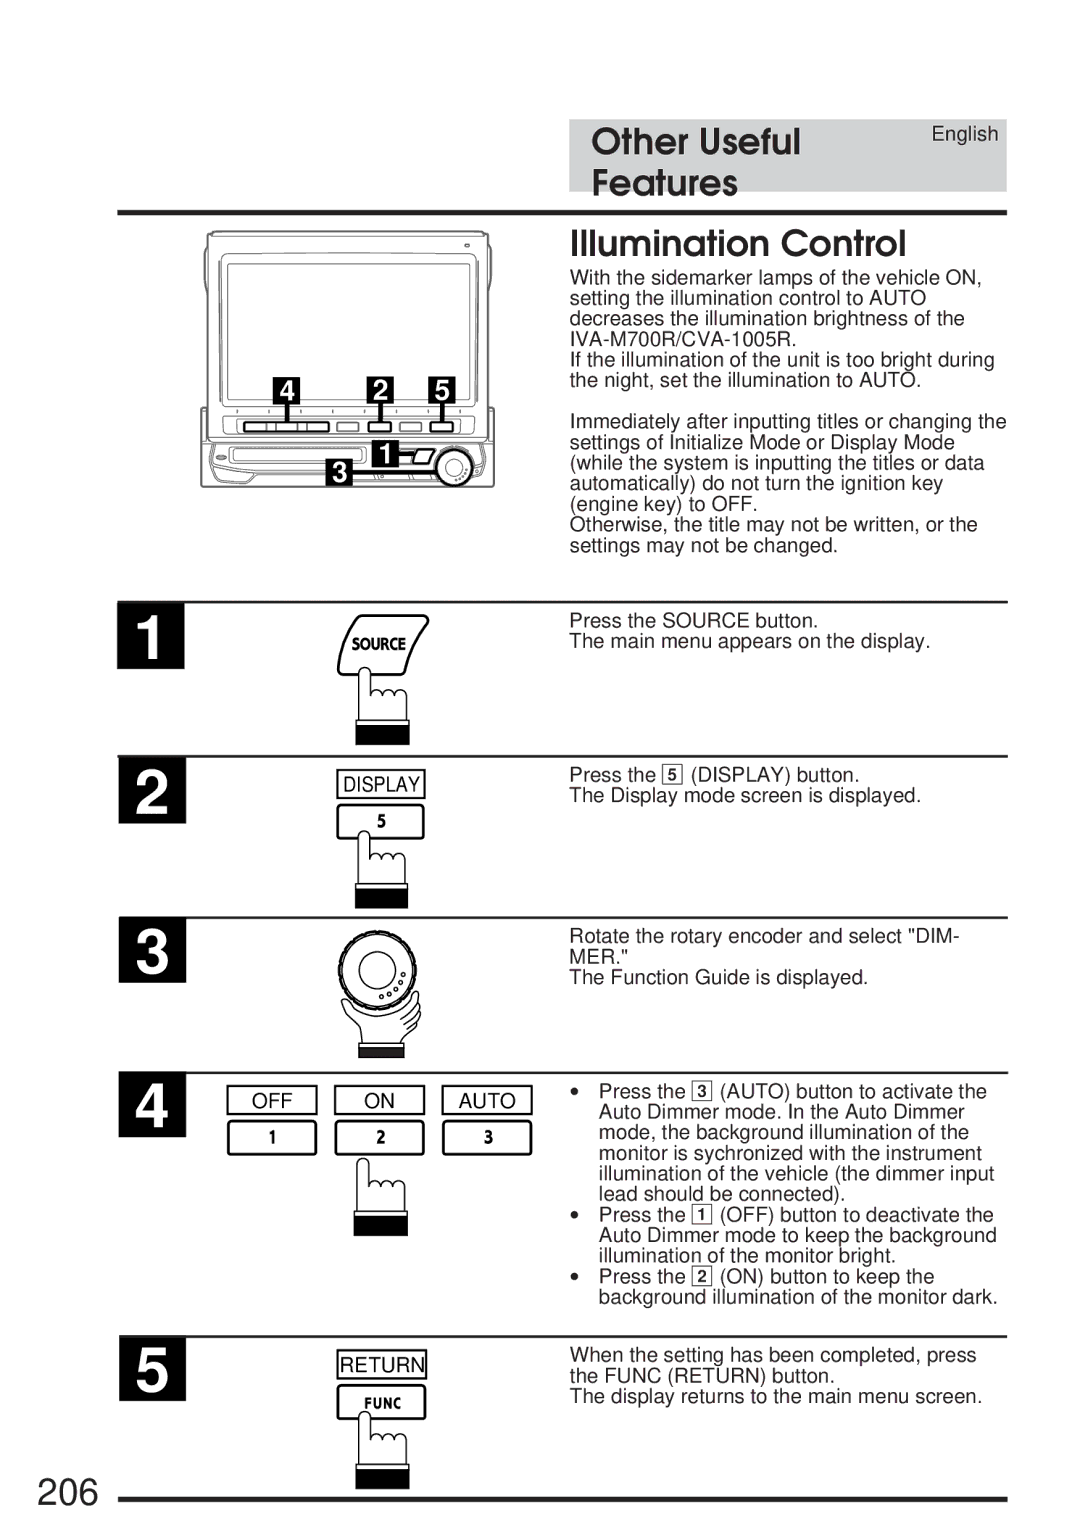
4 | 2 | 5 | the night, set the illumination to AUTO. |
|
|
| |||
3
1
Immediately after inputting titles or changing the settings of Initialize Mode or Display Mode (while the system is inputting the titles or data automatically) do not turn the ignition key (engine key) to OFF.
Otherwise, the title may not be written, or the settings may not be changed.
1
2
Press the SOURCE button.
The main menu appears on the display.
DISPLAY | Press the 5 (DISPLAY) button. | |
The Display mode screen is displayed. | ||
|
3
Rotate the rotary encoder and select "DIM- MER."
The Function Guide is displayed.
4
OFF
ON
AUTO
∙Press the 3 (AUTO) button to activate the Auto Dimmer mode. In the Auto Dimmer mode, the background illumination of the monitor is sychronized with the instrument illumination of the vehicle (the dimmer input lead should be connected).
∙Press the 1 (OFF) button to deactivate the Auto Dimmer mode to keep the background illumination of the monitor bright.
∙Press the 2 (ON) button to keep the background illumination of the monitor dark.
5
RETURN
When the setting has been completed, press the FUNC (RETURN) button.
The display returns to the main menu screen.