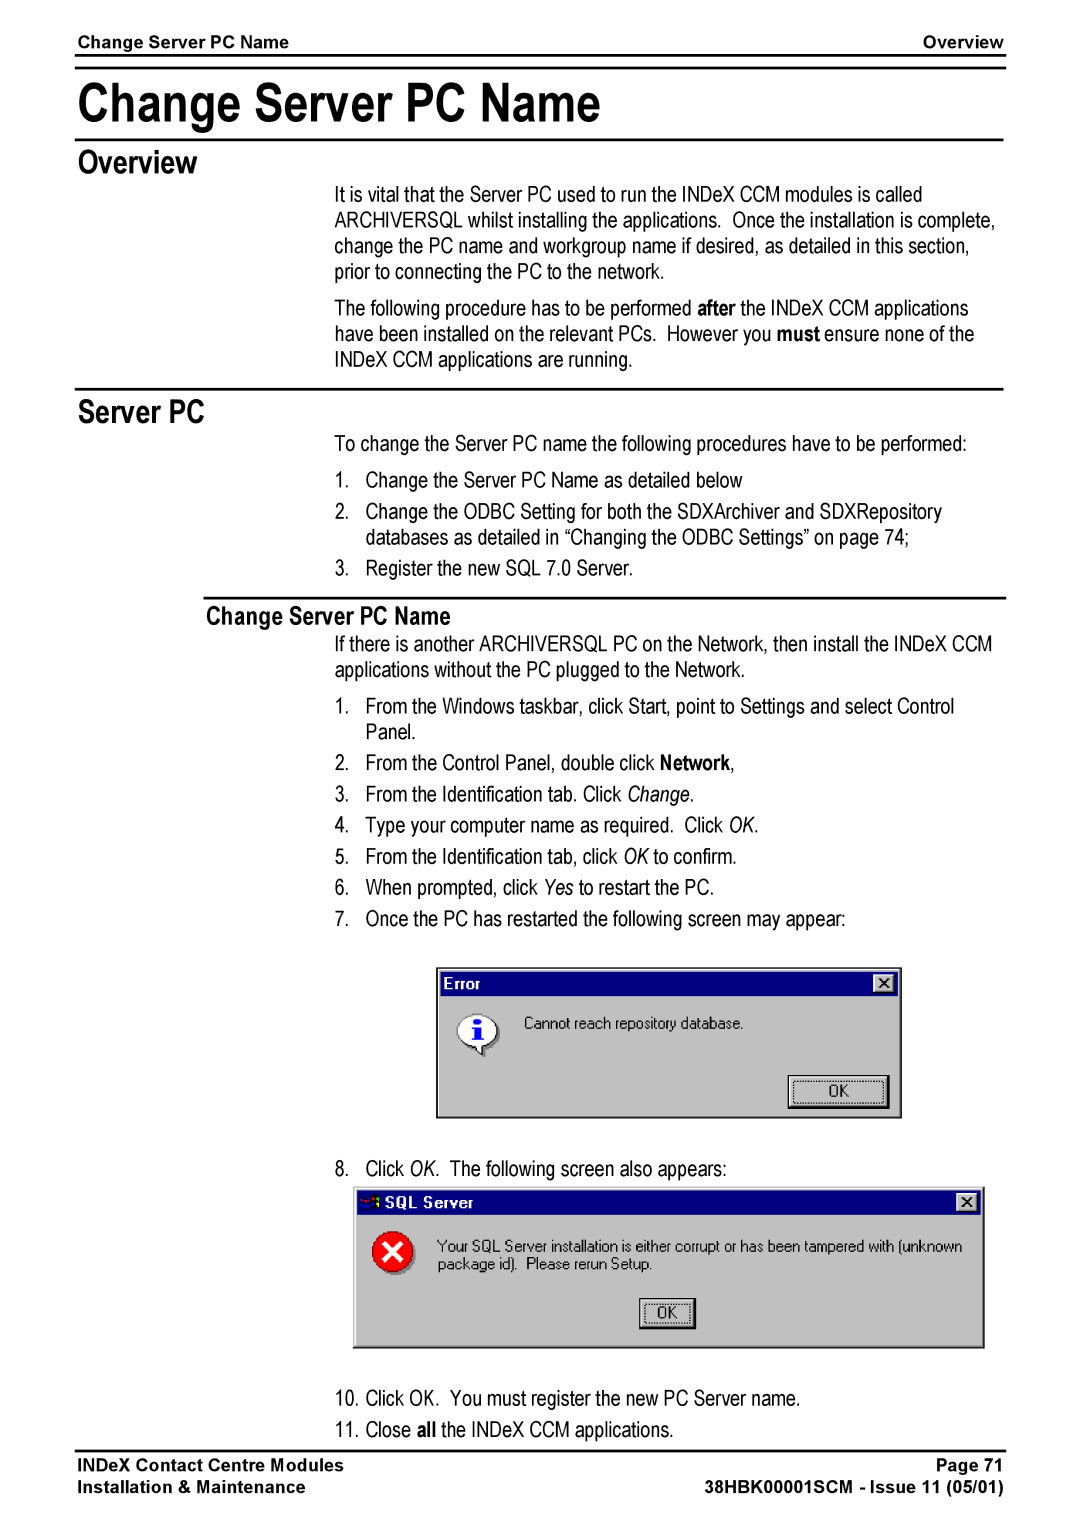
38HBK00001SCM specifications
The Avaya 38HBK00001SCM is a prominent offering in the realm of communication solutions, designed to enhance collaborative experiences in organizational environments. This device stands at the intersection of innovation, reliability, and performance, making it an essential tool for businesses striving to refine their communication strategies.One of the main features of the Avaya 38HBK00001SCM is its advanced call handling capabilities. Designed for both efficiency and effectiveness, this device supports a multitude of features including call waiting, call forwarding, and caller ID. It ensures that users can manage incoming and outgoing calls seamlessly, thereby boosting productivity and enhancing customer interactions.
The device also comes equipped with built-in conferencing options, allowing users to connect multiple parties effortlessly. This feature is particularly beneficial for businesses with remote teams, as it fosters a collaborative environment regardless of physical locations. The clarity of audio and video during these conferences ensures that communication remains unobstructed, promoting better decision-making.
Another notable characteristic of the Avaya 38HBK00001SCM is its integration with various technologies like VoIP and IP telephony. This compatibility allows organizations to utilize their existing network infrastructures, reducing the need for additional investments. The device seamlessly connects with other communication platforms, providing businesses with the flexibility to adapt as their needs evolve.
In terms of user interface, the Avaya 38HBK00001SCM is designed with user-friendliness in mind. Its intuitive controls and navigation allow users to access features quickly, minimizing the learning curve for new users. Additionally, the device is equipped with programmable keys, enabling users to customize their experience according to personal preferences.
Security is a paramount consideration in today's digital landscape, and the Avaya 38HBK00001SCM addresses this with robust encryption protocols. This ensures that conversations remain confidential and secure from potential breaches, instilling confidence in users when conducting sensitive discussions.
Furthermore, the device is built to be durable and reliable, suitable for the rigorous demands of a fast-paced business environment. Its sleek design not only enhances aesthetic appeal but also optimizes desk space, making it a practical addition to any workspace.
In summary, the Avaya 38HBK00001SCM stands out due to its rich features, including advanced call handling, conferencing capabilities, and robust security measures. Its seamless integration with various technologies and user-friendly interface further solidify its position as a top choice for businesses seeking to elevate their communication strategies. As organizations continue to adapt to the evolving landscape of work, the Avaya 38HBK00001SCM serves as a dependable partner in achieving their goals.

