4
4


 4Initial Setup
Getting Started
After you have assembled your machine uing the Brother StartCard, continue the setup by programming the rest of the initial settings.
Setting Date and Time
Your FAX/MFC displays the date and time, and prints it on every fax you send.
In the event of a power failure, you may have to reset the date and time. All other settings remain unaffected.
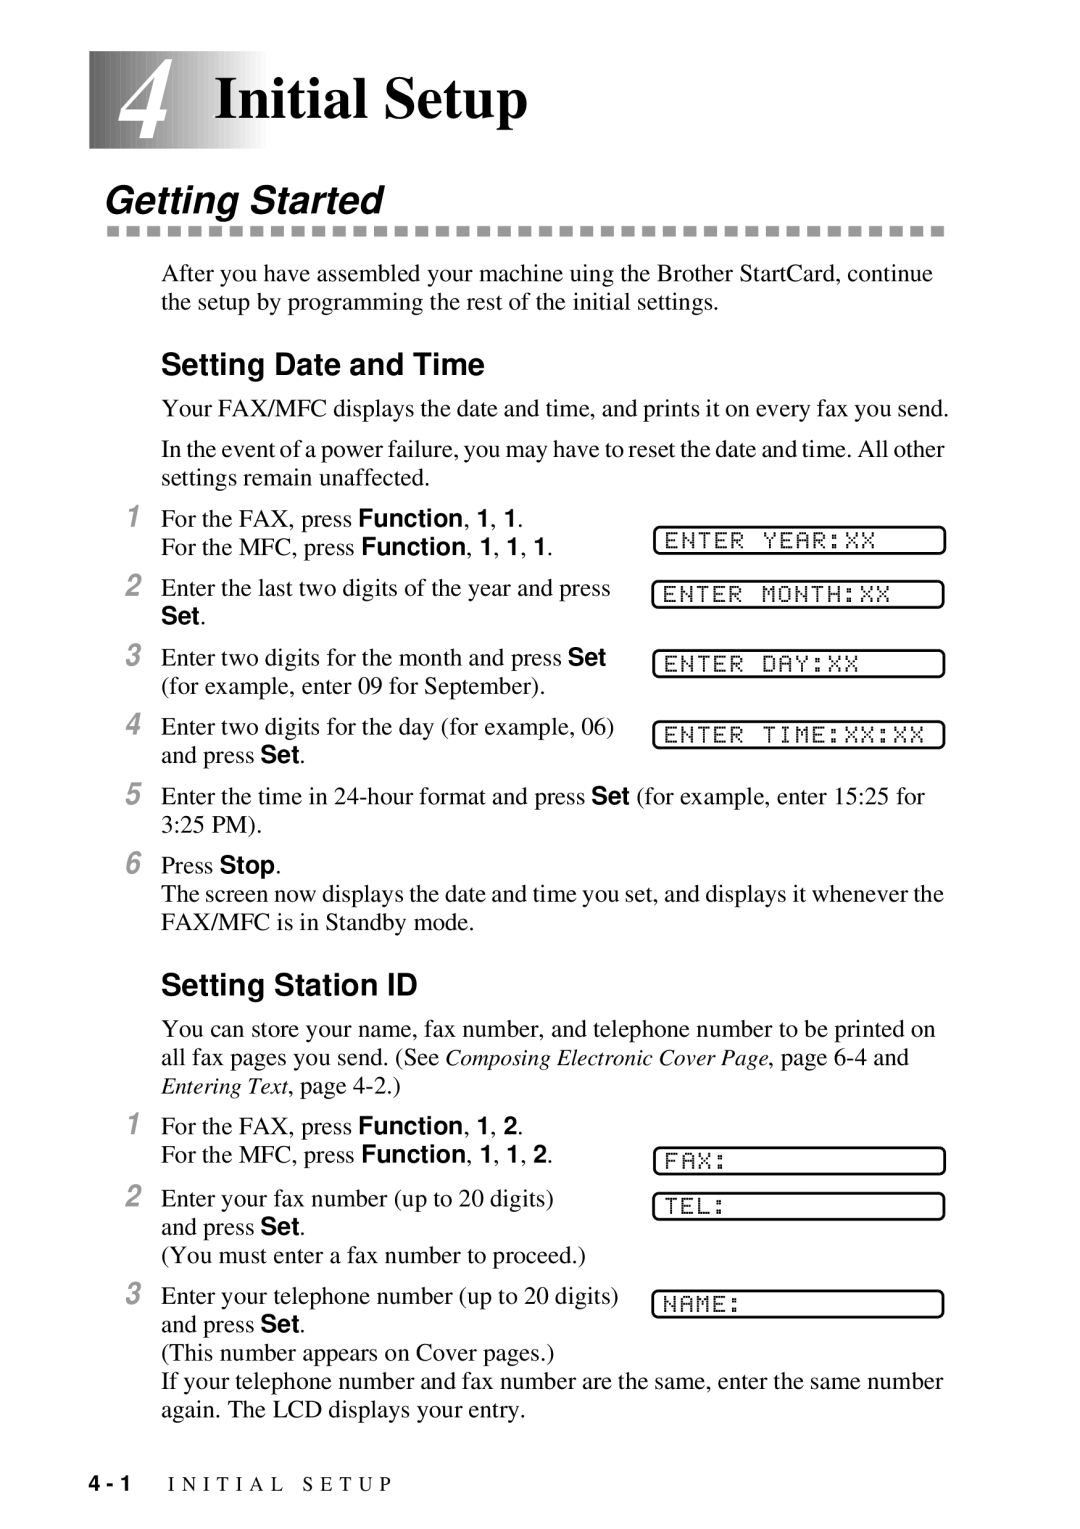
1For the FAX, press Function, 1, 1. For the MFC, press Function, 1, 1, 1.
2Enter the last two digits of the year and press
Set.
ENTER YEAR:XX ENTER MONTH:XX
3Enter two digits for the month and press Set (for example, enter 09 for September).
4Enter two digits for the day (for example, 06) and press Set.
ENTER DAY:XX
ENTER TIME:XX:XX
5Enter the time in
6Press Stop.
The screen now displays the date and time you set, and displays it whenever the FAX/MFC is in Standby mode.
Setting Station ID
You can store your name, fax number, and telephone number to be printed on all fax pages you send. (See Composing Electronic Cover Page, page
1For the FAX, press Function, 1, 2. For the MFC, press Function, 1, 1, 2.
2Enter your fax number (up to 20 digits) and press Set.
(You must enter a fax number to proceed.)
FAX:
TEL:
3 Enter your telephone number (up to 20 digits) | NAME: | |
and press Set. | ||
|
(This number appears on Cover pages.)
If your telephone number and fax number are the same, enter the same number again. The LCD displays your entry.
4 - 1 I N I T I A L S E T U P