Hardware Maintenance Procedures
5.1.3Hot-swapping Network Modules
When removing or replacing network modules, use the following procedure:
WARNING! To reduce risk to the user and to prevent dam- age to equipment, it is recommended that you ![]() use the included grounding strap when han-
use the included grounding strap when han-
dling this or any other component.
NOTE: All AMI sessions should be terminated before
1.Label and remove all network connections from the ports on the network module.
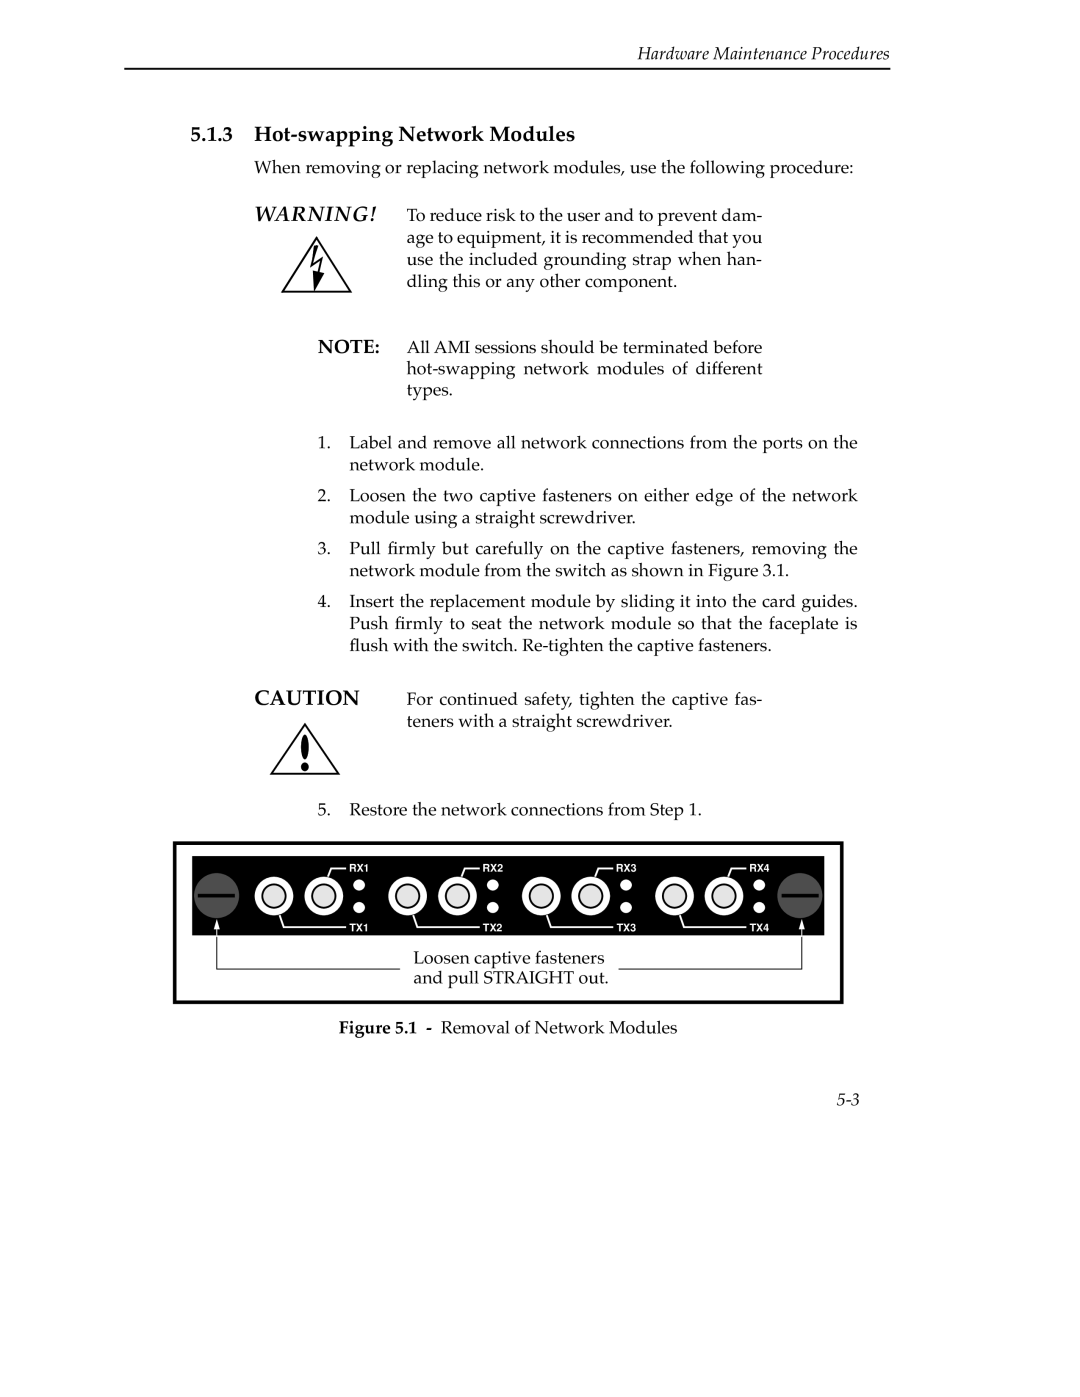
2.Loosen the two captive fasteners on either edge of the network module using a straight screwdriver.
3.Pull firmly but carefully on the captive fasteners, removing the network module from the switch as shown in Figure 3.1.
4.Insert the replacement module by sliding it into the card guides. Push firmly to seat the network module so that the faceplate is flush with the switch.
CAUTION For continued safety, tighten the captive fas- teners with a straight screwdriver.
5.Restore the network connections from Step 1.
RX1 | RX2 | RX3 | RX4 |
TX1 | TX2 | TX3 | TX4 |
TX1 | 2X1 | TX1 | TX1 |
Loosen captive fasteners and pull STRAIGHT out.