Using the Helper Viewer to Distribute Videos
Creating wvh files
This section describes how to create the wvh file required for launching the Helper Viewer application.
1
Use a text editor or similar program to create a new text file and type the following type of code in the file:
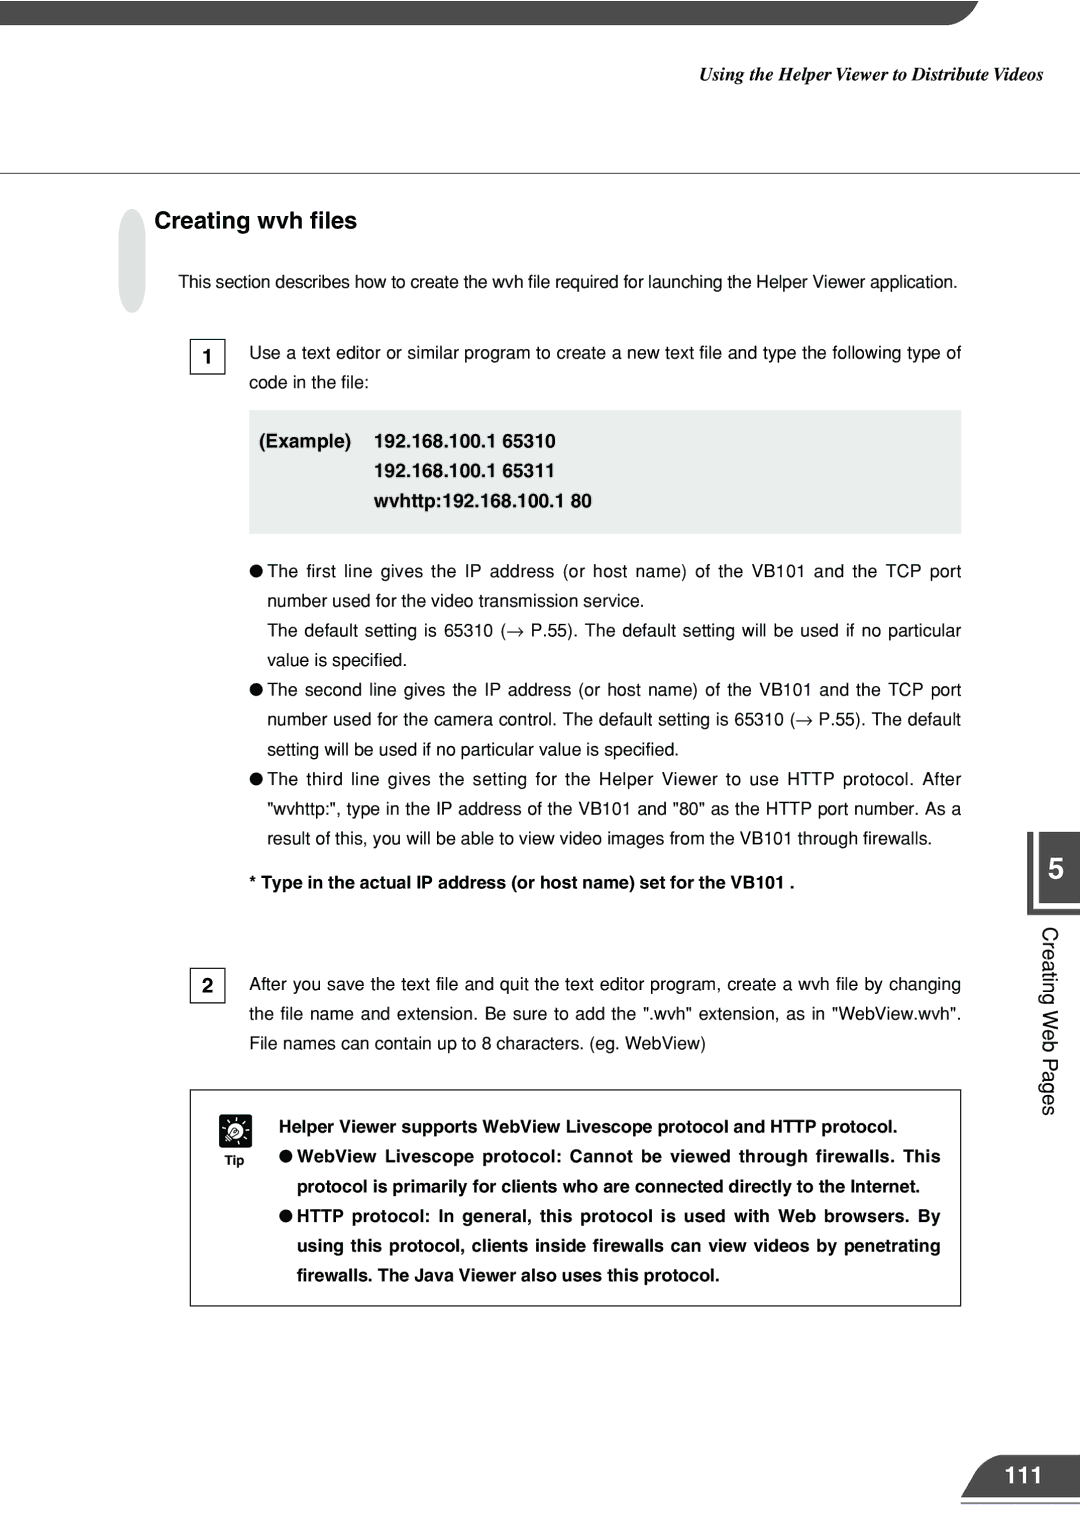
(Example) 192.168.100.1 65310
192.168.100.1 65311
wvhttp:192.168.100.1 80
●The first line gives the IP address (or host name) of the VB101 and the TCP port number used for the video transmission service.
The default setting is 65310 (→ P.55). The default setting will be used if no particular value is specified.
●The second line gives the IP address (or host name) of the VB101 and the TCP port number used for the camera control. The default setting is 65310 (→ P.55). The default setting will be used if no particular value is specified.
●The third line gives the setting for the Helper Viewer to use HTTP protocol. After "wvhttp:", type in the IP address of the VB101 and "80" as the HTTP port number. As a result of this, you will be able to view video images from the VB101 through firewalls.
* Type in the actual IP address (or host name) set for the VB101 .
2After you save the text file and quit the text editor program, create a wvh file by changing the file name and extension. Be sure to add the ".wvh" extension, as in "WebView.wvh". File names can contain up to 8 characters. (eg. WebView)
e | Helper Viewer supports WebView Livescope protocol and HTTP protocol. |
Tip | ● WebView Livescope protocol: Cannot be viewed through firewalls. This |
| protocol is primarily for clients who are connected directly to the Internet. |
| ● HTTP protocol: In general, this protocol is used with Web browsers. By |
| using this protocol, clients inside firewalls can view videos by penetrating |
| firewalls. The Java Viewer also uses this protocol. |
|
|
5