Initial Setup
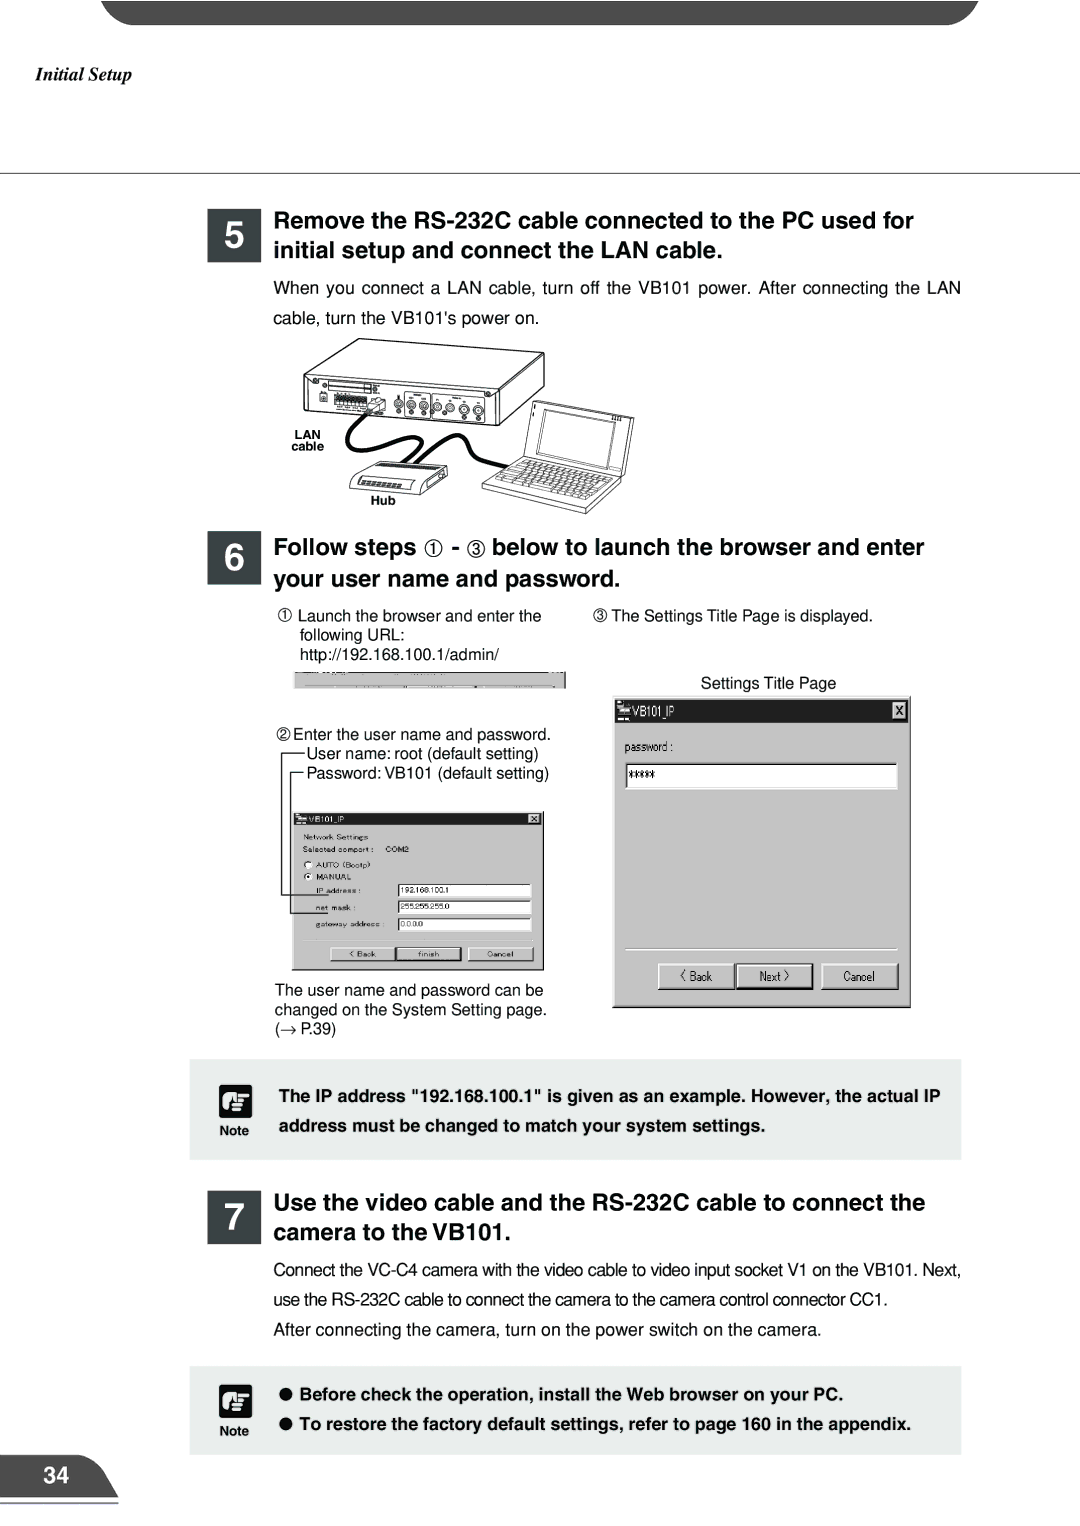
5 | Remove the |
| initial setup and connect the LAN cable. |
When you connect a LAN cable, turn off the VB101 power. After connecting the LAN cable, turn the VB101's power on.
| LAN |
| cable |
| Hub |
6 | Follow steps - below to launch the browser and enter |
| your user name and password. |
1Launch the browser and enter the following URL: http://192.168.100.1/admin/
2Enter the user name and password. User name: root (default setting) Password: VB101 (default setting)
3The Settings Title Page is displayed.
Settings Title Page
The user name and password can be changed on the System Setting page. (→ P.39)
c The IP address "192.168.100.1" is given as an example. However, the actual IP
Note address must be changed to match your system settings.
7 | Use the video cable and the |
| camera to the VB101. |
| Connect the |
| use the |
| After connecting the camera, turn on the power switch on the camera. |
c ● Before check the operation, install the Web browser on your PC.
Note | ● To restore the factory default settings, refer to page 160 in the appendix. |
|
34