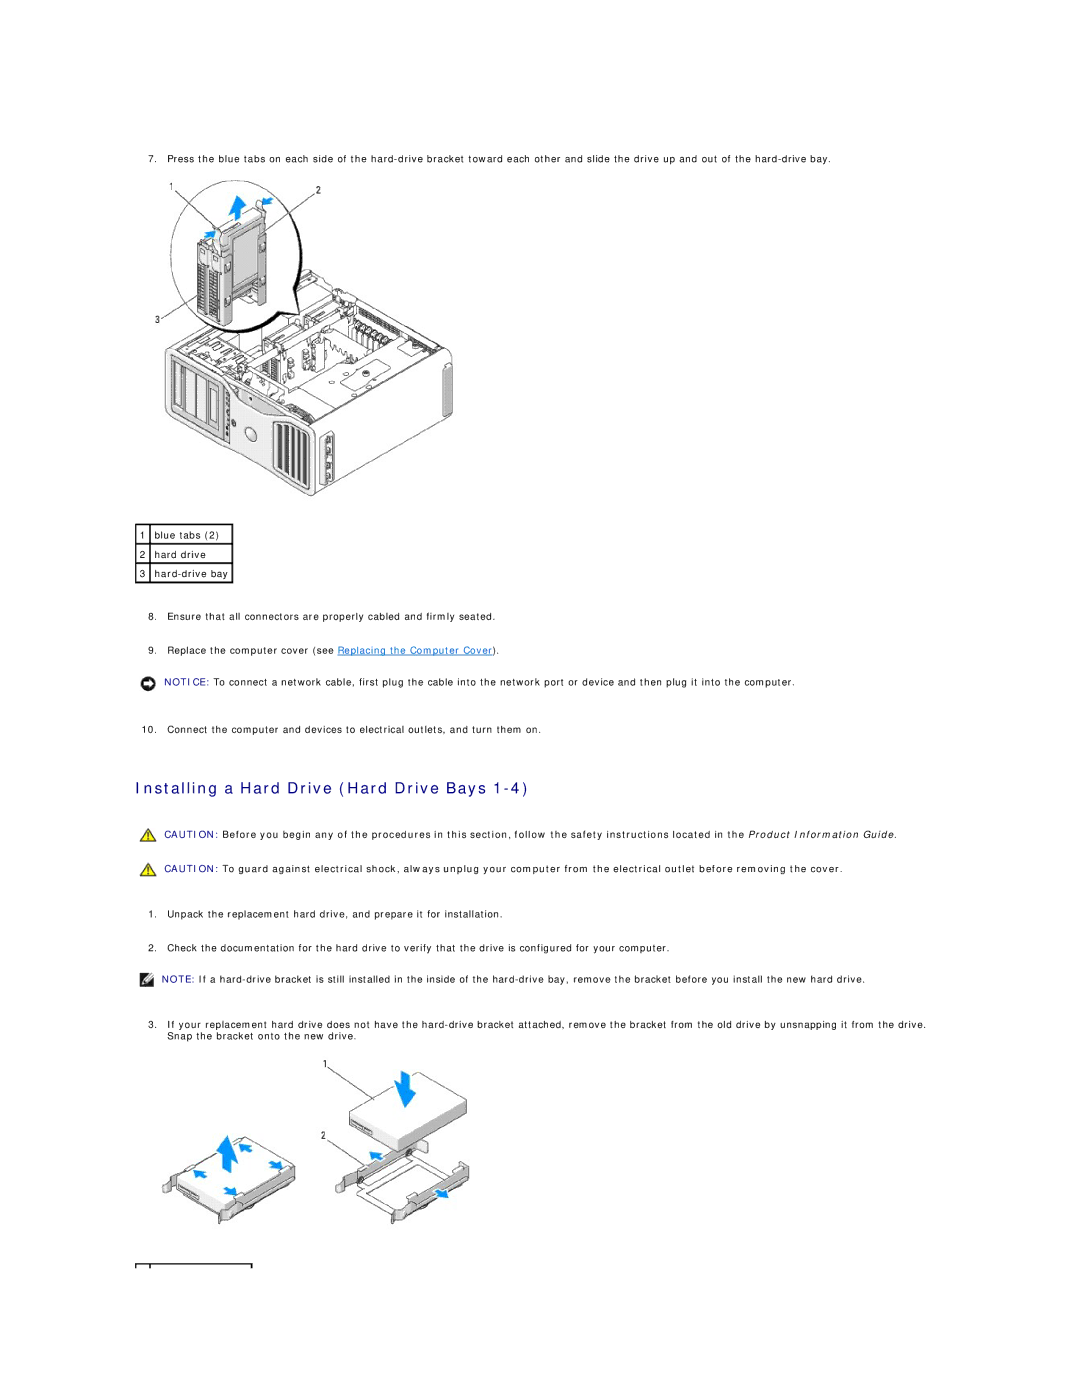
7. Press the blue tabs on each side of the
1blue tabs (2)
2hard drive
3
8.Ensure that all connectors are properly cabled and firmly seated.
9.Replace the computer cover (see Replacing the Computer Cover).
NOTICE: To connect a network cable, first plug the cable into the network port or device and then plug it into the computer.
10. Connect the computer and devices to electrical outlets, and turn them on.
Installing a Hard Drive (Hard Drive Bays 1-4)
CAUTION: Before you begin any of the procedures in this section, follow the safety instructions located in the Product Information Guide.
CAUTION: To guard against electrical shock, always unplug your computer from the electrical outlet before removing the cover.
1.Unpack the replacement hard drive, and prepare it for installation.
2.Check the documentation for the hard drive to verify that the drive is configured for your computer.
NOTE: If a
3.If your replacement hard drive does not have the